Picture a quiet corner of a park at first light. A long sword leans against a stone bench, its scabbard worn smooth from years of handling. A beginner picks it up, imagining the blade flashing in a graceful arc — and then the tip wobbles, the wrist locks, and the feet tangle. That first minute tells the whole story of the Chinese long sword: it is not about flourishes. It is about whether your grip, your blade, and your feet agree with each other.
In Chinese martial arts, the straight double-edged sword is called the jian. For centuries it has been known as the “gentleman of weapons” — not because it is easy, but because it rewards precision, patience, and control rather than brute force. This guide covers the three foundations every beginner needs: how to hold the sword, the five core techniques, and how your footwork carries them. Get these right, and the first sword form you learn later will feel like assembling pieces you already own.
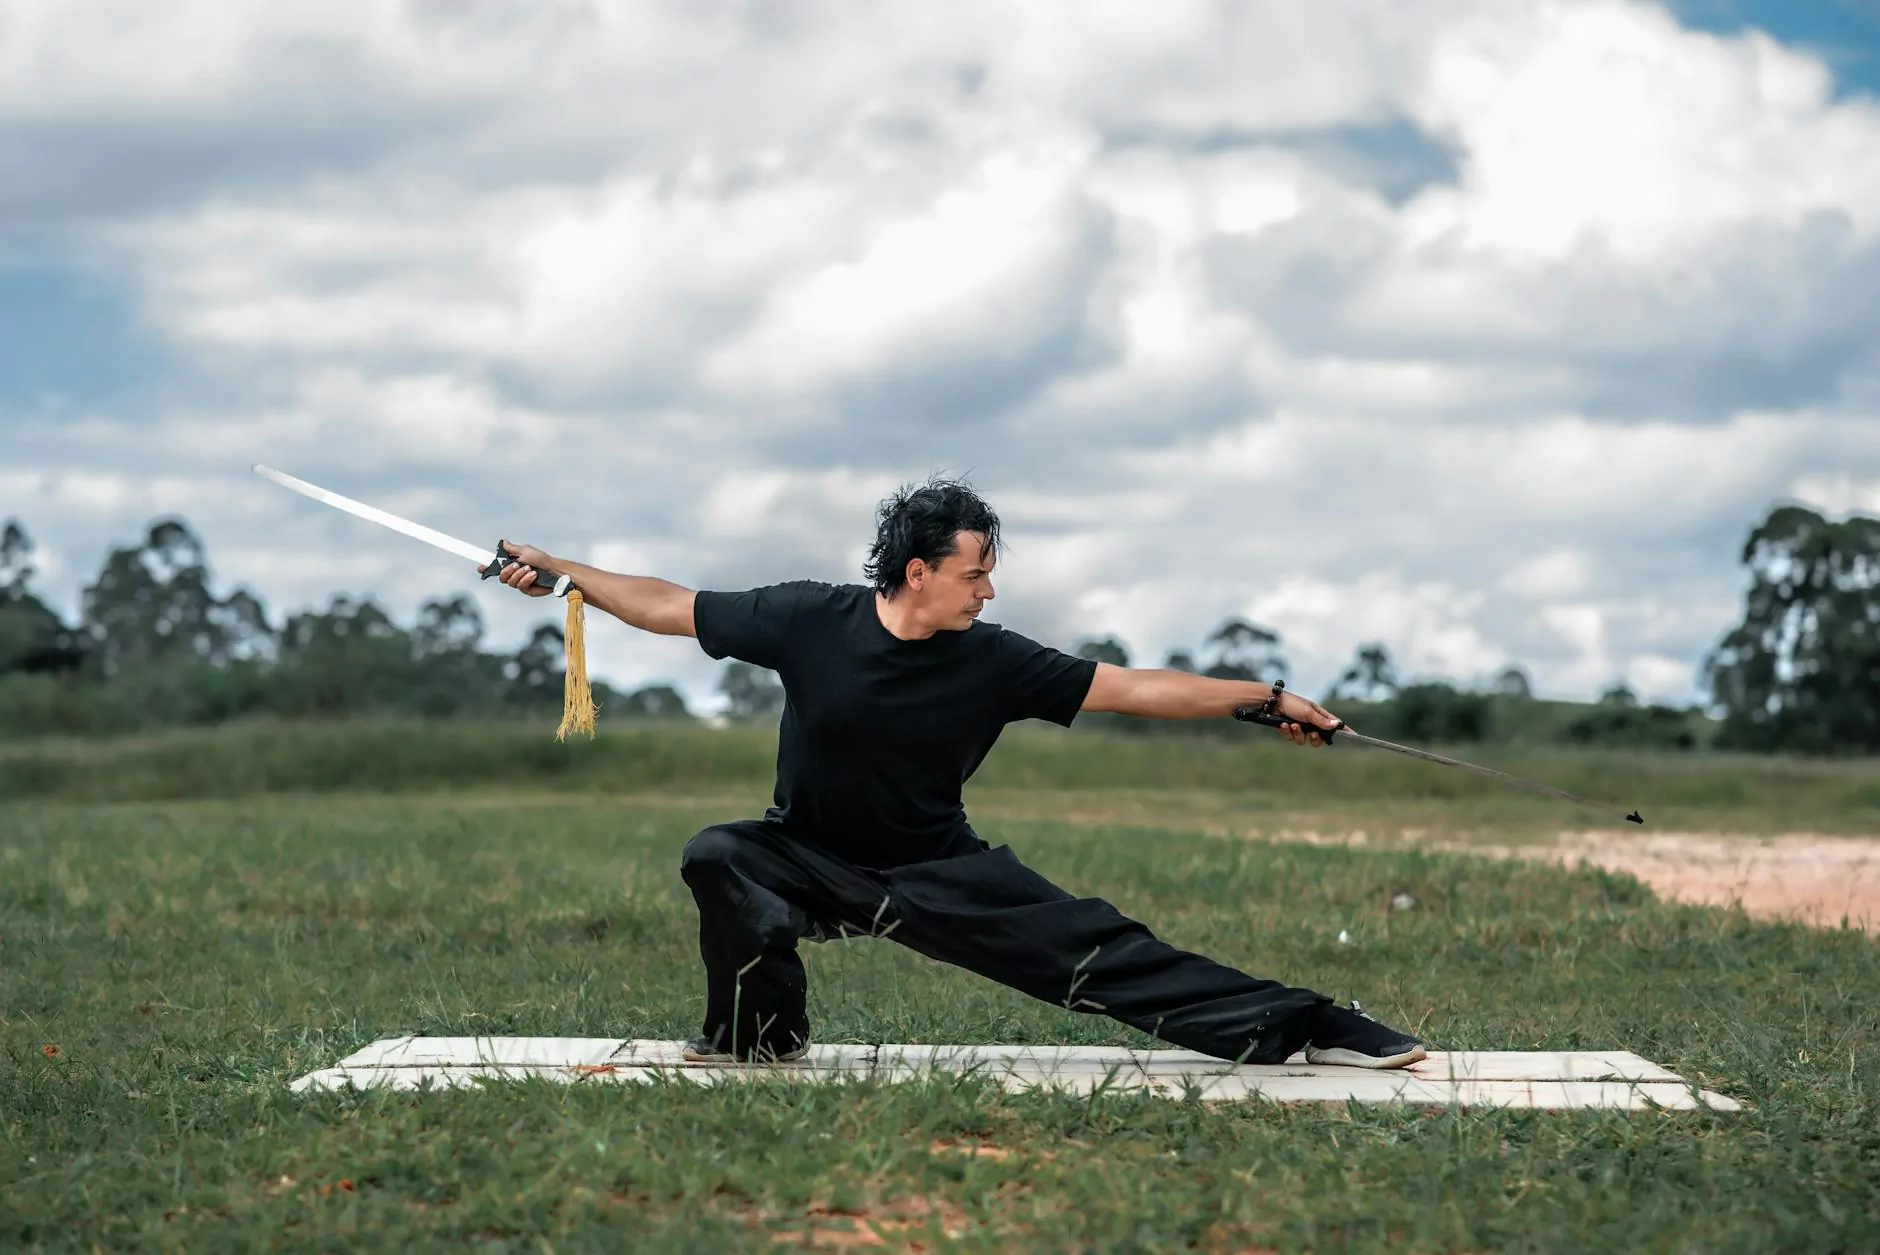
Get the Grip Right First: Thumb Web, Fingers, and Wrist
Before you swing anything, learn the parts of the sword. The handle sits in your hand, the guard rests against the web of your thumb, and the blade points forward. The right hand normally holds the sword; the left hand starts by steadying the scabbard or hanging relaxed at your side.
The grip comes together in three steps. First, seat the web of your thumb — the fleshy fold between thumb and index finger — firmly against the base of the handle, right up to the guard. This is the pivot point for everything that follows. Second, let your index and middle fingers curl around the front of the handle, then fold the ring and little fingers in after them, leaving a small hollow in your palm. Do not make a fist around it. Third, rest your thumb along the side of your index finger. The test is simple: the sword should not slip, and your wrist should still turn freely.
Three mistakes show up in almost every beginner. Grip too tight, and your wrist aches within thirty seconds while the tip shakes. Grip too loose, and the sword slides forward on a downward cut. Grip with the fingertips only, leaving a finger’s width of daylight between the guard and your thumb web, and all the force lands on a stiff wrist. Check yourself this way: hold the sword and make ten slow up-and-down swings. If the tip traces a smooth, unbroken arc, your grip tension is right.
Think of the wrist as the steering wheel of the sword. Before you take a single step, practice it in place. Do three small drills: flex the wrist up and down, twenty slow repetitions, small range, slow speed; turn the wrist side to side, twenty times, keeping the tip pointing forward; and draw small circles with the tip, ten circles in each direction, five clockwise and five counterclockwise. None of this looks impressive. All of it is the difference between a sword that obeys you and one that fights you.
The Five Core Techniques: Cut, Thrust, Tap, Lift, and Sweep
The long sword has dozens of named techniques, but beginners only need five: the downward cut, the straight thrust, the tap, the lifting block, and the upward sweep. Master these, and most movements in a sword form turn out to be combinations of them.
The Downward Cut: Power From the Whole Body
A cut is not an arm swing. Start with the tip raised and the blade close to your body’s centerline, elbow slightly sunk. As you cut, let the shoulder drive the arm and the arm drive the wrist, the blade falling from above your head to a point about one and a half steps ahead of you. Finish with the tip pointing down, just below waist height. Practice facing open ground, never toward people or walls. Do thirty cuts a day in three sets of ten. The detail that matters most is the final instant: snap the wrist as the cut lands, so the tip stops dead instead of trembling.
The Straight Thrust: The Straight Line Shows Your Level
A thrust lives or dies on one straight line — tip, blade, and arm aligned. Pick a target at chest height about a step ahead, such as a strip of cloth hung from a tree branch. Extend the arm and push off the back foot to send the sword out, stopping exactly at the target instead of punching past it. To withdraw, pull the elbow back first and let the tip retrace its path. The classic beginner error is letting the shoulder hunch up before the thrust. Drop the shoulder, and the sword goes out steady. Practice twenty thrusts a day, and keep the left hand doing its job of steadying the scabbard.
The Tap and the Lift: Fine Work at the Wrist
The tap is a small, fast dip of the wrist that drops the tip downward, like touching paper with the point of a pen. The rest of the blade barely moves. Practice in place: tip forward, press the wrist down for a light tap, lift it back, twenty times in a row. It trains wrist control more than strength.
The lift works in the opposite direction: the wrist flicks upward so the tip rises from below, a movement traditionally used to deflect an incoming blade aimed low. The power starts in the waist and hips, not in a stiff wrist. Practice twenty taps and twenty lifts a day, then link them: ten rounds of tap-then-lift with no pause between them. Small movements, done cleanly, build the hand a sword actually needs.
The Upward Sweep: An Arc That Stays on Its Track
The sweep starts low at one side of the body, rises diagonally past the torso, and finishes at shoulder height on the other side, the tip tracing a single arc. The common fault is overreaching — the tip flies wide of the body’s centerline and the whole movement falls apart. Imagine a thin vertical board standing in front of you and keep the tip sliding along its surface, stopping the moment you reach shoulder height. Practice fifteen sweeps on each side every day.
Do not rush to collect all five techniques at once. In week one, practice only the cut and the thrust. Add the tap and the lift in week two, and the sweep in week three. Move on only when each technique holds its shape and your breathing stays even. Thirty clean cuts beat a hundred wild arm swings, every time.
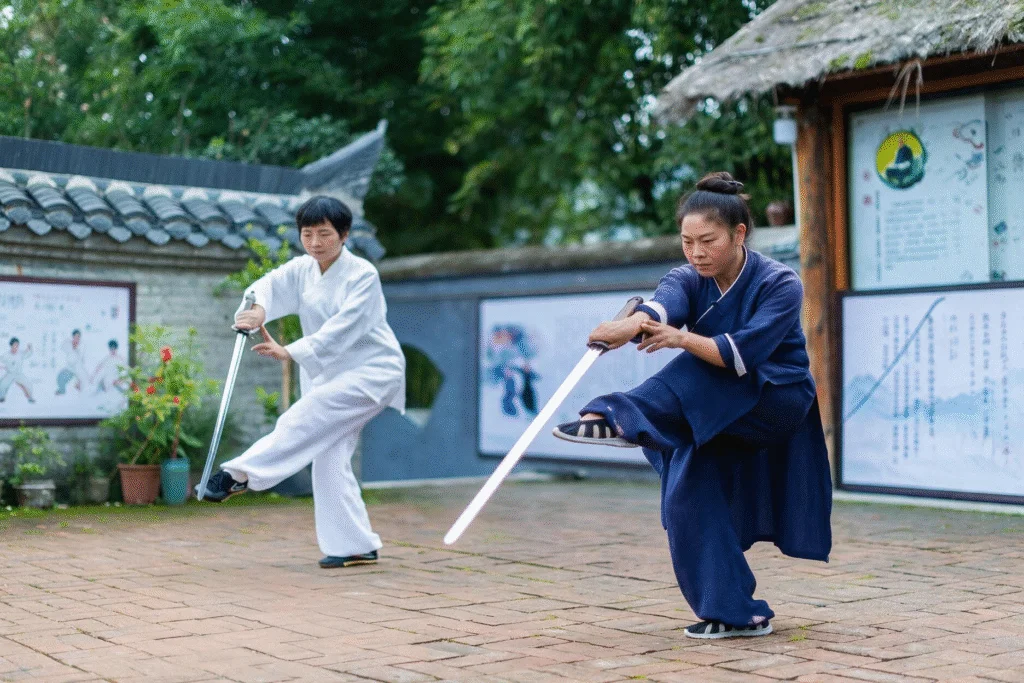
Footwork: Wherever the Sword Goes, the Feet Go Too
Technique is what the hands do; footwork is what the feet do. When a cut drifts off target, the feet usually arrived late. Beginners need three stances, each paired with specific techniques: the bow stance, the horse stance, and the empty stance.
The bow stance pairs with the cut and the thrust. Step forward about two foot-lengths, front knee tracking over but never past the toes, back leg straight, back heel on the ground. The rhythm matters: the front foot lands at the same instant the blade arrives. If the foot lands first and the sword follows half a beat later, the movement splits in two. Done right, footfall and blade land like a single dull thud. Practice twenty bow-stance thrusts and twenty bow-stance cuts a day.
The horse stance pairs with the lift and the sweep. Stand with feet parallel, about two shoulder-widths apart, knees bent until the thighs are close to parallel with the ground, knees pointing in the same direction as the toes. A stable horse stance gives the lift and sweep a root to push from. Practice twenty horse-stance lifts a day, and if you cannot sink that low yet, squat only to the height you can hold steadily — never force it.
The empty stance pairs with the tap and with closing movements. The front foot touches the ground lightly, only the toes making contact, with all your weight on the back leg, so you can advance or retreat at any moment. Tap with the front foot touching forward lightly, then let the weight settle back as you withdraw the sword. Practice twenty empty-stance taps a day, touching the toes down lightly and steadily instead of slapping the sole on the ground.
There is a simple drill for putting hands and feet together: “three steps, one sword.” Walk forward three steps, one technique per step — a bow-stance thrust on step one, a horse-stance lift on step two, an empty-stance tap on step three — then stop and check your grip and stance before the next three steps. Six laps of a ten-meter straight line make a complete combined session. If your footwork falls apart, stop, walk the steps cleanly first, and only then add the sword back in.
A One-Week Practice Order: From Solo Drills to Combined Practice
The steadiest path follows a weekly rhythm rather than a daily scramble.
- Monday and Thursday: Ten minutes of grip and wrist work, then thirty cuts and thirty thrusts, all in place, no footwork.
- Tuesday and Friday: Twenty taps, twenty lifts, and thirty sweeps; add the bow and horse stances. Practice technique and footwork separately for ten minutes each, then combine them for ten minutes.
- Wednesday and Saturday: Six laps of the “three steps, one sword” drill, checking grip and stance after every lap; finish with five minutes of slow walking to relax the wrists and shoulders.
- Sunday: Rest, or ten minutes of gentle wrist stretches only, giving the wrists and knees time to recover.
Keep each session to thirty to forty-five minutes, and stop when the time is up. Do not stretch a good day into an hour-long session — fatigue in the wrists and knees accumulates quietly, and by the next day the pain changes your form. After four weeks, look back and ask three questions: is the grip steady, does the cut land where you meant it to, and do the feet keep up? When all three answers are yes, you are ready to learn your first complete sword form.
Choose your training ground with the same care. Pick flat, open ground with no people and no clutter within two meters, and a surface that is not slippery. When you finish, return the sword to its scabbard and stand it upright or lay it flat — never balance it on the edge of a chair.
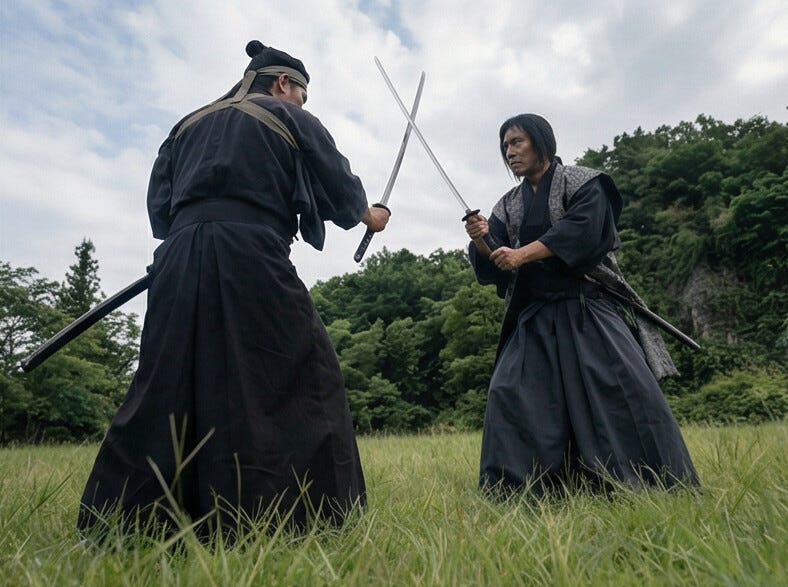
Safety First: Hold the Line Before Chasing Progress
A long sword is a real weapon, and safety always comes before technique. Before every session, check the blade for cracks, the handle for looseness, and the guard for a firm fit. If anything is wrong, repair it before you practice.
Partner practice only happens with a qualified instructor present, both people wearing protective gear, and the rules agreed in advance. Freestyling a sparring session with another beginner is how accidents happen. In the early stage, train alone in open space: never point the tip at a person, watch the mouth of the scabbard as you sheathe the sword, and keep your fingers well clear of the edge.
Listen to your body, too. If you have old injuries in the knees, lower back, or wrists, consult a doctor before deciding whether and how much to practice. Stop immediately and rest if you feel sharp joint pain, dizziness, or a racing heartbeat — never push through. Long sword practice is a traditional form of exercise for building coordination, endurance, and focus. It makes no promise of treating or curing any condition, and any health concern should be discussed with a qualified medical professional.
Quick Answers
How long before my grip feels natural? Most beginners feel the grip settle within two to three weeks of daily wrist drills. If the tip still wobbles after a month, the grip is usually too tight — loosen it until the wrist turns freely, then retest with ten slow swings.
Which technique should I learn first? The downward cut, then the straight thrust. They teach the two things everything else depends on: whole-body power and a straight line. Add the tap, lift, and sweep only after those two hold their shape.
Do I need a real sword to start? A practice sword with a blunt edge is the safer choice for the first months, and many teachers insist on it. A sharp blade adds nothing to learning the movements and raises the cost of every mistake.
How much should I practice each day? Thirty to forty-five minutes, four to six days a week, with one rest day. Short, regular sessions build the wrist and leg strength a sword needs; occasional marathon sessions mostly build bad habits.
When can I learn a full sword form? After about four weeks of foundation work, when your grip is steady, your cut lands on target, and your footwork keeps pace with your blade. A form learned on a shaky foundation has to be unlearned later — and that takes far longer.
A steady grip, clear technique, and footwork that keeps up: get those three right, and the door to the traditional long sword opens. Do not rush toward flashy flourishes. Put in the thirty cuts and twenty thrusts today, and in four weeks the sword in your hand will feel like a different weapon — one that listens. Tomorrow morning, find an open patch of ground, pick up the sword, and start with a single clean cut.