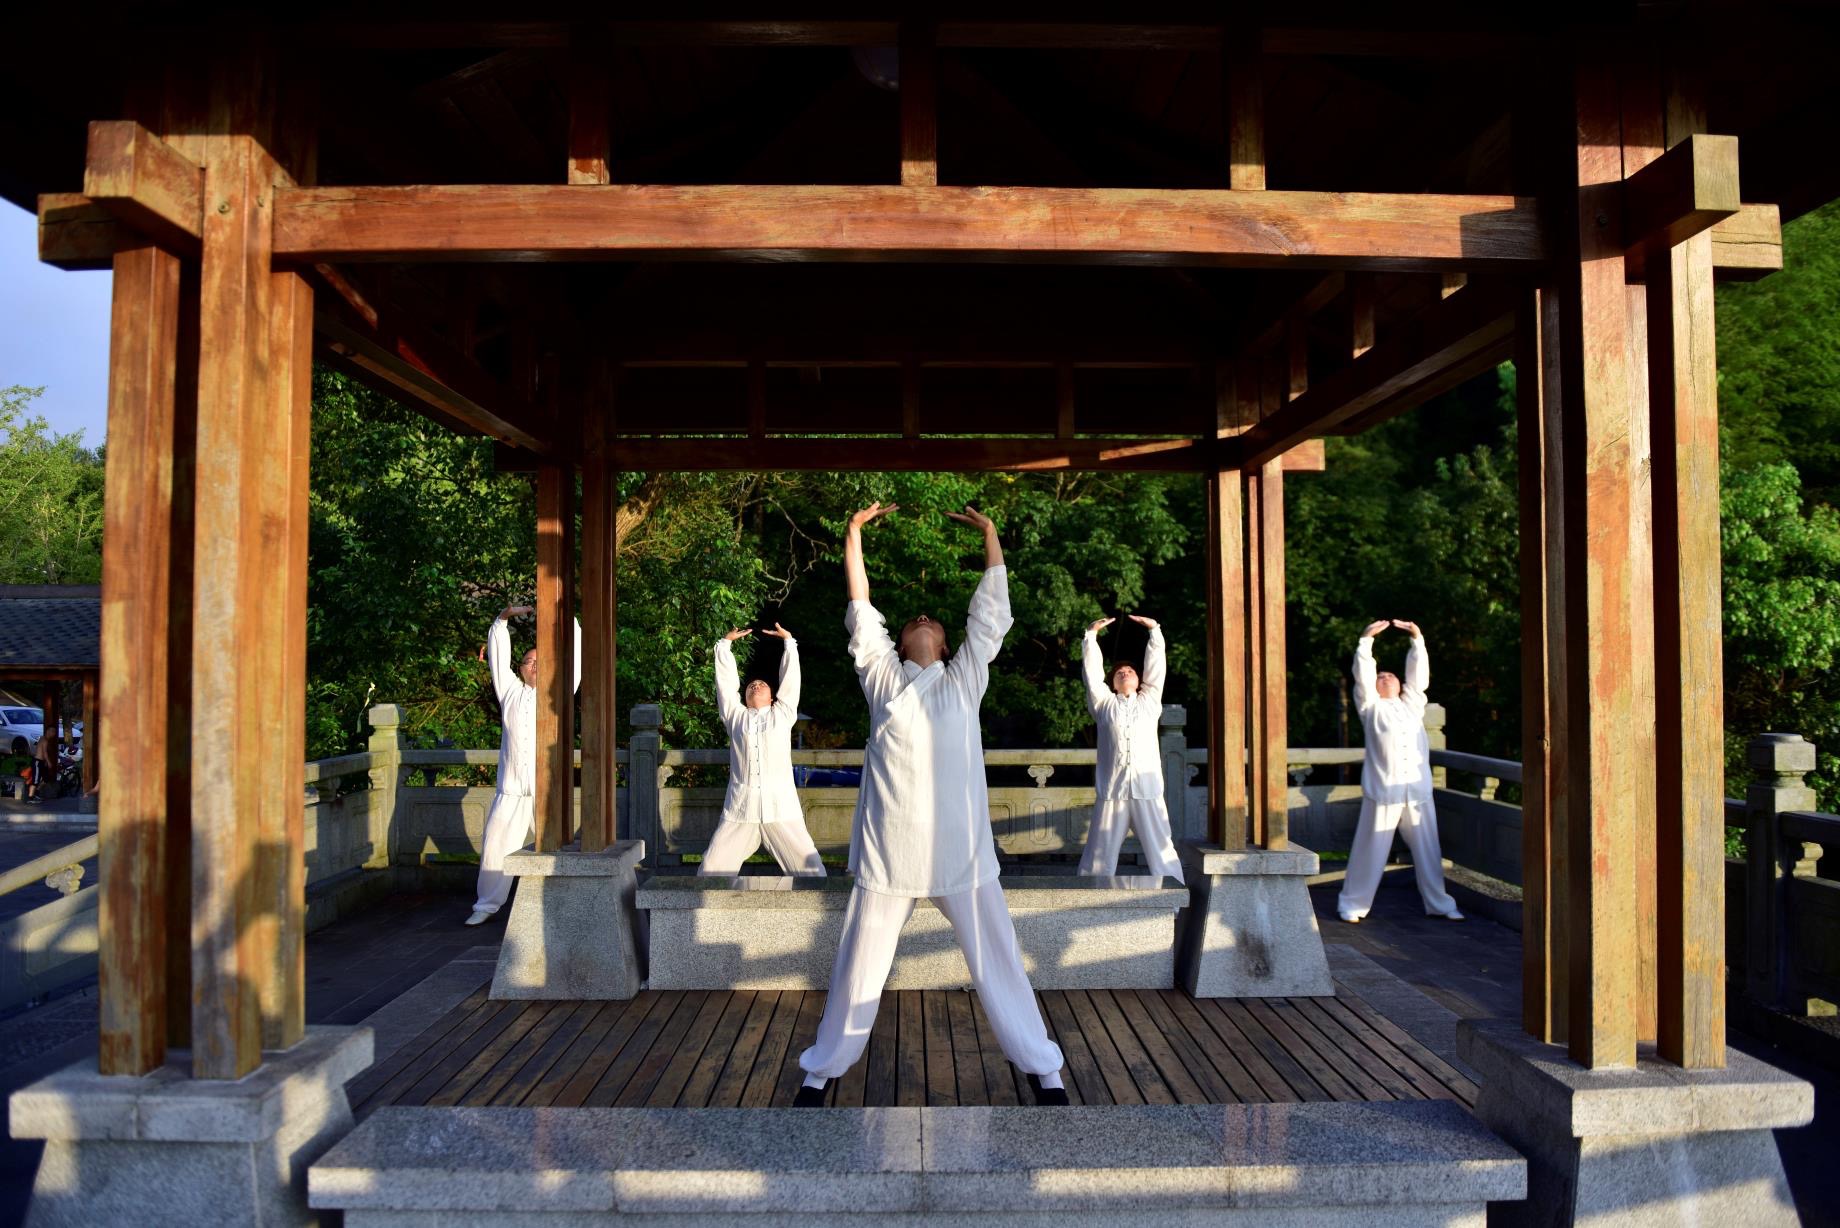
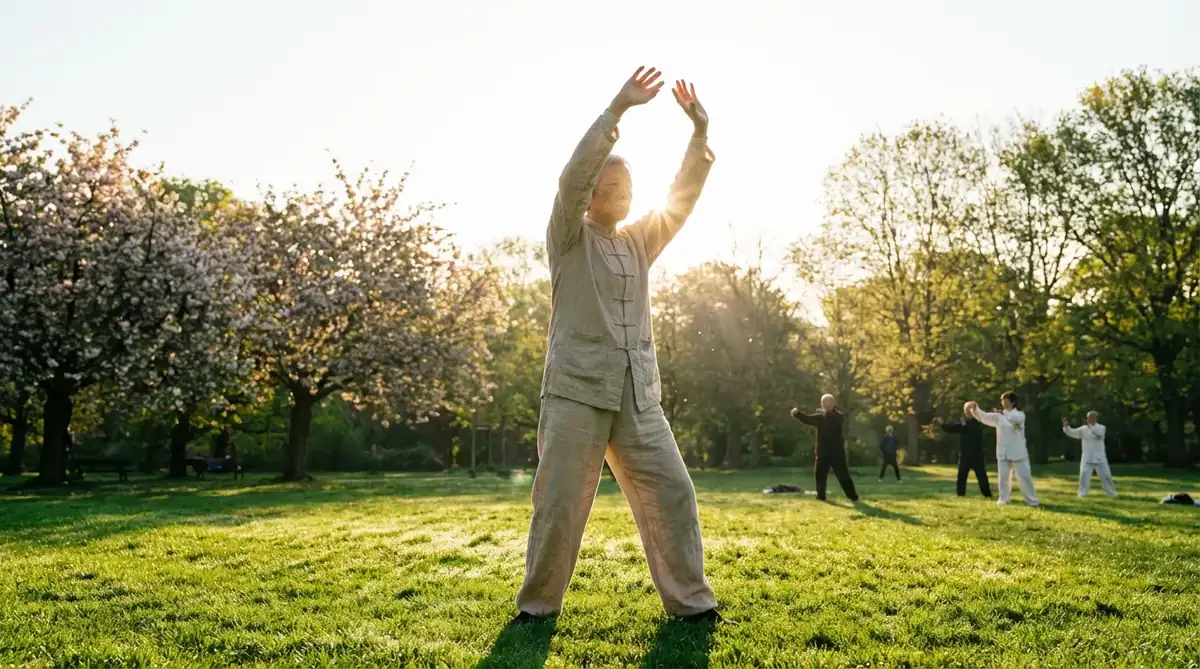
It is 6:30 in the morning, and in the corner of the neighborhood park a woman in her sixties slowly raises both hands above her head, palms facing the sky, chin tilted slightly upward. She is practicing the very first movement of Baduanjin, the “Eight Brocades” qigong set: “Two Hands Hold Up the Heavens.” Done right, it loosens the shoulders and opens the whole spine. Done wrong, it turns into a shrug, a sway-backed arch, and a held breath.
This guide takes that single movement apart piece by piece: what it is actually training, how to do it step by step, how to breathe with it, the five mistakes almost every beginner makes, and a simple plan for making it a daily habit. You need no equipment, no special clothes, and about two minutes.
What This One Movement Actually Trains
Baduanjin is a traditional Chinese exercise set that has been practiced for hundreds of years. Its first movement is called “Two Hands Hold Up the Heavens to Regulate the Triple Burner.” The “Triple Burner” is not a single organ. In traditional Chinese medicine, it is a way of describing three zones of the torso: the upper zone around the heart and lungs, the middle zone around the stomach and spleen, and the lower zone around the liver and kidneys. Lifting the hands toward the sky stretches all three zones open, like pulling a folded curtain straight.
In plain modern terms, the movement trains three things at once. First, mobility of the shoulder joints and the rib cage. If you sit at a desk all day, your shoulders roll forward and your chest feels tight; the upward lift works in exactly the opposite direction. Second, a lengthwise stretch of the spine, from the tailbone up to the crown of the head, one segment at a time. Third, deeper breathing: as the hands rise, the chest naturally expands and the inhale deepens; as they fall, the exhale lets everything settle back down. If you treat it as just “raising your arms,” you miss half of it.
One more point before you start: this is not a flexibility contest. Higher is not better. The real standard is shoulders that stay down, a waist that does not collapse, and feet that stay steady. Most first-timers shrug without noticing. Fixing that shrug is the first skill this movement teaches.
Step by Step: From Ready Position to Finish
Start by standing well. Feet shoulder-width apart, toes pointing forward, knees slightly bent and never locked, weight settled in the middle of your feet. Arms hang naturally, palms facing inward along your thighs. Tuck your chin slightly and look straight ahead. Stand like this for a full three seconds before you lift a hand. Rushing the setup is how the rest of the movement goes wrong.
- Lift both hands: Raise both palms slowly in front of your body. Palms face down at first; when they reach chest height, turn them upward, interlace your fingers, and face the palms toward the sky. Take about four seconds for this lift, at an even pace. Do not throw the hands up.
- Press toward the sky: Keep pressing upward, gently rise onto your heels, and tilt your head slightly back to look at the backs of your hands. Imagine a thread pulling the crown of your head upward. Your back stays tall, not bent backward. Hold this stretched position for about three seconds.
- Lower slowly: Set your heels down first, then separate your hands and lower them slowly along your sides, palms facing down, back to your thighs. Take about four seconds for the descent too. The slower you lower, the more clearly you feel your shoulders release.
- Reset: Once your hands are down, stand still, take one deep breath, and notice whether your shoulders feel looser than before and whether your back feels warm. Adjust for two seconds, then begin the next repetition.
One full repetition takes about fifteen seconds. Beginners should do six repetitions, roughly two minutes. Once you are comfortable, build up to eight or nine. Between repetitions there is no need for a long rest; one or two steady breaths while standing is enough.
Breathing: Inhale as You Lift, Exhale as You Lower
Breathing is the part most people skip, and it is the difference between really practicing this movement and just waving your arms around. The rule is one sentence long: inhale as you lift, exhale as you lower. Hands go up, breath comes in. Hands come down, breath goes out. Keep the breath thin, even, and long. No big gasps.
A rhythm that works well: four seconds of lifting matched with a four-second inhale, letting the belly expand slightly; a three-second hold at the top where the breath simply pauses on its own, without forcefully holding it in; then a four-second descent with a four-second exhale, breathing slowly out through the mouth. Inhale and exhale should be roughly equal in length, with the exhale perhaps half a beat longer.
Here is a quick self-check after each repetition. First, did your shoulders rise with your inhale? If they did, your breath is too shallow and only reaching your chest. Second, did your body feel like it settled downward at the end of the exhale? If not, you lowered too fast and did not finish breathing out. Practice for three days and both sensations become easy to notice.
Office workers have a ready-made practice slot. At around 10:30 in the morning, before you get up for a glass of water, do three repetitions beside your desk. As your hands rise with the inhale, a chest that has been folded over a keyboard all morning opens up. As your hands fall with the exhale, the stiffness in your shoulders drops a notch. Three repetitions take forty-five seconds, and they do more for you than forty-five seconds of scrolling on your phone.
Five Common Mistakes, and How to Fix Each One
- Shrugging: The moment the hands rise, the shoulders climb up toward the ears. This is the most common mistake, and it happens when the arms do the work instead of the torso stretching. Fix it by dropping your shoulders before you lift, as if they are sinking toward your pockets, and keeping space on both sides of your neck throughout the lift.
- Collapsing the waist and leaning back: Trying to reach higher, people thrust the waist forward and arch backward like a bow. Fix it by gently drawing the lower belly in and tucking the tailbone slightly, so the crown of the head rises straight up rather than tipping backward. The back of your waist should feel lengthened, not compressed.
- Heels lifting too early: The heels come up before the hands even reach chest height, and balance wobbles. Fix it by keeping the soles of your feet flat on the ground for the first half of the lift; the heels rise only at the moment of the full skyward press.
- Holding your breath and straining: At the highest point, people clench their teeth and turn red in the face. Fix it by shortening the hold to two seconds and letting the breath keep moving, only slower. Once that feels easy, extend the hold back to three seconds.
- Going too fast: The whole repetition is over in three seconds, like someone in a hurry. Fix it by counting silently: four counts up, three counts holding, four counts down. Once you slow down, the feeling of warmth spreading across your shoulders and back becomes much more obvious.
Practice in front of a mirror three times, and the mistakes have nowhere to hide. First time, watch your overall posture. Second time, watch only your shoulders. Third time, watch your waist and heels. Checking one thing at a time beats a vague once-over.
A Daily Plan You Can Start Tonight
Week one: practice twice a day, morning and evening, six repetitions each time. Focus on only two things: shoulders stay down, breath never held. Ignore the finer details for now. If you get those two right, week one is a success.
From week two, increase to eight repetitions per session and start paying attention to the stretch through your back and the slow descent. Morning practice fits well right after you get up and wash, when your body is still unwinding from a night curled in bed; the skyward lift helps open it up. Evening practice fits best about an hour before bed, not immediately before lying down, so your breathing has time to settle.
After a full month, you can link this movement with the other Baduanjin forms, for example “Drawing the Bow as if Shooting an Eagle” and “Single Arm Lift to Regulate the Spleen and Stomach,” for a fifteen to twenty minute session. Practicing this one movement on its own is also completely fine. It is a complete form in itself, and there is no need to feel that “only one movement is not enough.”
The location does not matter: living room, balcony, or an open space in the park all work. Wear flat shoes so your feet stay steady. On a slippery floor, skip the heel-lift step or make it very small; you can also keep your heels down entirely and just do the upward lift.
The essence of this movement fits in three short lines: hands hold up the sky, shoulders stay sunk; body rises tall, waist never collapses; breath follows the hands, slow and even. Say them to yourself before each session and the movement is much less likely to drift out of shape.
You do not need to wait for new gear or a course. Tonight before bed, do six repetitions. Stand steady, drop your shoulders, inhale as you lift, exhale as you lower. Six repetitions, two minutes. Keep it up for seven days, then compare how your shoulders and breathing feel against day one. The change will be obvious. Lock in those two minutes, and you have the cheapest daily health habit there is.
Quick Answers
How many repetitions should a beginner do? Six per session, twice a day, is a solid start. That is about two minutes each time. Build to eight or nine repetitions once the shoulders stay down and the breathing stays smooth.
When is the best time to practice? Morning after waking, to undo a night of stiffness, and evening about an hour before bed. Avoid practicing immediately before lying down, so your breathing has time to settle.
Do I need to rise onto my heels? No. The heel lift is optional. On a slippery floor, or if your balance is unsure, keep your heels on the ground and just do the upward lift. The stretch still works.
Why do my shoulders keep shrugging? Because your arms are doing the lifting instead of your torso stretching. Drop your shoulders toward your pockets before each lift, and keep space on both sides of your neck as your hands rise.
Can I practice only this one movement? Yes. It is a complete form on its own. Later you can link it with the other seven Baduanjin movements for a longer session, but there is no requirement to do so.
How long until I notice a difference? Shoulder looseness often shows up within the first few sessions, and breathing awareness sharpens over about three days. Deeper changes in posture and flexibility usually take a few weeks of steady practice.
Practice within your limits. Keep every movement comfortable and pain-free. If you have neck, lower back, or shoulder problems, or chronic conditions such as high blood pressure or heart disease, talk to a doctor before you start. Stop immediately and rest if you feel dizzy, short of breath, or any joint pain. This article is an introduction to a traditional exercise for general education only; it makes no promise of any health benefit and is not a substitute for medical advice.