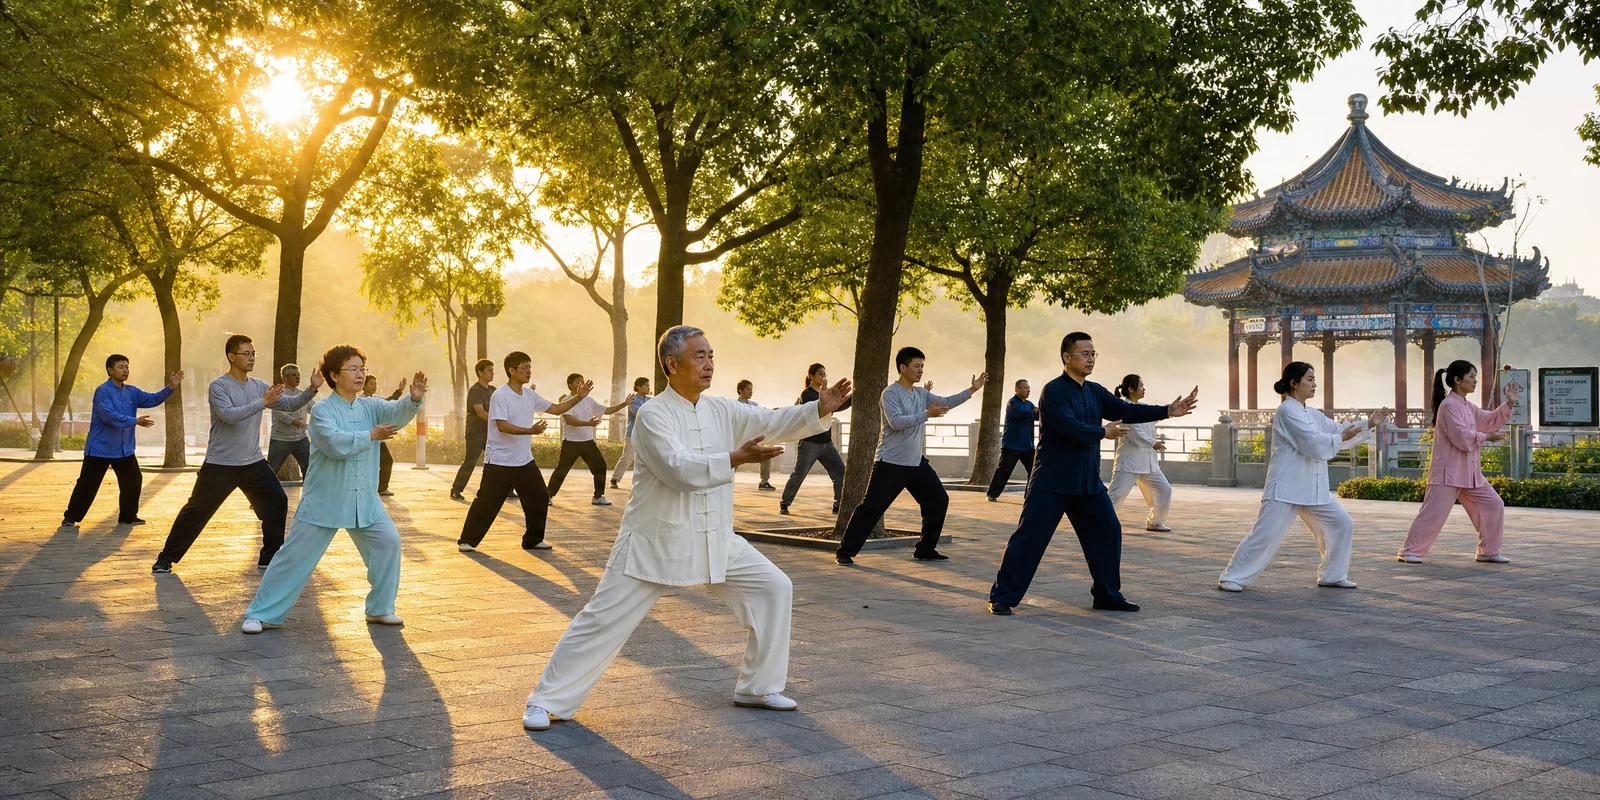
Picture this: two people stand facing each other in a park, wrists lightly touching. Nobody is straining, nobody is shoving, and yet the moment one of them shifts their weight, the other one already knows which way the push is going. That quiet, wordless conversation through the arms is called push hands, or tui shou in Chinese. Many people who have practiced tai chi forms for a year or two discover, the first time they touch hands with a partner, that there is a gap between performing a solo routine and actually sensing another person’s force. Push hands is the practice that closes that gap.
What Push Hands Actually Trains
Push hands is tai chi’s partner practice. Two people keep their arms in contact and, without letting go or losing connection, take turns testing, neutralizing, and borrowing each other’s force. The goal is not to shove your partner across the park. The goal is to build two skills.
The first is ting jin, literally “listening energy.” Ting jin means sensing, through the contact of your arms, the direction, size, and change of your partner’s force, the way you might feel a change in wind pressure on your skin. The second is hua jin, “neutralizing energy.” Hua jin means letting an incoming force slide past you by turning your waist and sinking your weight, instead of meeting it head-on.
Here is an image that helps: someone who meets a push with rigid resistance is like a brick wall, and a wall can be knocked over. Someone who knows hua jin is like a revolving door. The force comes in, the door turns, and the force exits to the side. Push hands trains you to stop being the wall and start being the door.
Push hands also trains song chen, a relaxed sinking of the whole body. Song means loose and relaxed, chen means sinking down. In practice this means your shoulders drop, your weight settles into your feet, and your center of gravity stays low and stable. Many beginners find their shoulders aching after a single minute of push hands. That ache is a symptom of missing song chen: all the force is stuck in the shoulders because it never sank down into the legs.
Three Things to Settle Before You Start
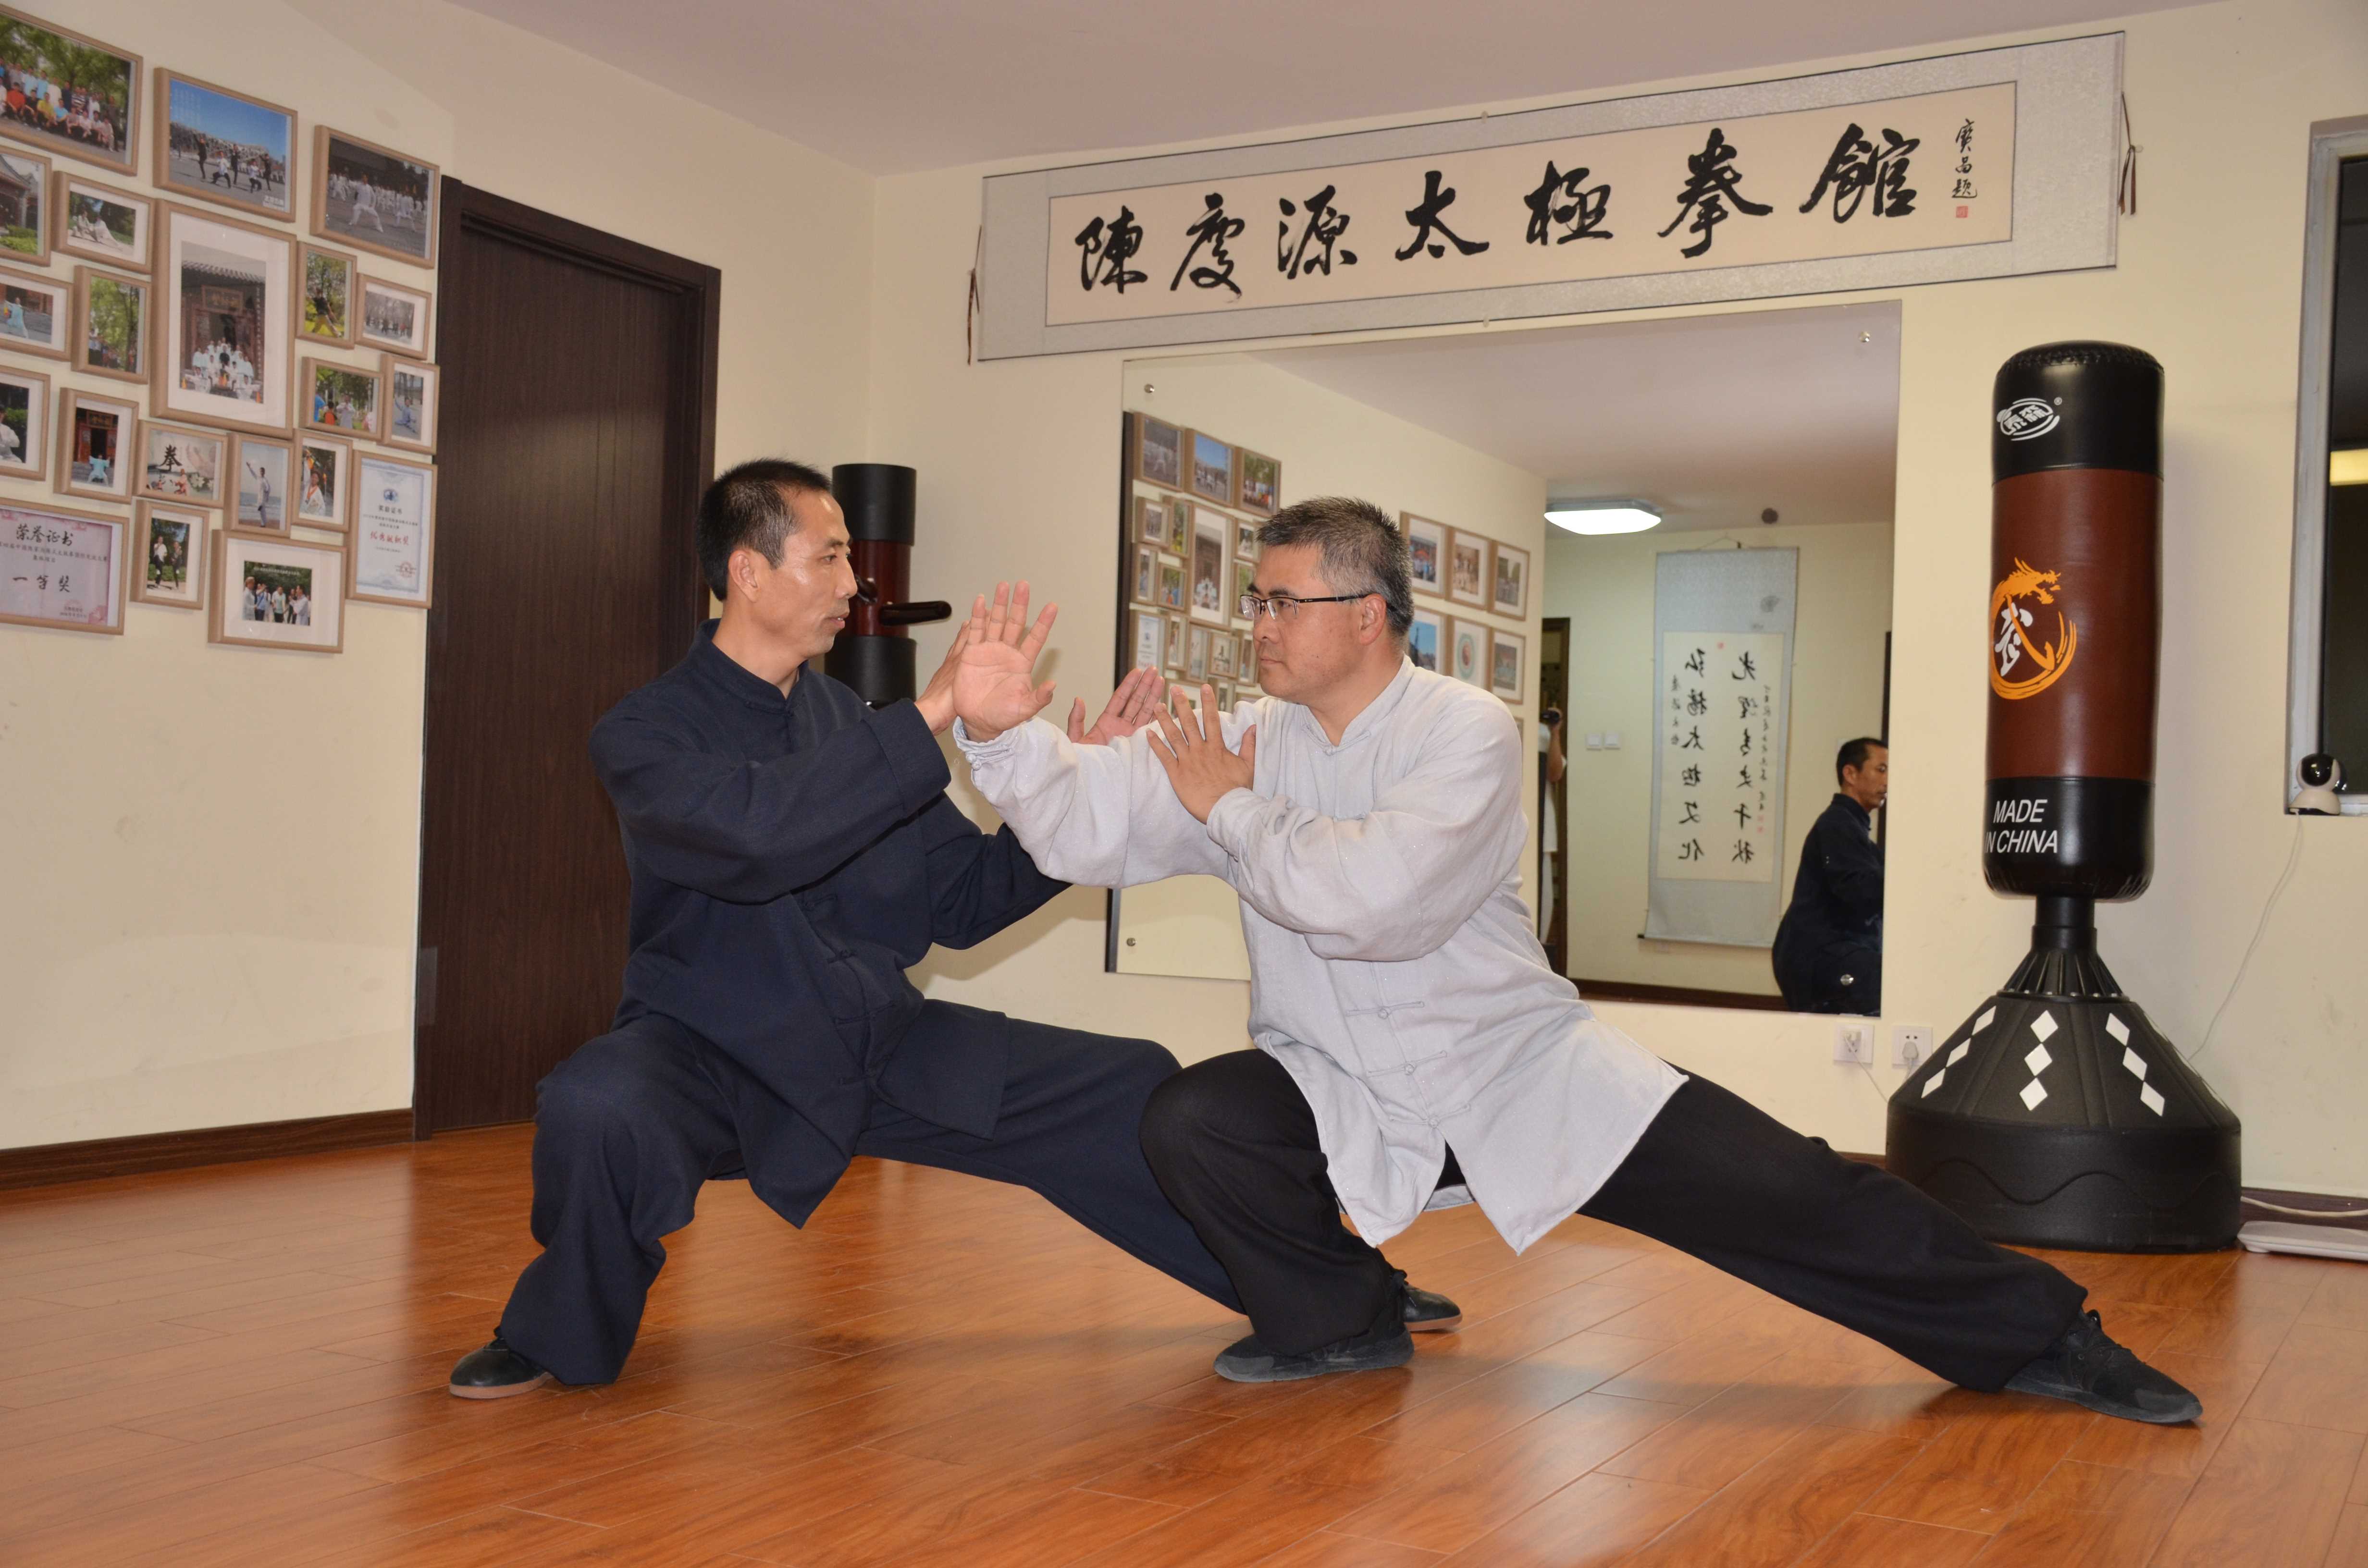
First, set your stance. The most common push hands stance is the bow stance. Point your front toes forward, angle your back foot about 45 degrees, keep your feet about shoulder-width apart sideways and about one and a half steps apart front to back. Put roughly 60 percent of your weight on the front leg and 40 percent on the back leg, and keep your front knee pointing in the same direction as your front toes, never caving inward.
Second, set your contact. In fixed-step practice with both hands, each person places one hand on the inside of the partner’s forearm and lightly rests the other hand near the partner’s wrist or forearm. The contact should be just firm enough not to lose touch, about like holding a ripe egg. Too loose and you lose contact; too tight and your arm goes stiff, and a stiff arm cannot feel anything.
Third, set your rules. Agree on three rules before you begin: never break contact, never try to push your partner out of position, and never attack a joint. In fixed-step practice your feet stay planted and only your upper body, waist, and hips move. Clear rules keep the drill from turning into a wrestling match.
Single-Hand Flat Circle: Draw Your First Circle
The single-hand flat circle is where all push hands begins. You use just one hand and trace a horizontal circle with your partner. Here is how it works, step by step:
- Face each other in bow stances and join right hands, with the contact point on the inside of each other’s right forearm, at about chest height.
- Partner A pushes clockwise: A’s hand travels forward about 20 centimeters. Partner B follows, letting the arm draw back while turning the waist about 15 degrees to the right, guiding the force to the side of the body.
- When the circle reaches its farthest point, B switches from following to leading, pushing the circle back around. A now draws back and turns the waist to the left to neutralize. Repeat, and the flat circle starts to roll on its own.
- Start slow, about 4 to 5 seconds per circle, and do 20 continuous circles before reversing direction. Then switch to the left hand and practice the same way.
Check three things as you practice. First, your arm should stay gently curved, never stretched straight like a stick. Second, the circle should be smooth and even, never fast in one part and slow in another. Third, your waist and hips must turn with the circle. If only your arms move while your waist stays frozen, your shoulders will ache after ten circles.
Try this self-test: ask your partner to suddenly stop in the middle of a circle. If your hand keeps moving on its own, you are pushing air, not listening. If your hand stops the instant your partner stops, your ting jin is starting to come alive.
Fixed-Step Double Hands: Two Circles Working Together
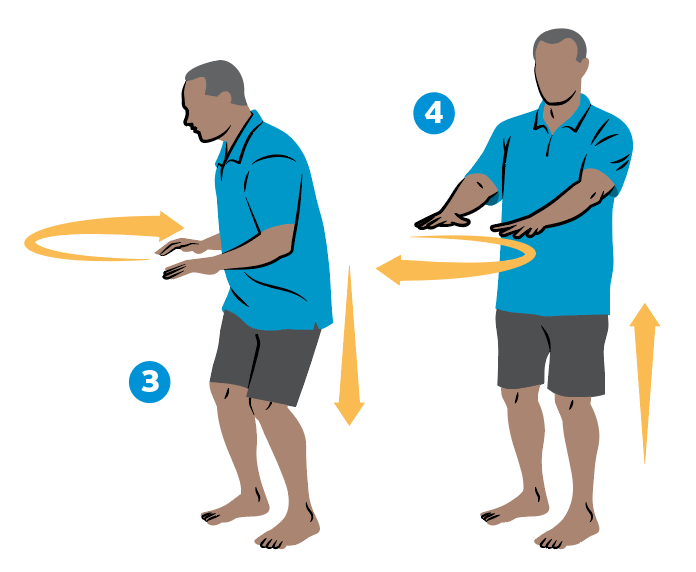
Once the single-hand circle feels smooth, you are ready for fixed-step double hands. The idea is simple: two flat circles run at the same time, one hand turning clockwise and the other counterclockwise, like two gears meshing together.
For the setup, stand in bow stances facing each other. A’s right hand contacts B’s left forearm, and A’s left hand contacts B’s right forearm, with B mirroring the same arrangement. Both people’s front feet are on the same side. Your knees may lightly touch as a reference point, but never use a knee to push against your partner.
The rhythm runs in four beats. Beat one: A pushes forward with the right hand while B draws back with the right hand. Beat two: A draws back with the left hand while B follows forward with the left hand. Beat three reverses the roles, and beat four returns to the starting point. One full cycle takes about 3 to 4 seconds.
The key to double hands is division of labor: the front hand listens and leads, the back hand neutralizes and gathers. Many beginners tense both hands at once, and the two hands end up fighting each other until the circles fall apart. Remember a simple image: the front hand is the ear, the back hand is the storehouse. One senses, the other receives.
How do you know you have reached the beginner milestone? You can keep 50 cycles going without a break, speed up smoothly from 4 seconds per cycle to 2 seconds without the circles deforming, and follow your partner through sudden changes of speed or direction at least 80 percent of the time.
Five Mistakes Every Beginner Makes
- Meeting force with brute strength: the moment your partner pushes, your whole body locks up and resists. Each time you catch yourself tensing, deliberately drop your shoulders two centimeters, let the weight sink to your feet, and then turn your waist.
- Straightening the arms: a straight arm breaks the listening connection. Keep your elbows sinking downward and your arms bent at roughly 120 degrees, as if you were holding a large ball against your chest.
- Moving the arms but not the waist: the arms draw circles while the waist stays like a block of wood. Tie a towel around your waist and ask your partner to watch whether it turns. It should rotate at least 20 degrees per circle.
- Staring at your hands: watching your hands narrows your attention and kills your sense of the whole body. Look level at your partner’s shoulder or chest, and let your peripheral vision and sense of touch track the incoming force.
- Chasing a win: trying to push your partner over distorts every movement. In the fixed-step stage, the goal is not winning. The goal is whether the circles stay steady and whether you can feel the force clearly. The person who can keep the circle steady is the one who will have a real foundation when they later learn to issue force.
Finding a Partner and Practicing Safely
Good partners are closer than you think: classmates from a tai chi class, members of a community tai chi group, or experienced practitioners in a morning park group. Ideally your weights should be within about 20 kilograms of each other. If the gap is too large, the lighter person will spend the whole session just being pushed around and will never get a feel for neutralizing. Before your first session, agree on the plan: fixed-step only, no forceful pushing, no contest, and a two-minute break every ten minutes.
Choose a flat, non-slip surface and wear flat, soft-soled shoes. Avoid wet tiles and uneven grass for fixed-step work. Warm up for five minutes before each session: roll your shoulders, rotate your waist, stretch your legs, and circle your wrists and ankles. Finish with three minutes of gentle shoulder and back stretching.
Stop immediately if any of these happen: a sharp pain in a joint or a sudden clicking sound, wrist or shoulder soreness that lasts more than a day, dizziness, chest tightness, or a heartbeat that stays elevated long after you stop. Push hands trains sensitivity and coordination, not endurance. Pain is your body telling you that the movement or the intensity is wrong.
Putting the First Lesson into Your Week
The beginner path is refreshingly clear: stand in a steady bow stance, set a good hand contact, make the single-hand flat circle round, then make the double-hand fixed-step circles steady. You do not need flashy techniques. One flat circle practiced for three months will quietly grow your ting jin and your song chen.
Here is a concrete plan for this week: find a practice partner and meet twice, 30 minutes each time. Spend the first 15 minutes on the single-hand flat circle and the second 15 on fixed-step double hands. Start at 5 seconds per circle, and only speed up after you can complete 20 circles without losing the shape. After each session, note two things: did your shoulders ache, and did the circles stay steady? Compare your notes after two weeks, and the progress will be visible.
Quick Answers
Do I need to know a tai chi form before trying push hands? It helps to know at least the basic stance and a few form movements, but you do not need to master a whole routine. The single-hand flat circle is designed as a first step, and many teachers introduce it within the first months of practice.
How long does it take to get the feel of ting jin? Most beginners notice their first moments of real listening within a few weeks of regular practice, usually during the stop-test described above. Steady, reliable listening takes months, not days, and that is normal.
Can I practice push hands alone? You can rehearse the waist turns and arm circles solo against an imagined partner, but the core skill, sensing another person’s force, only develops with a real partner. Even one session a week with a partner beats daily solo drilling for this purpose.
Is push hands a fighting practice? At the beginner stage, no. Fixed-step push hands is a cooperative sensitivity drill with agreed rules, not a contest. The competitive side exists at higher levels, but beginners should treat it as a listening exercise first.
Practice within your limits and build up gradually. If you have joint problems, cardiovascular issues, or any chronic condition, consult a doctor before starting. This article is an introduction to a traditional cultural practice, not medical advice, and it promises no health effects.