Three minutes in, your legs start shaking. But the first thing that hurts is not your thighs – it is your knees. Before you blame weak legs, consider a simpler explanation: you may be standing in the wrong place entirely.
The horse stance, known in Chinese as Ma Bu, is the foundation of nearly every traditional Chinese martial art. It looks simple: feet apart, knees bent, back straight. Yet most beginners get it wrong in ways that quietly load the knees and lower back instead of the legs. Done right, it builds leg strength, balance, and a stable base for everything from Tai Chi to Kung Fu forms. Done wrong, it mostly builds sore knees.
This guide walks through the correct posture, a realistic timeline for building up duration, the five mistakes beginners make most often, and a 15-minute daily routine you can start today.
What a Correct Horse Stance Actually Looks Like
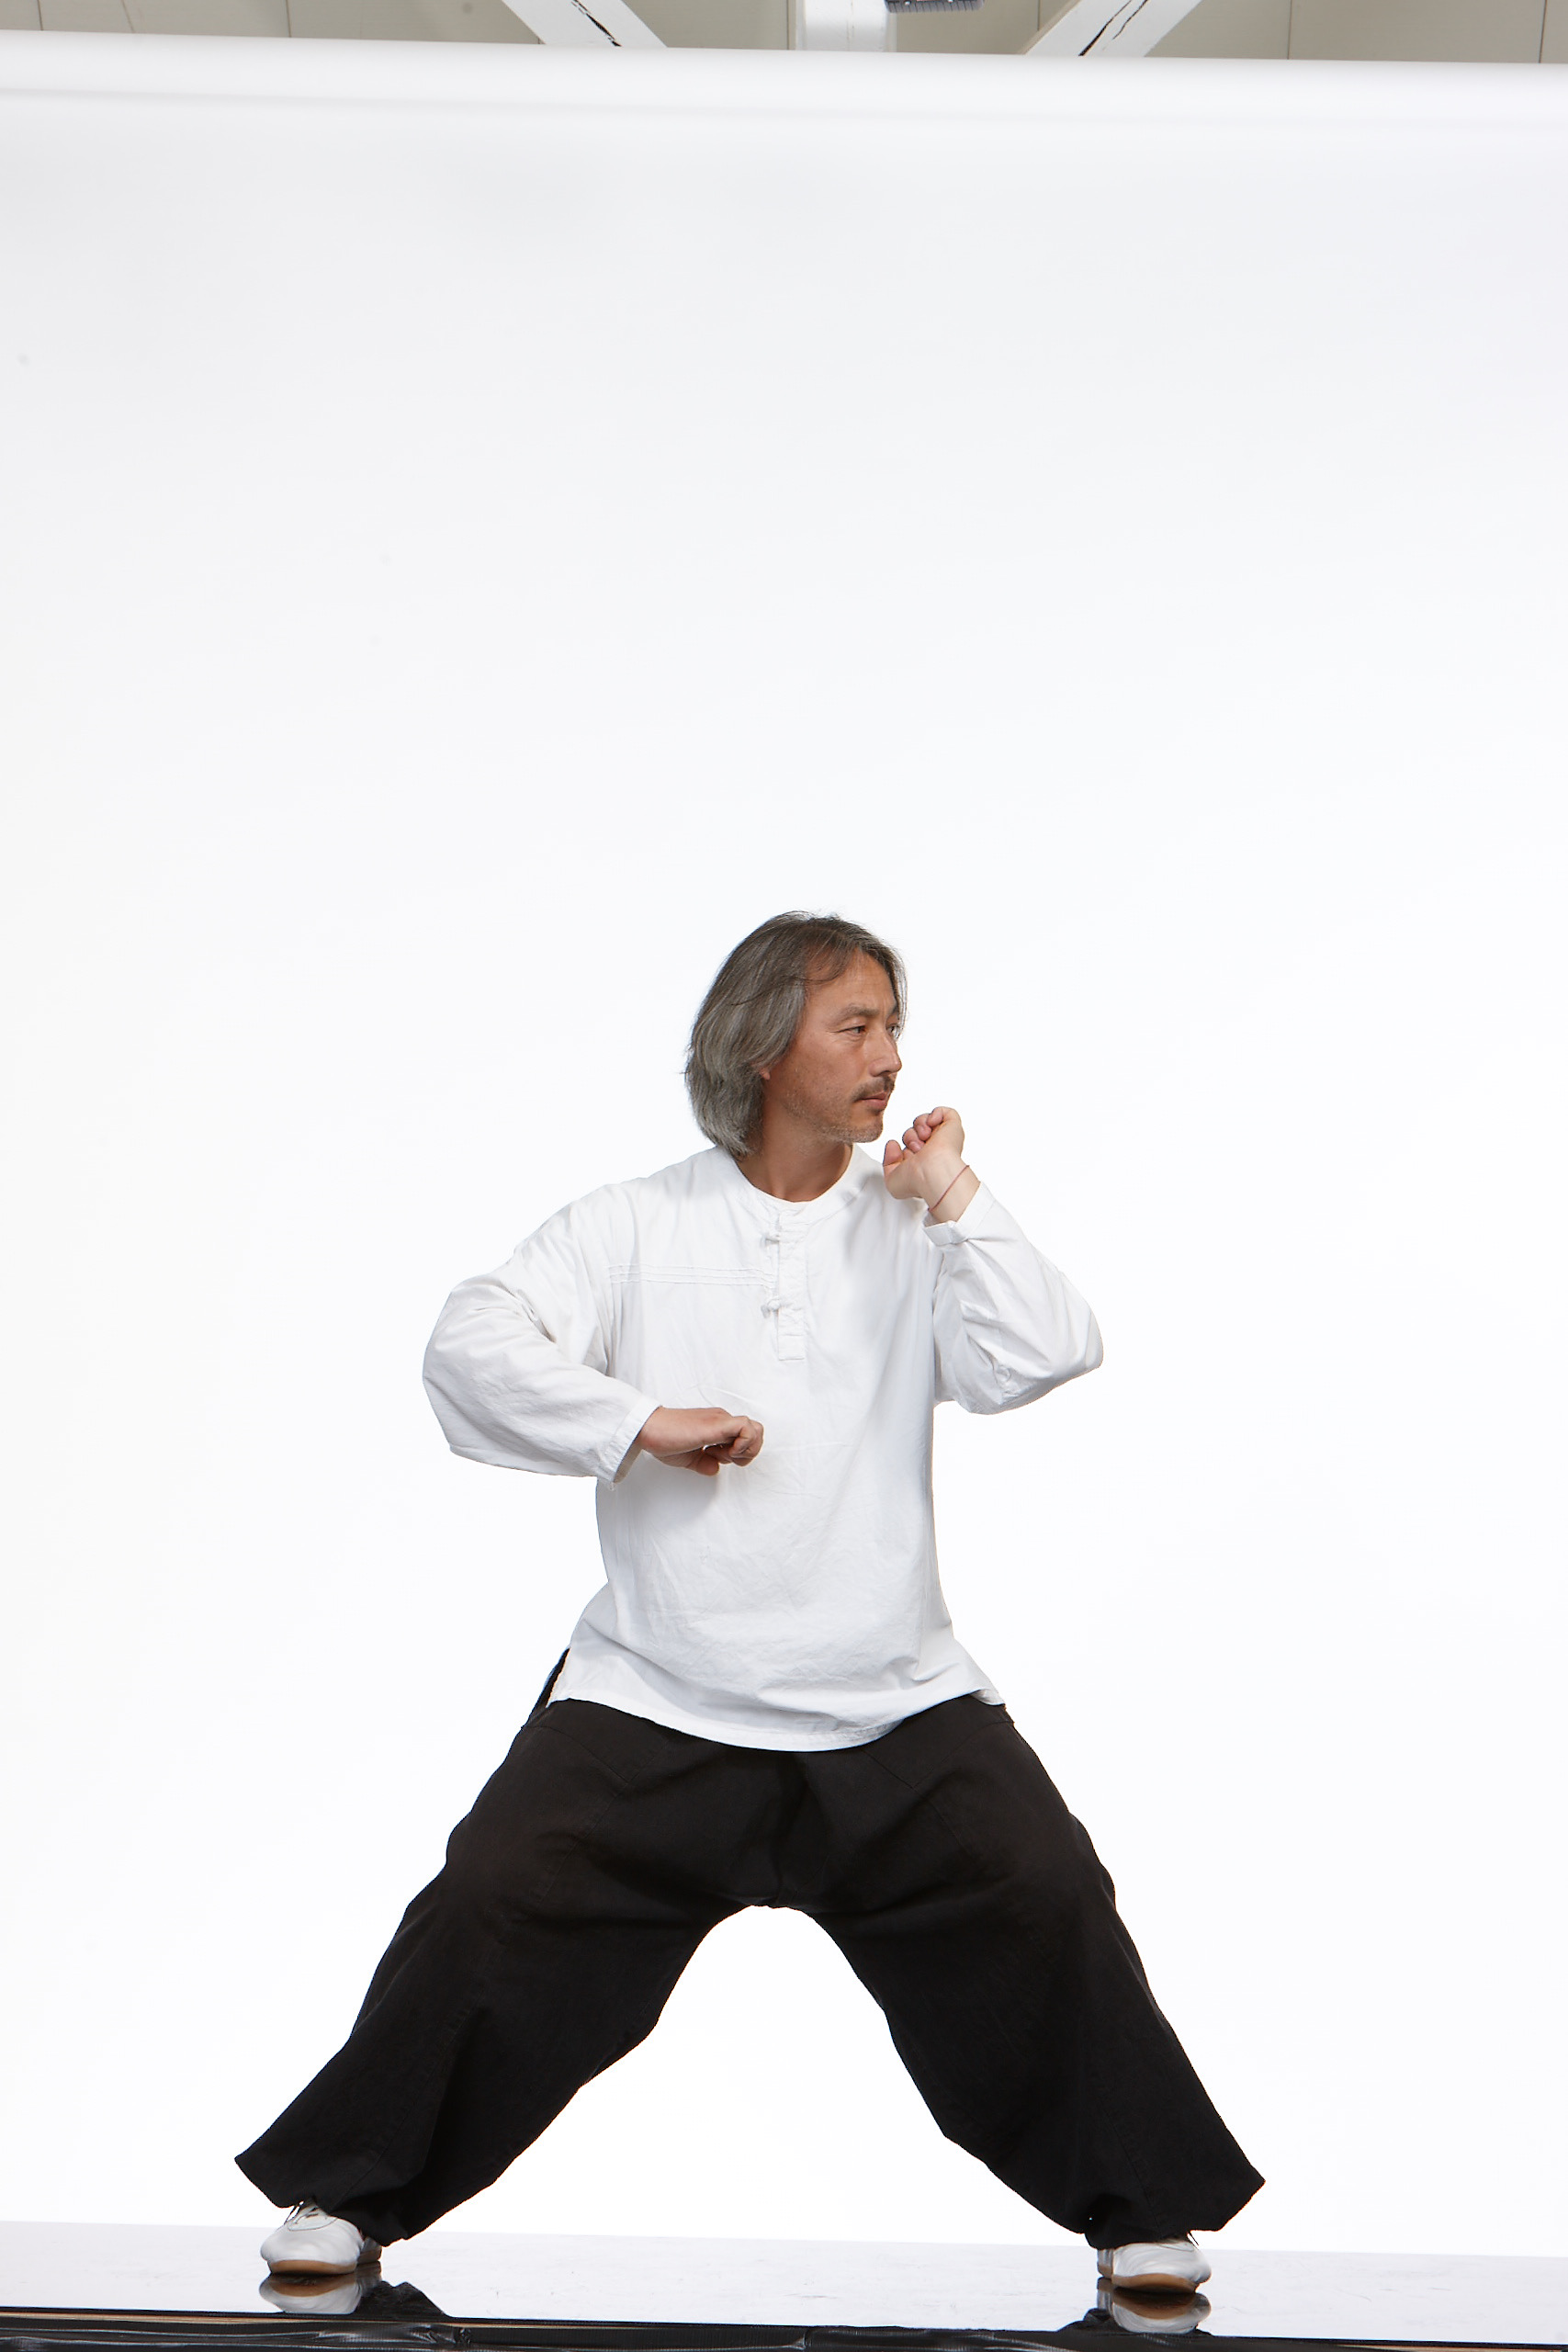
Start with your feet. Stand with your feet about 1.5 times shoulder-width apart, toes pointing forward or turned out just slightly – no more than 15 degrees. Press the whole foot into the ground. Your toes can grip the floor lightly, but do not rise onto your toes, and do not let your heels float. If you practice barefoot at home and your feet keep sliding, switch to thin, flat-soled shoes. A stable base changes everything.
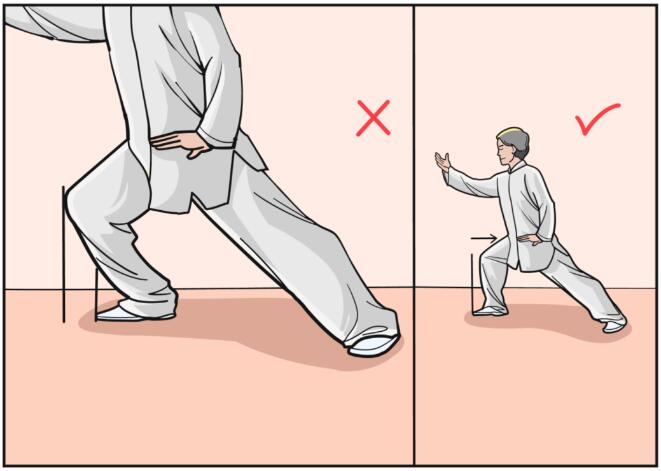
Next, set your depth. Beginners do not need to squat until their thighs are parallel to the floor. Bend your knees to about 120 degrees – a half squat. Your thighs should feel the effort, but you should still be able to breathe steadily. That is the right starting point. As you sink down, track your knees over your second and third toes. Never let your knees collapse inward, and do not push them far past your toes either. Knees caving inward is the single most damaging horse stance habit; if your inner knees feel sore after practice, this is usually why.
Your upper body matters just as much. Keep your chest open without thrusting your belly forward, and let your back stay naturally straight. Imagine a thread gently pulling the crown of your head upward, and tuck your chin slightly. Your hands can rest as fists at your waist, or you can extend both palms forward at shoulder height. Look straight ahead. Breathe naturally – let your belly rise slightly as you inhale and fall slowly as you exhale. One minute of relaxed breathing beats three minutes of holding your breath and muscling through.
From 30 Seconds to 5 Minutes: How to Build Duration
Horse stance training is not a contest for who can last longest. The real test is whether your posture stays the same from the first second to the last. A simple rule: if your lower back starts sagging, your knees start trembling, or your feet start shuffling, you have already passed your limit for the day. Stop there.
Week one, keep the target deliberately low: 30 seconds per set, three sets a day, with one minute of walking between sets to relax. The goal at this stage is to memorize the foot position and knee direction, not to test your endurance. If you sit at a desk all day, you may find your thighs burning after just 20 seconds on day one. That is normal. The quadriceps and glutes doing the work are muscles your chair rarely asks much of.
In weeks two and three, extend each set to one minute, three to four sets a day. Only move up when you can hold a full minute for three consecutive days with steady breathing and no knee discomfort afterward. From week four onward, try two-minute sets, two to three times a day. After two or three months of consistent, well-aligned practice, a single set of three to five minutes is a realistic level. There is no need to chase ten minutes or more.
For reference, here is how martial arts schools usually pace beginners. A coach typically starts new students with a wall-supported half squat to find the feeling, then moves them off the wall into a free stance. Teenage students training three times a week do fine with five to eight minutes of total stance time per session. Adults training daily will already notice stronger legs and steadier standing after about ten minutes of total daily practice. Mild thigh soreness the next day is a normal muscle response. But if walking up and down stairs stays painful for more than three days, or if your knees keep giving a sharp pain, stop and check your posture before continuing.
Five Common Mistakes, and How to Fix Each One
Mistake 1: Knees collapsing inward. As you sink down, both knees drift toward each other, and the inner knees quickly feel tight. Fix it by deciding your knee direction before you squat: knees open toward the toes. A resistance band looped around the outside of your thighs also helps – actively push your knees outward against the band, and you will learn the feeling within a few sessions.
Mistake 2: A sagging back and sticking-out hips. Your upper body tips forward, your lower back sags like a bow, and your waist aches the next day. Fix it by tightening your core before you sink down, as if someone were gently pushing your lower back and you had to hold your ground with your abdominal muscles. Practicing in front of a mirror helps too: a quick glance tells you whether your back is one straight line.
Mistake 3: Toes pointing inward, or turned out too far. Toes pointing inward twist the knees awkwardly; toes turned out more than 30 degrees make your ankles unstable. Fix it before you start the clock: look down, check that your feet are nearly parallel with only a slight outward turn, and only then begin counting.
Mistake 4: Holding your breath. You clench your jaw, hold your breath, your face turns red, and you feel dizzy when you stand up. Fix it by putting your attention on breathing: silently count three seconds in, three seconds out. The moment your breathing falls apart, the intensity is too high. Stand up and rest.
Mistake 5: Jumping the volume overnight. Yesterday you held one minute; today you attempt five, and your knees hurt for a week. Fix it with a steady rule: add only 20 to 30 seconds per week, and change only one variable at a time – either the duration or the number of sets, never both at once.
A 15-Minute Daily Routine
Warm up for three minutes: walk in place for one minute, then spend one minute each on your ankles and knees. Circle each ankle ten times in both directions, and do ten small, gentle knee bends. Skip deep squats as a warm-up – loading cold joints hard is the fastest way to feel uncomfortable.
Then train for eight minutes: hold the stance for one minute, stand up and walk slowly for one minute, and repeat for four sets. After each set, check three things: are your knees pointing the right way, is your back still straight, and is your breathing steady? If any one of them is off, drop the next set back to 30 seconds and recover the posture first.
Finish with four minutes of cool-down: one minute of front-thigh stretching against a wall, one minute of glute stretching, and two minutes of slow walking. Do not sit down right away after training. Two minutes of gentle walking lets blood flow ease out of your legs, and the next day’s soreness will be noticeably lighter. On a busy day you can cut back to two sets, but do not skip the warm-up and cool-down. Skipping the warm-up hands the injury risk straight to your knees and lower back.
Quick Answers
How wide should my feet be? About 1.5 times shoulder-width apart, toes forward or turned out no more than 15 degrees. Wider is not automatically better – a stance you cannot hold steadily is too wide.
How deep should I squat as a beginner? Aim for a half squat with knees bent to about 120 degrees. Thighs parallel to the floor is an advanced target, not a starting point.
How long should I hold it? Start with 30-second sets, three times a day. Build to one minute in weeks two and three, then two minutes from week four. Add 20 to 30 seconds per week, and only change one variable at a time.
Why do my knees hurt instead of my thighs? Most often, your knees are collapsing inward or pushing too far past your toes. Fix the knee direction first, and reduce depth and duration until the pain stops.
Is soreness the next day normal? Mild thigh soreness is normal. Sharp knee pain, or soreness that makes stairs difficult for more than three days, is a sign to stop and reassess your posture.
Do I need special equipment? No. Thin, flat-soled shoes and a mirror are enough. A resistance band is a useful optional aid for learning to keep your knees out.
The Bottom Line: Get It Right First, Then Go Longer
The order of horse stance training has only one rule: correct posture first, and duration will follow on its own. With wrong posture, the longer you stand, the deeper the bad habit goes. Three numbers are enough to remember: feet 1.5 times shoulder-width apart, 30 seconds per set to start, and no more than 30 seconds of added duration per week. Fifteen minutes a day for a month, and most people notice a steadier base, legs that no longer feel weak on stairs, and a body that stops swaying when standing still.
Start today: find a mirror, hold one 30-second set, and check yourself against the five mistakes above. If you can finish 30 seconds with steady breathing and no knee pain, you are ready for the one-minute plan in week two. Do not compare your time with anyone else’s. Compare your posture with last week’s – that is the progress that actually counts.
Safety note: build up gradually and stay within a pain-free range. If your knees or back hurt, stop. If you have a history of joint problems or are recovering from an injury, consult a professional before starting. This article is traditional martial arts education, not medical advice, and it makes no promise of health benefits. If pain persists, stop training and seek medical attention.