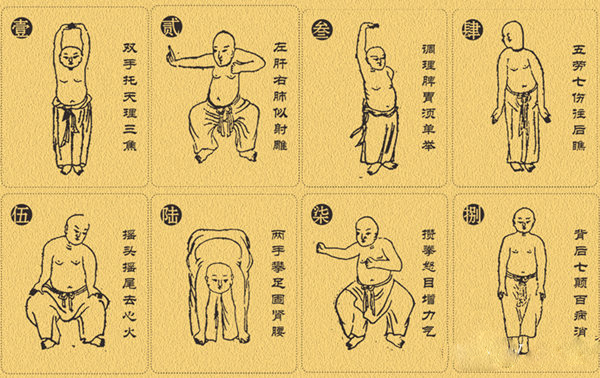
At seven in the morning, a woman in her sixties finished breakfast in a neighborhood park and stood up feeling bloated and heavy in the stomach. She did three slow rounds of a single, simple movement. After the third round she let out a small burp, and the pressure eased noticeably. She was not doing anything athletic or complicated. She was practicing the third movement of Baduanjin, known in Chinese as “Tiaoli Piwei Xu Danju”, which translates roughly as “Regulate the Spleen and Stomach by Raising One Hand.”
Baduanjin, often translated as the “Eight Pieces of Brocade”, is a traditional Chinese health exercise made up of eight gentle, flowing movements. People have practiced it for centuries as a daily routine for flexibility, balance, and relaxation, much like a slow morning stretch combined with mindful breathing. It is a calm, standing warm-up that anyone can learn in a few minutes.
This article focuses on just one of those eight movements, and it is worth learning well. The movement looks almost too simple: one hand rises overhead while the other presses downward. Done correctly, it opens the chest, stretches the sides of the torso, and loosens stiff shoulders and upper back. Done carelessly, it becomes nothing more than shrugging your shoulders and holding your breath, which is why so many beginners feel nothing from it, or feel worse afterward.
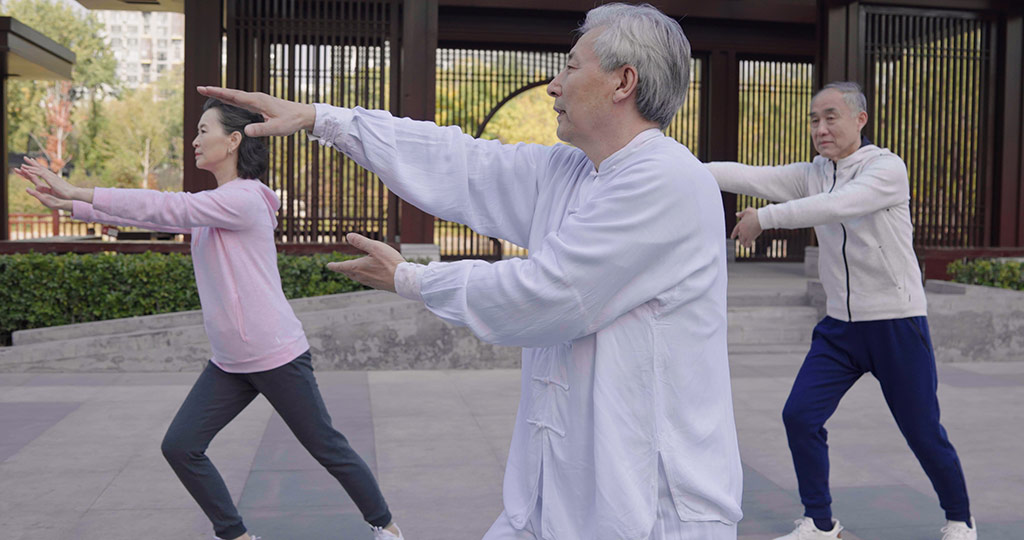
What “Regulating the Spleen” Means Here
In traditional Chinese medicine, the “spleen” does not mean only the anatomical organ Western medicine describes. It refers to a broader functional system connected with digestion, appetite, and the feeling of heaviness or sluggishness after eating. When a traditional text says a movement “regulates the spleen and stomach”, it is describing an exercise meant to support comfortable digestion and a relaxed abdomen, not a cure for a digestive disease.
That distinction matters. The movement gently stretches the front and sides of the torso, encourages deeper breathing, and moves the shoulders and spine through a full, slow range of motion. For many people, that combination simply feels good after a meal or after sitting too long: the chest opens, the waist feels less compressed, and breathing becomes easier.
The movement also needs no equipment, no floor space beyond standing room, and no special clothing. You can do it in a park, a living room, or a quiet office corner, as long as you have room to raise one arm overhead.
Step 1: The Starting Stance
Before your hands move at all, get your feet and posture right. Everything else depends on this foundation.
- Feet: Stand with your feet shoulder-width apart, toes pointing forward, knees slightly bent rather than locked straight. Imagine your weight spread evenly across both feet.
- Arms: Let both arms hang naturally at your sides, palms facing inward toward your thighs.
- Head and shoulders: Imagine a thin string gently pulling the crown of your head upward. Tuck your chin slightly, drop your shoulders down and away from your ears, and relax them. Do not force your chest out or arch your back.
- Settle: Take two natural breaths. Feel your feet planted firmly on the ground and your body steady, not swaying. Only start the movement from this stable position.
Many beginners skip this step and lift their hands while their feet are still unsettled. The result is predictable: the upper body wobbles and the shoulders creep upward before the movement even begins.
A quick self-check helps. Ask someone to look at you from the side, or check in a mirror: your ear, shoulder, and hip should sit roughly on one vertical line. If your lower back is swaying inward and your belly pushes forward, or your hips tilt backward, adjust your pelvis back to a neutral position first. Fix the stance, then lift.
Step 2: The Movement, One Side at a Time
From the starting stance, slowly raise both hands from your sides up to chest height, then turn your palms over: the left palm faces up and the right palm faces down. Take about two seconds for this turn. Do not flick or throw your hands into position.
- Left hand rises: Lift your left hand upward along the center line of your body, palm facing up, fingers pointing toward the right. Raise it above your head, with the arm nearly straight but the elbow kept slightly soft, never locked hard. At the same time, press your right hand downward along the right side of your body, palm facing down, until it reaches the outside of your thigh, fingers pointing toward the floor.
- The stretch: Think of the rising hand as holding a tray and gently pushing it upward, while the pressing hand pushes down against an invisible tabletop. These two opposite forces pull the torso open in both directions. Hold this stretched position for about three seconds. You should feel a mild stretch under the raised arm and along the side of your waist.
- Switch sides: Slowly bring both hands back to chest height, turn the palms over, and repeat with the right hand rising and the left hand pressing down. Hold for another three seconds. One round on each side counts as one set.
For beginners, four to six sets is a good session, which means two to three rounds per side, taking roughly three to five minutes in total. Let comfort set your range of motion. If you cannot comfortably raise your arm all the way overhead, stop at ear height. Reaching higher by straining your shoulder defeats the purpose.
Step 3: Breathing and Gaze
Breathing is the part of this movement most often ignored, and it is also the part that makes the biggest difference. Without it, the exercise is just arm waving. With it, the whole torso participates.
The pattern is simple. As your hands rise and your palms turn over, breathe in slowly through your nose until your chest and abdomen feel gently full. During the three-second hold, keep breathing evenly and quietly; do not hold your breath while you stretch. As your hands return to chest height, breathe out slowly through your mouth, making the exhale slightly longer than the inhale: about three seconds in and four seconds out.
Your eyes should follow the rising hand. As the hand goes up, look forward and slightly upward in the direction of your fingers. Do not look down at your feet, and do not crane your neck back to stare at the ceiling. Keep your head upright and move only your eyes. The moment your gaze wanders, your neck tends to tilt, and your shoulders usually shrug up with it.
Step 4: Closing the Practice
When you have finished your sets, do not walk away or sit down immediately. Slowly lower both hands to your sides, palms facing inward, and stand quietly for about thirty seconds. Take two deep breaths and let your heart rate and breathing settle back to normal. Then gently roll your shoulders, circle your wrists, and rotate each ankle a couple of times.
People who skip this closing step sometimes feel dizzy right after practice. In most cases the cause is simply moving off too quickly before the body has settled. Thirty seconds of stillness prevents that.
For about half an hour after practice, avoid eating a large meal or drinking ice-cold water. If you practice on an empty stomach in the morning, take a few sips of warm water first, rest for ten minutes, and then eat breakfast.
Common Mistakes and How to Fix Them
- Shrugging the shoulders: The moment the hand rises, the shoulder climbs up toward the ear, the neck shortens, and the neck and shoulders feel more tense afterward, not less. Fix it by dropping your shoulders before you lift, as if they were sinking toward your pockets, and checking their position every couple of seconds during the hold. If they have crept up, lower them and start the round again.
- Collapsing the lower back: Pressing hard with the downward hand can make the waist cave forward and the belly push out, loading the lower back. Fix it by engaging your abdomen at roughly thirty percent effort, as if tightening a loose belt, and keeping the waist straight. A collapsing waist usually means the core is not engaged, not that the hands are doing something wrong.
- Holding your breath: During the three-second hold, many people unconsciously stop breathing, turn red in the face, and feel dizzy afterward. Fix it by reducing the range of motion and shortening the hold to two seconds. Keep the breath flowing first, and only lengthen the hold once breathing stays smooth.
- Moving only the arms: The arms go up and down while the waist and hips stay completely still, so all the stretch lands in the shoulders. Fix it by imagining the side of your waist lengthening as the hand rises, and letting your hips settle slightly downward as the other hand presses. The spine should take part in the movement.
- Going too fast: Ten sets in one minute, driven entirely by momentum, trains nothing. Fix it by pausing for one second between sets and counting slowly to yourself to keep the rhythm down. Doing two fewer sets at the right speed is far better than rushing through extra ones.
Building a Daily Habit
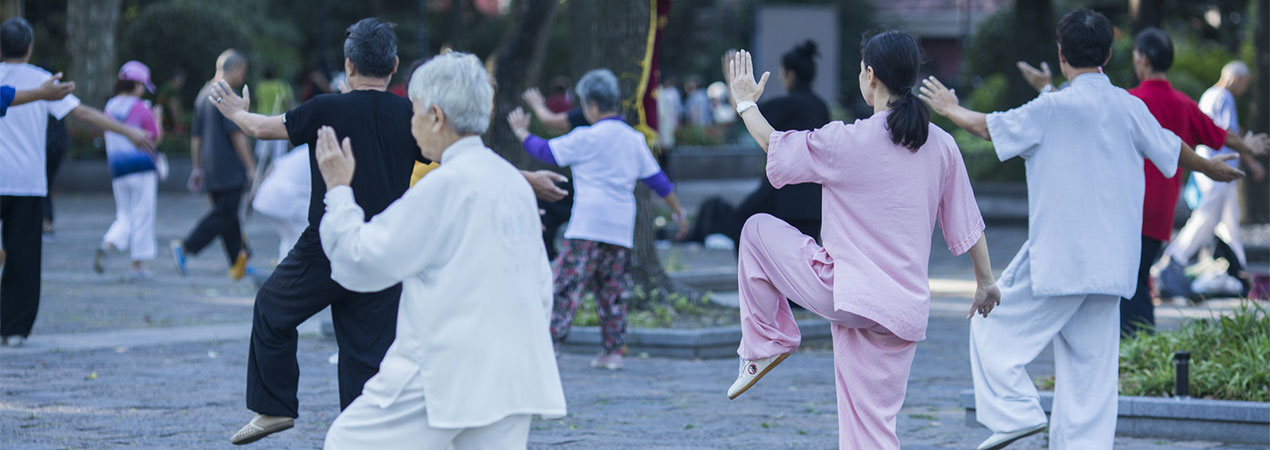
The value of this movement is not in its difficulty. It is in the fact that you can do it every day, and do it correctly, in just a few minutes. Pick a fixed time, morning or early evening, and practice four to six sets, about three to five minutes. If you finish feeling that your shoulders are looser and your breathing is easier, that is the right amount.
Do not worry if one side feels stiffer than the other. If your left hand always rises a little lower than your right, do not force them level. Note it, finish your practice, and spend two minutes circling your shoulders afterward. The gap usually narrows over the following sessions. The two sides of the body are never perfectly symmetrical, and the goal is to let the weaker side gradually catch up, not to force symmetry on day one.
Quick Answers
How long does one session take? About three to five minutes for four to six sets, including the starting stance and the closing stillness. It fits easily into a morning routine or a break from desk work.
When is the best time to practice? Morning or early evening both work well. The key is consistency at a fixed time rather than any particular hour. Avoid practicing immediately after a large meal.
What if I cannot raise my arm overhead? Stop wherever it feels comfortable, even at ear height. The stretch and breathing matter more than the height of the hand, and range of motion usually improves gradually with regular practice.
How soon will I notice a difference? Many people notice looser shoulders and easier breathing within the first week. Steadier balance and a more natural rhythm between movement and breath tend to appear after two to four weeks of daily practice.
Is this a replacement for medical care? No. It is a gentle daily exercise, not a treatment. It can complement a healthy routine, but it cannot replace professional advice or medication for any condition.
Safety note: Practice within your own limits and keep every movement pain-free. If you have a lumbar spine condition, a shoulder injury, high blood pressure, or frequent dizziness, consult a doctor before starting. Stop immediately and rest if you feel chest tightness, dizziness, or joint pain during practice. This is a traditional fitness exercise for daily wellbeing. It does not promise any therapeutic effect and is not a substitute for medication or professional medical care.