Picture a Saturday morning in the park. The group in front of you flows smoothly from one posture to the next, but you are stuck: you sailed through the first eight moves, then froze at move nine, and by move seventeen you are just guessing. You have practiced for two months, so why does the sequence keep slipping away?
The problem is almost never your memory. It is your method. The 24-Form Simplified Tai Chi — a standardized routine created in China in 1956 so that beginners could learn Tai Chi in a compact, approachable set — was designed in three blocks of eight. Memorize the skeleton of each block, and the individual moves have somewhere to hang.
This guide uses the chunking method: learn each block separately, anchor it with one or two landmark moves, then link the blocks together. By the end of one week, most people can walk through all 24 forms in order, even if the details still need polishing.
Block One: Moves 1 to 8 — Get the Stance Right
Block one has eight moves: Commencing Form, Parting the Wild Horse’s Mane (left and right), White Crane Spreads Its Wings, Brush Knee and Push (left and right), Playing the Lute, Step Back and Repulse Monkey (left and right), Grasping the Sparrow’s Tail (left), and Grasping the Sparrow’s Tail (right). This block has a single job: to teach you the basic Tai Chi body — shoulders dropped, elbows sunk, knees bent, hips relaxed, and weight shifting smoothly from foot to foot.
Here is the shortcut: treat every “left and right” pair as one item. Parting the Wild Horse’s Mane happens once on each side, Brush Knee and Push happens once on each side, and Repulse Monkey happens once on each side. Those three symmetrical pairs cover most of the block. What you actually need to memorize individually is just four moves: Commencing Form, White Crane Spreads Its Wings, Playing the Lute, and Grasping the Sparrow’s Tail.
The classic beginner mistake in block one is collapsing the lower back in the Commencing Form. Stand with feet shoulder-width apart, raise both arms slowly to shoulder height, and imagine a thread gently lifting the crown of your head while your tailbone tucks slightly inward. Your back should be upright, not arched forward with your belly pushed out. Practice only block one for five days, 15 minutes a day, and move on only when it feels smooth. That beats rushing through all 24 forms in one sitting every time.
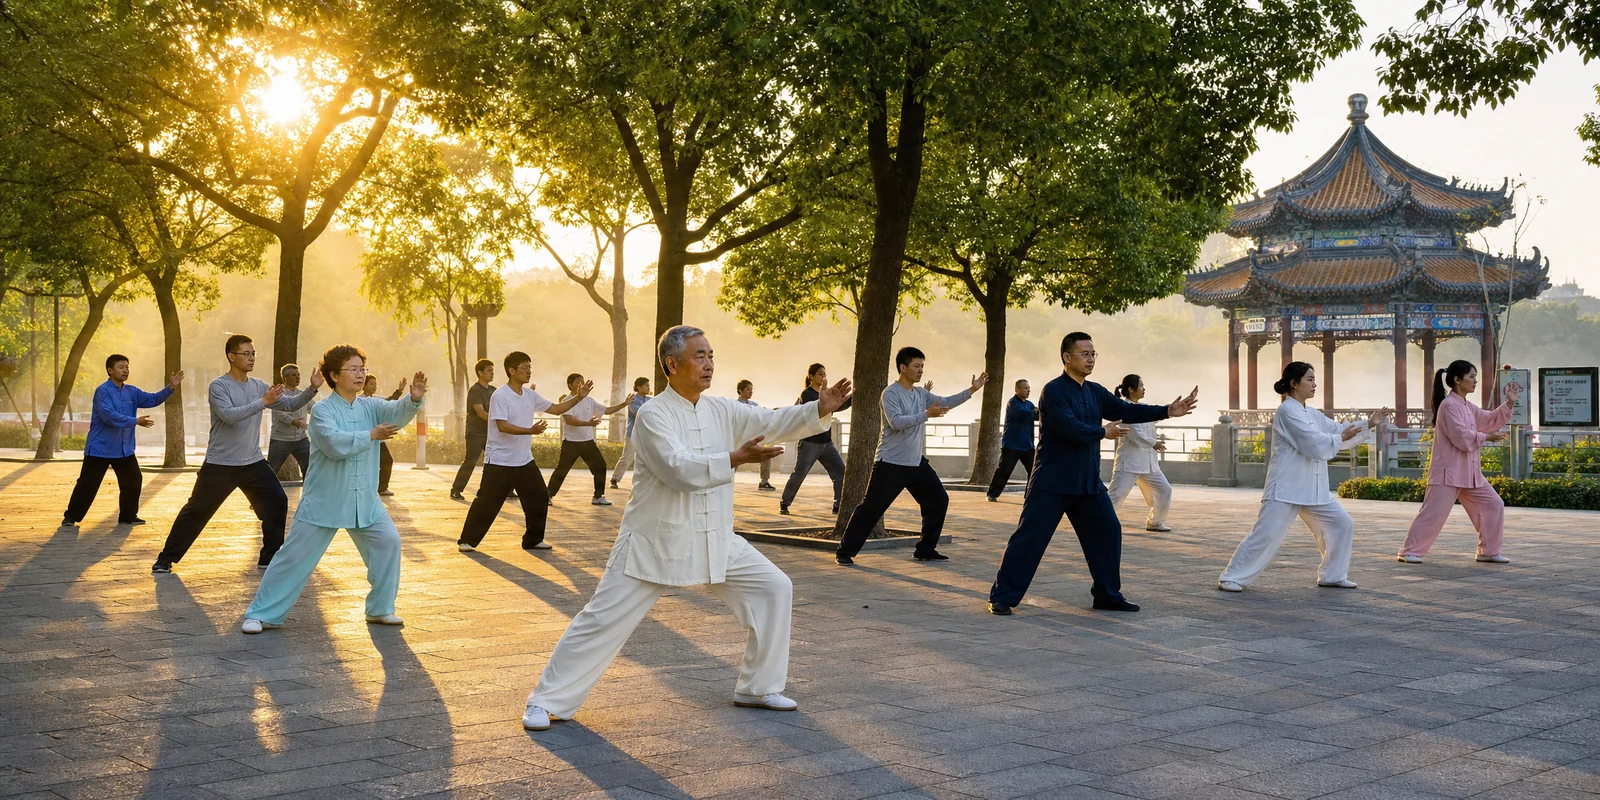
Block Two: Moves 9 to 16 — Use Single Whip as Your Landmark
Block two also has eight moves: Single Whip, Cloud Hands, High Pat on Horse, Right Heel Kick, Striking the Ears with Both Fists, Turn and Left Heel Kick, Left Lower Posture and Golden Rooster Stands on One Leg, and Right Lower Posture and Golden Rooster Stands on One Leg. The footwork gets busier here, and many people lose the thread at Cloud Hands. The fix is to grab two landmarks: Single Whip and Striking the Ears with Both Fists.
Single Whip opens the block and is one of the most recognizable postures in the whole routine: your left hand forms a hook hand, your right palm pushes forward and to the right, and your body opens like a drawn bow. Cloud Hands follows immediately, repeated three times — both hands draw circles in front of your chest while your weight sways side to side and your feet step sideways. High Pat on Horse, Right Heel Kick, and Striking the Ears with Both Fists form a single attack-and-defense sequence. Remember it as “probe with the pat, strike with the kick, finish with both fists” and the order stops flipping around.
The hard part of block two is the Lower Posture and Golden Rooster combination. In Left Lower Posture, one leg squats low while the other extends flat along the ground; then you rise onto a single leg. It demands real leg strength and balance, so beginners do not need to squat deep. Squat only as low as you can stand steadily, and hold a railing or chair back if you wobble. Get the path of the movement right first, then deepen it gradually. In Turn and Left Heel Kick, you turn roughly 180 degrees into the next Lower Posture: let your eyes look toward the new direction first, then let your body follow. When the head and body turn out of sync, dizziness follows.
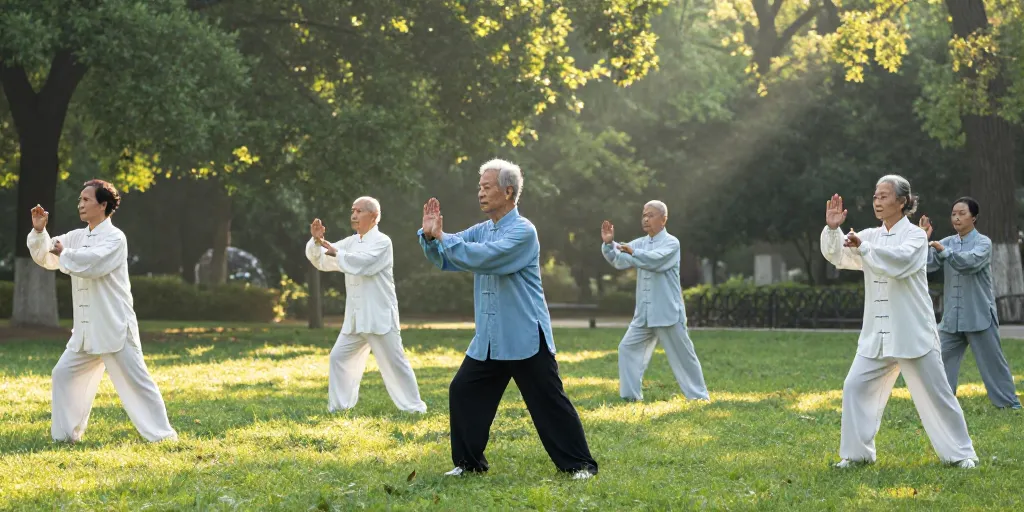
Block Three: Moves 17 to 24 — The Ending Is the Easiest to Drop
Block three is another eight: Right Fair Lady Works at Shuttles, Left Fair Lady Works at Shuttles, Needle at Sea Bottom, Flash the Arm, Turn and Strike with Fist, Apparent Close-Up, Cross Hands, and Closing Form. The move people drop most often is the second Fair Lady: right and left are a pair in opposite directions, and many practitioners finish the right side, jump straight to Needle at Sea Bottom, and forget the left one entirely.
One sentence strings the whole block together: “Two shuttles, needle into the sea, flash the arm, punch with the turn, close it up, cross the hands, close the form.” Needle at Sea Bottom means leaning slightly forward and pressing the right palm downward, as if scooping something out of water — the range does not need to be large. Flash the Arm is a push-and-pull: the left palm presses forward while the right palm draws back. In Turn and Strike with Fist, the three words are three actions: “ward off” deflects the opponent’s hand, “block” stops the incoming force, and “punch” is the strike itself. Do not blur them into one vague motion.
Closing Form is the most neglected move and the one most worth doing properly. Let both arms sink slowly, bring your feet together, slow your breathing, and stand still for 30 seconds before walking away. Plenty of people finish a morning set and head straight to the market; those 30 seconds are the buffer that lets your body shift calmly out of exercise mode. Do not skip them.
Five Common Mistakes — Check Yourself Against These
Mistake 1: Knees past the toes. In a bow stance, the front knee drives too far forward and the pressure on the knee spikes. Fix: once you are in the stance, glance down — the front knee should point in the same direction as the toes, not visibly beyond them. Knees collapsing inward is the same family of problem: knees follow the toes, always.
Mistake 2: Hunched shoulders, raised elbows. As soon as your hands rise, your shoulders ride up with them, and after ten minutes your neck aches. Fix: before every hand lift, drop your shoulders once, as if they were falling downward. Keep the elbows pointing slightly down and leave a little space under each armpit instead of clamping the arms tight.
Mistake 3: Weight bobbing up and down. Halfway through a move you pop up, then drop sharply into the next one, and the whole set looks jumpy. Fix: keep your knees slightly bent at a constant height all the way through, and shift your weight as if you were carrying a bowl of water — the water must not spill, so your body cannot bounce.
Mistake 4: Hands move, waist does not. In Playing the Lute and Cloud Hands, the hands turn but the waist stays still, and the result looks like gymnastics rather than Tai Chi. Fix: in Cloud Hands, turn the waist first — the hands are carried by the waist, the waist turns as far as the hands follow, and the eyes follow the hands.
Mistake 5: Holding your breath on the hard moves. Heel kicks and lower postures make you hold your breath until your face turns red. Fix: inhale as a move opens, exhale as it exerts force. If you cannot keep up, slow the whole routine to half speed and let your breathing settle before speeding up again.
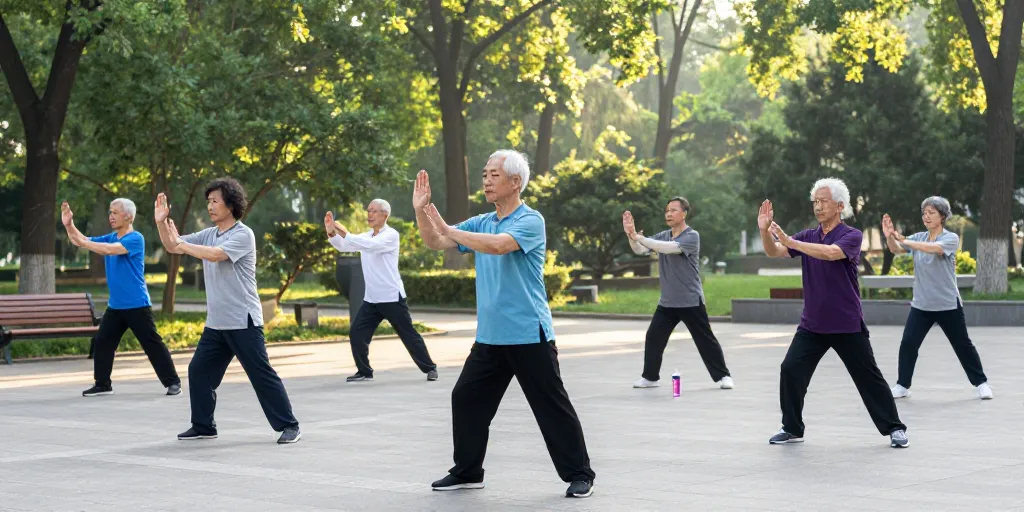
The One-Week Memory Plan: 20 Minutes a Day Is Enough
Days 1 and 2: block one only, three rounds per session, focusing on getting the three symmetrical left-right pairs smooth. Days 3 and 4: add block two — walk through block one first, then block two, two full rounds a day. Days 5 and 6: add block three the same way, always reviewing the earlier blocks first. Day 7: run the full set twice, and deliberately slow down the second round to check whether any of the five mistakes above have crept back.
The key is “split first, link later.” When you split, you only have to solve eight moves a day, which keeps the pressure low and the memory firm. When you link, you always start from block one, so the old moves never get crowded out by the new ones. After a week, most people can complete the full 24 forms on their own. The moves will not be perfect yet, but the order will hold — and from there, the details can be refined slowly.
The 24 forms are not hard to memorize; what fails is memorizing without a system. Cut the set into three blocks of eight, anchor each block with one or two landmarks — Grasping the Sparrow’s Tail in block one, Single Whip and Striking the Ears in block two, Fair Lady Works at Shuttles and Strike with Fist in block three — then run the five-mistake checklist on your knees, shoulders, weight, waist, and breathing. Fix those five places and the whole routine immediately feels smoother.
Start today: find a patch of open ground, practice block one for 15 minutes, and repeat at the same time tomorrow. Walk through the seven-day plan, and do not worry about imperfect form — get the order solid first, and polish the details in the weeks that follow.
Quick Answers
How long does it take to memorize all 24 forms? With the chunking method and 20 minutes a day, most beginners can walk through the full sequence in order within a week. Getting the moves clean and relaxed takes longer — think months, not days — and that is normal.
What if I forget a move halfway through? Return to the last landmark you remember — Single Whip, Striking the Ears, or Fair Lady Works at Shuttles — and restart from there. Landmarks exist precisely so a slip does not cost you the whole set.
Do I need to squat deep in the lower postures? No. Squat only as low as you can stand steadily, and use a railing for support while you learn. Depth comes with leg strength; forcing it risks your knees.
Is it better to practice slowly or at normal speed? Slowly, especially in the first weeks. Speed hides mistakes; slowness exposes them so you can fix them. Once the order is automatic, the natural rhythm follows.
Can I practice every day? Yes — 15 to 20 minutes daily beats one long weekly session. Short, regular practice is exactly how the sequence moves from your notebook into your muscle memory.
Safety note: practice within your limits and keep every movement at a comfortable range. Do not force deep squats or hold single-leg stances longer than you can manage. If you have knee or lower-back discomfort, or any chronic condition, consult a doctor or a qualified instructor before starting regular practice. This article is for general fitness education only and makes no therapeutic claims.