It is 6:30 in the morning, and a dozen people are already practicing in the open space of a neighborhood courtyard. When the group reaches the second movement of Baduanjin, “Drawing the Bow to Shoot the Eagle,” the differences show up fast. One person stretches both arms straight but hikes their shoulders up to their ears. Another loses coordination the moment they switch sides, and the bow collapses halfway through the draw. Done right, this one movement leaves your shoulders and neck feeling loose. Done wrong, it leaves you tighter than when you started. This guide breaks the movement down piece by piece: how to stand, how to place your hands, how to breathe, and how to fix the mistakes most beginners make.
Baduanjin, often translated as the “Eight Brocades,” is a traditional Chinese health exercise made up of eight flowing movements. Qi, a core idea in this tradition, refers to the vital energy or life force that these slow movements are meant to cultivate and circulate through the body.
Stance First: Get Your Feet and Shoulders Right
Before you draw any bow, stand solid. Place your feet a little wider than your shoulders, roughly one fist-width beyond each shoulder, with your toes turned slightly outward and your knees soft, never locked. Many beginners sink into a very deep horse stance right away, their thighs shaking within seconds, and then wonder why their arms have no strength left. The stance here does not need to be deep. Bend your knees only far enough that your legs feel supported and you can stand still for 30 seconds without wobbling. That is enough. Keep your weight centered between your feet, neither leaning forward nor tipping back, and imagine a thread gently pulling the crown of your head upward while your chin tucks slightly in.
Let both arms hang naturally at your sides, palms facing inward, close to the outer thighs. Drop your shoulders on purpose. Try this once: breathe in and let your shoulders rise about one centimeter, then breathe out and let them fall, feeling the space open up between your shoulders and your ears. Hold that dropped-shoulder feeling through the whole movement. Even at the widest point of the draw, your shoulders must not creep back up. A simple check is to ask someone to look at you from the side: your ear, shoulder, and hip should sit close to one vertical line.
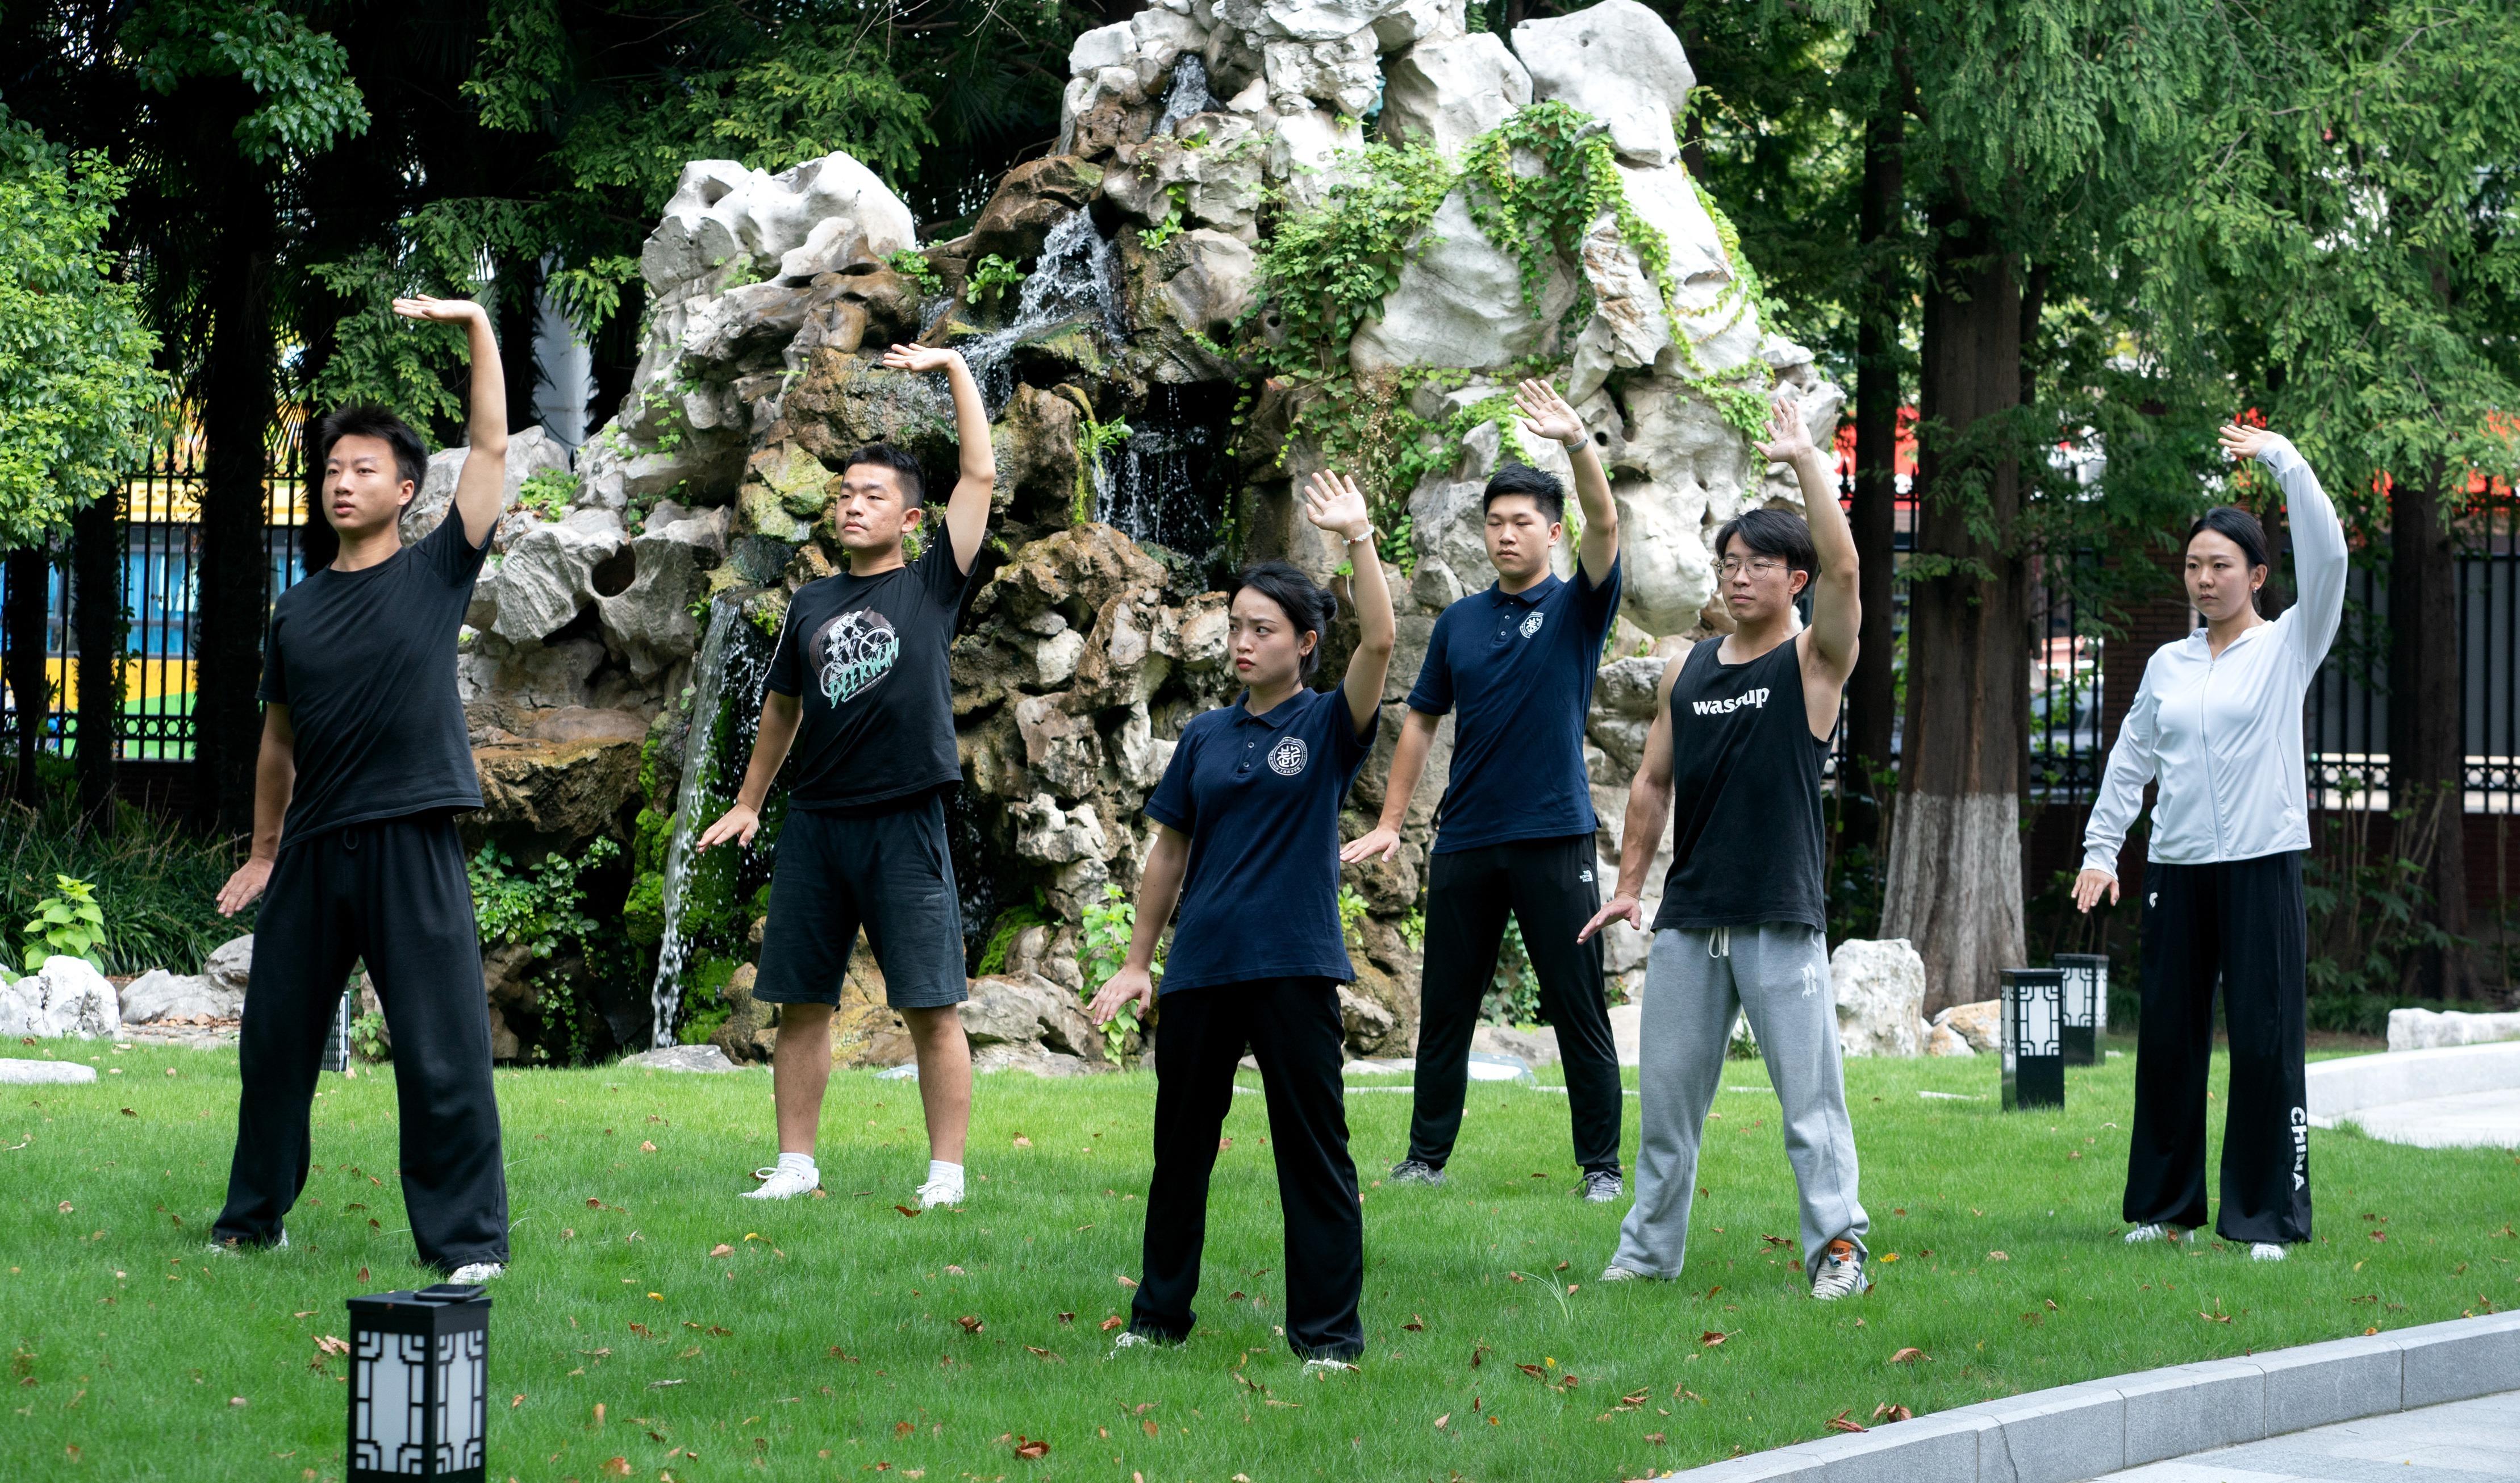
Drawing the Bow in Four Steps
Take the left-side draw as your example. Break it into four steps and do them one at a time. Do not rush.
- Left hand meets the wrist: Raise your left hand in front of your body, palm facing down, and rest it against the inside of your right wrist, roughly at chest height. This is a light touch, not a grip. Keep your fingers relaxed and your wrists in contact, like a small bridge resting across.
- Right fist pushes outward: Make a fist with your right hand, knuckles facing up, and push it out to the right from your left wrist until the arm is almost straight, keeping a slight bend in the elbow. The fist should travel on a level path, not drift upward, ending at about shoulder height.
- Left fingers pull the string: At the same time, draw your left hand out to the left, fingers curled into a claw shape, as if pinching an invisible bowstring and pulling it back. When the left arm opens fully outward, turn your eyes toward your left hand and gaze past your fingertips into the distance.
- Hold for two seconds, then return: At the widest point of the draw, hold still for 2 seconds. Feel your chest open and your upper back gently engage. Then slowly bring both hands back to your chest and repeat on the right side.
One draw on each side counts as one set. Beginners should rest for 10 seconds between sets. Think of it like a real archery draw: the pushing arm is the bow arm and the pulling hand is the string hand. Both sides work at the same time, or your body gets pulled off balance. If you have a mirror handy, check that both hands stay on the same horizontal line. If one hand sits more than a fist-width higher than the other, one side is doing less work than it should.
Breathing: Inhale to Open, Exhale to Close
Get the breathing wrong and the whole movement stiffens up. The rule here is simple: inhale as your hands draw apart, exhale as they return to your chest. Breathe in slowly through your nose, about 3 seconds, until your chest gently expands. Breathe out slowly through your mouth, also about 3 seconds. One complete left-and-right draw runs roughly like this: inhale for 3 seconds on the left draw, pause naturally for 1 second at the hold, exhale for 3 seconds on the return, then repeat the same rhythm on the right.
The most common mistake is holding your breath while straining. Some people unconsciously lock their breath at the widest point, their faces reddening, and then gasp once they release. The fix is to shrink the movement by about 20 percent. You do not need maximum range. Leave a little room, and your breath will flow again. After two weeks of smooth practice, you can gradually widen the range. Another common problem is breathing out of sync, where the hands have already returned but the exhale is still going. The fix is to count silently in your head, “one, two, three,” so your hands and your breath follow the same beat.
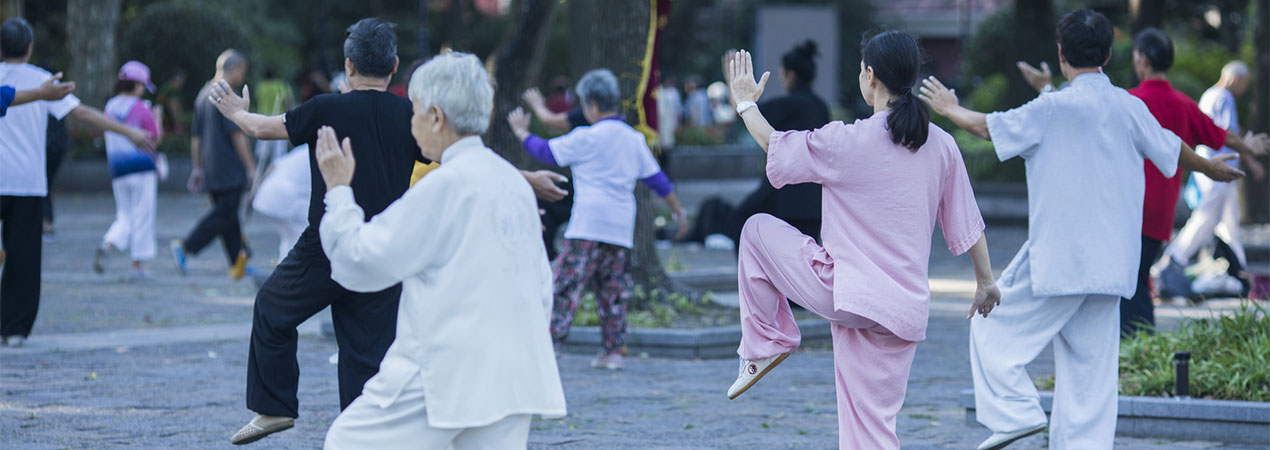
Common Mistakes and How to Fix Them
- Shrugged shoulders: Your shoulders climb higher as you draw. Fix it by dropping your shoulders deliberately before every draw and silently reminding yourself, “shoulders down,” during the movement. A smaller range with relaxed shoulders beats a wide range with tense ones.
- Sagging waist or thrusting belly: You arch your lower back or push your belly forward to reach farther. Fix it by gently engaging your lower abdomen and tucking your tailbone slightly inward, as if your lower back were resting against a wall. The power should come from your arms and upper back, not your waist.
- Arms moving but chest staying closed: Your hands open wide while your chest stays collapsed, which defeats the purpose. Fix it by consciously opening your chest forward and upward as you draw, letting your shoulder blades draw lightly toward each other. A gentle warmth across your upper back is a good sign you are doing it right.
- Uneven range left and right: Your dominant side reaches much farther than the other. Fix it by setting your range from the weaker side and letting the stronger side match it. Check again after two weeks to see whether the sides have evened out.
- Going too fast: Rushing through 20 repetitions in a minute turns practice into a chore. Fix it by treating one draw on each side as one set, taking at least 12 seconds per set. Six to eight sets a day is plenty. Quality matters more than quantity.
Try this quick self-check: after 4 sets in a row, your shoulders and neck should feel loose, and your arms mildly tired but not painful. If your shoulders feel tight or your neck feels stiff, shrugged shoulders or held breath are the likely culprits. Stop, adjust, and do not force yourself to finish the planned sets.
Quick Answers
How deep should my horse stance be?
Only as deep as you can hold steadily for 30 seconds without shaking. A stable, moderate stance is correct. A deep stance that wobbles is not.
How wide should I draw the bow?
Wide enough that your chest opens and your upper back engages, while your breath stays smooth. If you catch yourself holding your breath, narrow the range by about 20 percent.
How many sets should I do each day?
Six to eight sets, with one draw on each side per set and at least 12 seconds per set. Five minutes a day, done well, beats a rushed longer session.
What should I check in the mirror?
Three things: both hands on the same horizontal line, shoulders dropped away from your ears, and your gaze following your pulling hand past the fingertips.
When will it start to feel natural?
Most people feel the coordination click within about a week of daily practice. The draw becomes smoother on its own once stance, breath, and hand position stop competing for your attention.
Drawing the bow is not about how strong you are. It is about standing steady, drawing level, and breathing smoothly. Remember three points: keep the stance moderate enough to hold for 30 seconds, keep both hands at the same height and hold for 2 seconds at full draw, and let your breath follow the “inhale to open, exhale to close” rhythm. Try it today: find an open spot, do 3 slow sets on each side, then roll your shoulders and notice how open your chest feels. Practice five minutes a day for a week, and the movement will start to feel natural.
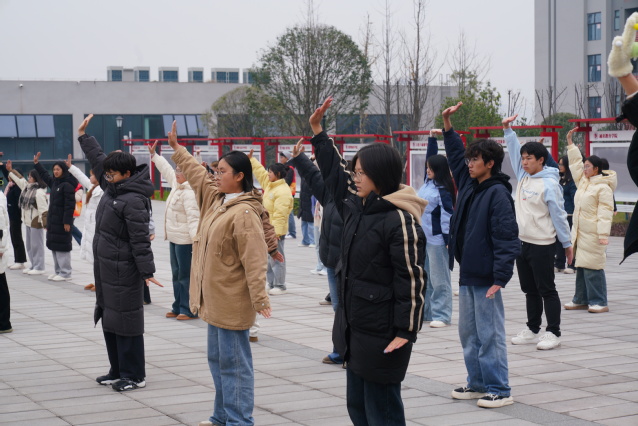
Safety note: Practice within your own limits and keep the range comfortable. Never force a movement to the point of pain. If you have an old shoulder, neck, or wrist injury, or if you feel pain, dizziness, or a racing heart during practice, stop immediately and rest, and consult a doctor or qualified instructor if needed. This article is cultural and general fitness information only. It does not promise any health benefit and is not a substitute for medical advice.