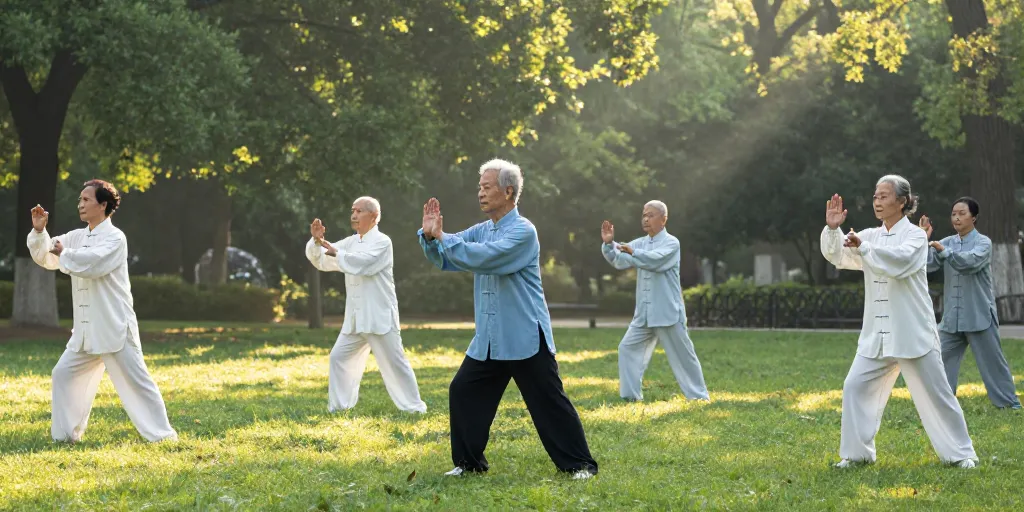
Picture a quiet corner of the park at 7 in the morning. A woman in her sixties is moving through the 24-form Tai Chi routine, slow and unhurried, until she reaches one particular move — and suddenly she hesitates. Her hands hover, unsure where to go. Her feet shuffle, unsure where to step. She pushes forward, and her whole body wobbles. If you have practiced the 24-form, you probably know exactly which move this is: Apparent Close-Up, the fourteenth posture, also called “Seal and Close.” It lasts only three beats. Get it right, and the whole idea of sealing and pushing in your Tai Chi falls into place.
Where Apparent Close-Up Fits: Picking Up from Brush Knee and Push
Apparent Close-Up is the fourteenth movement of the 24-form, and it follows directly after Brush Knee and Push. At the end of Brush Knee and Push, your weight sits on your right leg, your left foot touches the ground lightly in front, and your hands guard your chest, one forward and one back. From there, Apparent Close-Up begins without a pause: your left foot steps back half a pace, your right foot follows, your hands come together, and then both push forward.
Notice the reversal. Brush Knee and Push drives forward. Apparent Close-Up first draws back, then sends forward. The step back is not a retreat — it is a short gathering, like drawing a bowstring before the arrow flies. If you understand that, the move stops feeling like a puzzle and starts feeling like a conversation: first you yield, then you answer.
Many beginners treat Apparent Close-Up as a separate trick. They finish Brush Knee and Push, freeze for two seconds, and then start over from scratch. The whole routine breaks at exactly this point. The correct way is the opposite: as the fist of Brush Knee and Push returns to the chest, it never stops — the hands press downward, and the left foot is already stepping back. There is no resting point between the two movements, only a continuous transfer of weight.
Keep one number in mind: the whole movement takes about four to six seconds. Two seconds for the step back, one second for the hands to come together, two seconds for the push. Count silently as you practice. Keep the tempo even. Don’t rush the push, and don’t drag the step back.
Step by Step: Footwork, Hand Shapes, Eyes, and Breath
Break the movement into three beats and practice one beat at a time. Focus on a single detail per beat. After three rounds, link them together.
Beat One: Step Back and Gather the Hands
Step your left foot back about 30 centimeters — roughly the length of a sheet of paper. Touch down with the toes first, then set the whole foot down, and let your weight drift slowly from your right leg to the space between both legs. At the same time, your hands move: the right hand traces a small arc down and to the right, the left hand rises from below, and the two hands meet in front of your lower belly, palms facing each other about 15 centimeters apart, as if you were holding a basketball.
One detail matters more than the rest: your knees must always point in the same direction as your toes. Never let a knee cave inward. A quick self-check: when the step back and hand-gather are finished, freeze for three seconds. Can you stand steady? If your body sways side to side, your step was too big or your weight moved too fast. Shrink the step by five centimeters and try again. Only widen it once you can stand still.
Beat Two: Turn the Waist and Draw In
Your weight continues shifting onto your left leg while your waist turns left by about 15 degrees, carrying both hands slightly back and to the left. This “drawing in” is tiny — no more than 10 centimeters. Its purpose is to dissolve incoming force, not to pull anything backward. Let your shoulders drop and sink, elbows pointing down. The moment your elbows lift, your shoulders tense up, and the push that follows loses all its power.
This is where song comes in — a core Tai Chi idea meaning relaxed looseness, the opposite of stiff tension. Your arms stay soft and heavy, like wet towels hanging from your shoulders. The waist does the work; the arms simply follow.
Beat Three: Step Forward into Bow Stance and Push
Step your right foot forward about 40 centimeters, heel first, and shift your weight forward into a left bow stance. As you do, the hands separate: the left hand draws back to rest beside your left hip, palm facing down, while the right hand pushes forward, palm facing out, fingers pointing up, at shoulder height.
The push starts from the floor. Power rises from the sole of your foot, travels through your waist, and arrives at the heel of your palm. Think of your body as a single chain — if the waist does not turn, the hand has nothing behind it. Your eyes follow the hands: look toward the front-left as you step back, then let your gaze rest about two meters ahead of your right hand as you push. Don’t stare down at your feet, and don’t tilt your head back.
Breathing is simple: inhale as you step back and gather your hands, exhale as you push. Don’t hold your breath on the inhale, and don’t blow hard on the exhale. One push takes one smooth, even breath out, about two seconds long.
Five Common Mistakes — and How to Fix Them
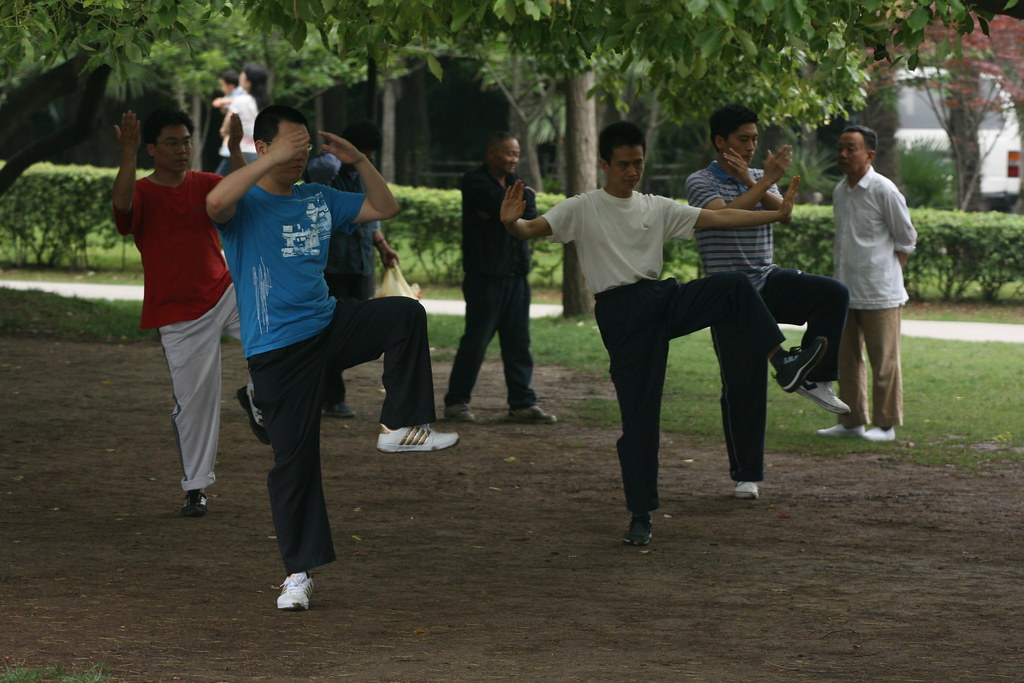
Mistake 1: Pushing with the arms while the waist stays still. The hands go out, but the waist never moves, so the whole body leans forward after the hands, like being dragged by your own arms. Fix: put both hands on your waist and practice only the waist turn — twenty repetitions, no hand movements at all. Once you feel the waist leading the hands, add the hands back in. When the waist turns fully, the push happens almost by itself.
Mistake 2: Stepping back too far and losing your balance. The left foot shoots back 50 centimeters or more, the weight drops into the gap between the legs, and you can neither advance nor retreat. Fix: lay a towel on the ground and keep your toes from crossing its edge as you step back. Practice ten times until the step settles at about 30 centimeters, then remove the towel.
Mistake 3: Shrugging the shoulders and lifting the elbows during the push. The moment you exert force, your shoulders rise and your elbows flare out, and the whole arm goes stiff. Fix: before each push, sink your shoulders once, as if a small 500-gram sandbag were hanging from each one. If you feel a shoulder creeping up mid-push, stop immediately, sink the shoulders again, and push once more.
Mistake 4: Letting the front knee pass the toes in the bow stance. You drive forward too hard, the front knee juts five centimeters or more past the toes, and the knee takes all the pressure while your stance wobbles. Fix: after settling into the bow stance, glance down. The front knee and the toes should sit on the same vertical line. If the knee has overshot, pull your weight back three centimeters, bend the front leg slightly, straighten the back leg, and aim for roughly a 60–40 split of weight between the front and back legs.
Mistake 5: Pulling back the moment the push lands, with no finishing shape. The hand shoots out and snaps straight back, as if the movement had no destination. Fix: after every push, hold the bow-stance push for three seconds and check three points — front knee aligned with toes, back foot flat on the floor, shoulders sunk and elbows dropped. Only when all three are correct should you move on to the next form. Ten pushes with a pause teach you more than thirty rushed ones.
A 10-Minute Daily Practice Plan
You don’t need long sessions to master a single posture. Ten minutes a day, in three blocks, is enough.
- First 3 minutes: Practice only the step-back-and-gather, alternating left and right, ten times each side. Don’t chase speed — chase a steady step size and a stable center of gravity.
- Middle 4 minutes: Perform the full Apparent Close-Up eight times, holding each push for three seconds and checking yourself against the five mistakes above.
- Final 3 minutes: Flow from Brush Knee and Push straight into Apparent Close-Up, five times in a row, focusing on the seamless connection between the two movements.
After two weeks, try slowing the whole movement down to double time — a full ten seconds for one posture. Slow practice magnifies every small flaw: where you wobble, where you tense up, where you rush. Once you can do it slowly and steadily, return to normal speed and the quality of the movement will jump a level.
One real-life scenario: you practice on uneven ground in your neighborhood, and your foot slips slightly as you step back. When that happens, shorten your step by five centimeters and lower your center of gravity by two centimeters. Stability first, textbook form second. Correct form is something you grow into through practice, not something you force your body into.
Quick Answers
What does “Apparent Close-Up” actually mean? The Chinese name, 如封似闭 (ru feng si bi), pictures sealing something shut and then closing it off — first your hands gather and “seal” in front of your body, then you push forward to “close” the space. It is a defensive idea with an offensive finish: yield, gather, then send.
How is it different from Brush Knee and Push? Brush Knee and Push brushes past an attack and strikes forward in one direction. Apparent Close-Up first draws back and gathers — a change of direction — and then pushes. The two forms belong together: one is the forward answer, the other is the answer after yielding.
Where should my weight be at the end? About 60 percent on the front leg, 40 percent on the back leg, in a stable bow stance with the front knee above the toes and the back foot flat on the floor.
What is qi, and do I need to feel it? Qi (pronounced “chee”) is the traditional Chinese idea of vital energy or breath flowing through the body. You don’t need to feel anything special to practice well — if your breathing is smooth and your body feels warm and loose afterward, you are already doing it right. Ignore anyone who promises instant sensations.
What is the dantian? The dantian is the area in the lower belly, a few centimeters below the navel, treated in Tai Chi as the body’s center of gravity and the place where movement begins. When this guide says the hands gather “in front of the lower belly,” that is the region it means. Keep it in mind as a reference point, not a mystery to chase.
How long until this movement feels natural? Most people feel comfortable with the footwork after two weeks of daily ten-minute practice. The seamless link from Brush Knee and Push usually takes another two to four weeks. Slow practice speeds this up more than extra repetitions do.
Can I practice if my knees are sensitive? Yes, with adjustments: shorten the step, keep the stance higher, and never let the front knee pass the toes. If you have knee pain, a health condition, or a recent injury, consult a doctor before practicing, and stop immediately if you feel pain, dizziness, or chest tightness.
Apparent Close-Up boils down to three sentences: keep the step back small and your weight steady; let the waist turn first and the hands follow; hold the finished push and check yourself before moving on. Practice those three sentences into your body and you have learned this posture. For the next seven days, follow the ten-minute plan above. On day seven, record a short video of yourself and check it against the five common mistakes — fix the most obvious one first, then tackle the next one next week. That is how single postures are mastered, one detail at a time. Once this one is yours, the feeling of “seal” and “push” will be there for the whole 24-form.
Safety note: Practice gradually, within your ability, and keep every movement comfortable — never force a low stance or a large waist turn. If you have health conditions, joint problems, or a recent injury, consult a doctor first. Tai Chi is a form of daily exercise and carries no promise of therapeutic effect. Stop immediately and rest if you feel pain, dizziness, or chest tightness.