It is 7 a.m. in the neighborhood park. A group of retirees is moving through their morning Tai Chi routine, slow and unhurried, when they reach one familiar posture and the whole line seems to wobble. One knee jerks forward, one shoulder tips, one practitioner catches herself mid-step and laughs it off. The movement looks easy from the sidelines. It is not.
The posture is called Lou Xi Ao Bu in Chinese, usually translated as Brush Knee and Twist Step. It shows up in almost every Tai Chi form, sometimes three or four times in a single routine, and it is one of the best tests of whether your footwork, your waist, and your hands are actually working together. Get this one right and the rest of the form starts to feel smoother. Get it wrong and the same small faults keep showing up everywhere else: a knee drifting too far forward, a torso leaning after the hand, a step that lands before the arm is ready.
The name tells you exactly what to do. “Lou xi” means to brush past the knee, one hand sweeping lightly in front of it. “Ao bu” means a cross step, in which the opposite hand and foot lead at the same time: left foot forward with right palm pushing out, or right foot forward with left palm pushing out. The two sides move against each other, like a diagonal line drawn through the body, and that diagonal is what keeps you balanced.
Before you begin, stand in a ready posture. Place your feet shoulder-width apart, soften your knees, let your shoulders drop, and imagine a thread gently lifting the crown of your head. Let your arms hang naturally at your sides. Take two or three slow breaths and wait until your body feels quiet. Tai Chi rewards a calm start far more than a fast one.
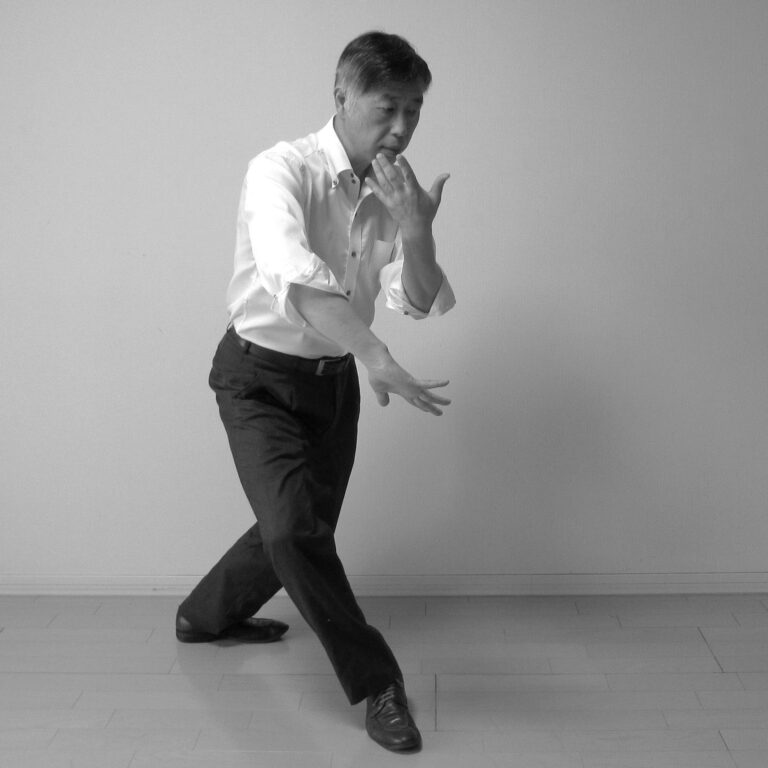
The Movement in Four Steps
The easiest way to learn Brush Knee and Twist Step is to break it into four beats and practice each one slowly. Work on the left side first, then mirror everything on the right. Speed is not the goal here. Clarity is.
Step 1: Turn the Waist
Shift your weight onto your right leg and turn your body slightly to the right. Let your left heel lift and your left toes touch the ground lightly, ready to step forward. The key idea is simple: the waist leads and the foot follows. Do not step with the leg alone while the torso stays frozen. When the waist and hips turn first, the step that follows feels light and natural. When the leg moves first, the step feels heavy and the balance is already gone.
Step 2: Brush the Knee
Step forward with your left foot, heel touching down first, then rolling onto the whole sole. As the foot moves, your right hand sweeps down and across from your right side, passing in front of your left knee with the palm facing down and the fingers relaxed and extended. The hand stays close to the body, tracing a small arc rather than a wide swing. Think of it as gently parting the air in front of your knee, not swatting at something. The brushing hand is the “empty” hand in this movement: it guides and clears the way, it does not push.
Step 3: Push the Palm
Once the left foot is planted, let your weight travel slowly forward and push your left palm out from your waist, palm facing forward, fingers pointing up, at about shoulder height. Keep a slight bend in the elbow. A fully straightened arm locks the shoulder and makes the push rigid, so leave a little room in the joint. Keep your shoulders down as the hand goes out. The pushing hand is the “full” hand: it carries the weight and the intention of the movement.
Step 4: Settle Into the Twist Step
Let your weight settle fully onto your left leg. Bring your right foot up half a step behind you, toes touching the ground, and face straight ahead, eyes following the direction of your pushing hand. The whole sequence should feel like pushing open a heavy wooden door: the power starts in the soles of the feet, travels through the waist and hips, and arrives at the palm almost as an afterthought. The hand is only the place where the force ends up, not where it starts.
To practice the other side, switch feet and hands and repeat the same four steps in mirror image. Do six to eight repetitions in a set, three or four on each side, and pause between sets to adjust your breathing. If one side feels smoother than the other, that is completely normal. Most people have a stronger side, and the weaker side is exactly where the practice pays off.
Footwork and Hand Shapes: Three Numbers to Remember
Good footwork in this posture comes down to three measurements. First, the step should be about two and a half foot-lengths long. A step that is too long leaves your weight stranded between your feet; a step that is too short gives the push no base to work from. Second, when the front foot lands, the toes should point outward at roughly 45 degrees, neither straight ahead nor turned out too far. Third, and most important for your knees, the front knee in the bow stance – “gong bu”, the deep front-leg stance used throughout Tai Chi – should never travel past the toes, and the knee should point in the same direction as the toes. If you remember only one rule from this whole guide, remember that one.
The hands have their own logic. The brushing hand faces down, fingers together and naturally extended, as if resting lightly on the surface of water. The pushing hand faces forward, fingers slightly apart, wrist flat and straight, never bent backward. One hand is empty and one is full, and the contrast between them is what gives the movement its Tai Chi character. If both hands feel equally tense, you are working too hard. The brushing hand should feel light; the pushing hand should feel settled.
Breathing follows the movement. Inhale as you step and brush the knee; exhale as you push the palm and shift your weight forward. Never hold your breath. Beginners do not need to force the breathing pattern. Learn the shape of the movement first, and after a week or two the breath will start to fall into step on its own. Many practitioners notice that the push feels heavier and steadier on the exhale, as if the breath were lending the hand a little extra weight.
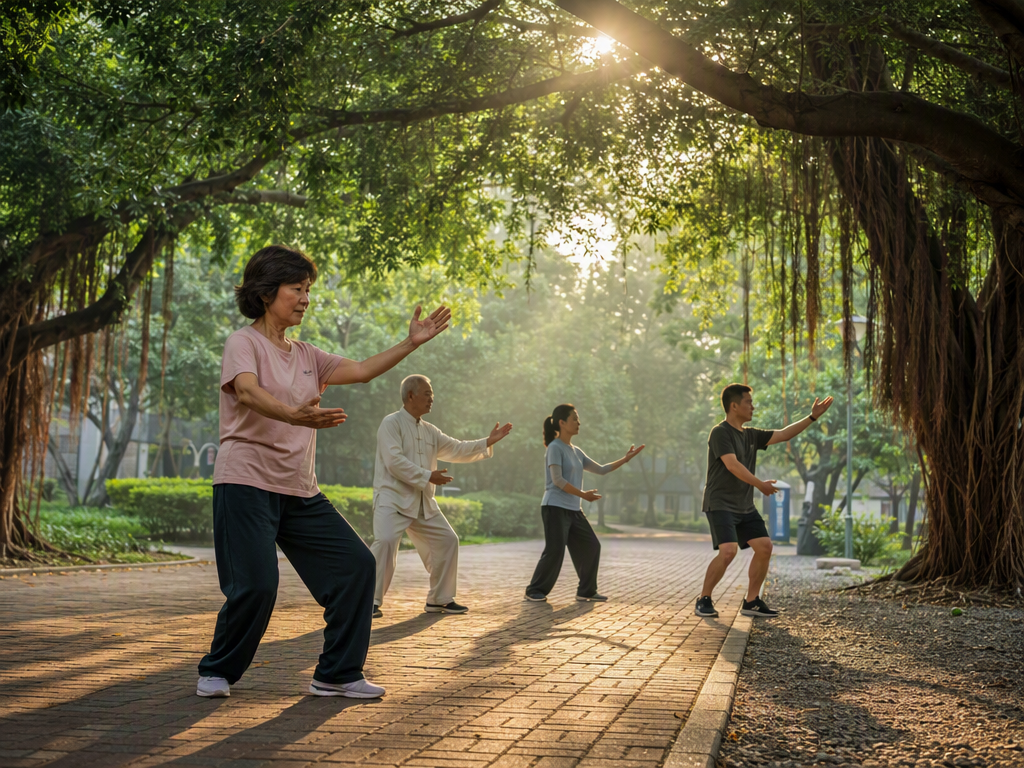
Five Common Mistakes and How to Fix Them
Mistake 1: The knee passes the toes. The bow stance is too deep, the weight sinks too far forward, and the knee pushes past the toes. After practice the knees feel sore, sometimes even painful. The fix is to take a slightly shorter step and shift only about seventy percent of your weight onto the front leg, keeping thirty percent on the back leg. With less weight driving forward, the knee stops reaching for the toes.
Mistake 2: The body leans forward. As the palm pushes out, the upper body follows the hand, the waist collapses, and the back rounds. The fix is to imagine the thread at the crown of your head pulling gently upward while you push, keep your chest softly tucked in, and look straight ahead. Practice in front of a mirror, or ask a practice partner to check from the side whether your spine forms one straight line.
Mistake 3: The brushing hand swings too wide. The hand sweeps a big circle past the knee, the movement falls apart, and the rhythm breaks. The fix is to shrink the arc. Keep the palm within about a foot of your body at all times and let it trace a small curve close to the knee. A small, clean brush looks better and works better than a large, showy one.
Mistake 4: The weight bobs up and down. With each step the body rises and falls, as if climbing stairs. The fix is to keep the height of your head constant through the whole movement. Imagine a horizontal line one palm-width above your head and keep the crown of your head gliding along it from start to finish. If your head stays level, your weight is moving horizontally, which is exactly what Tai Chi asks for.
Mistake 5: Hands and feet move separately. The hand finishes pushing before the foot arrives, or the foot lands while the hand is still catching up. The fix is to slow down and count the movement in three beats: turn the waist is one beat, step and brush the knee is the second, push the palm and settle is the third. Three beats make one posture. Practice at half speed for two weeks and your coordination will improve noticeably. Slowness here is not a limitation; it is the training method.
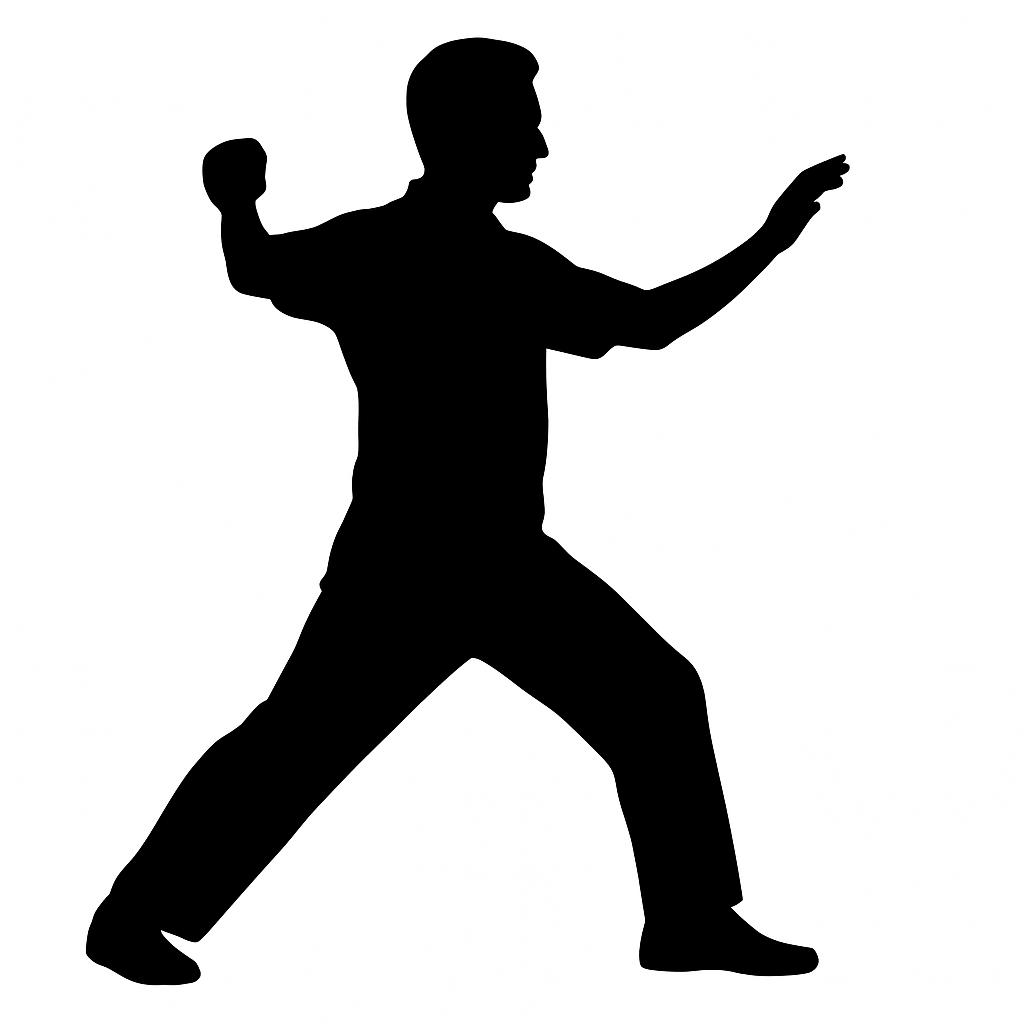
Who It Suits and How to Practice
Brush Knee and Twist Step suits most adults who want to learn Tai Chi, especially office workers who sit all day and older adults who want to improve coordination. The movement is gentle, it needs almost no space – two steps of floor in a living room is enough – and ten to fifteen minutes a day is enough to make progress.
A practical schedule looks like this. For the first two weeks, practice ten minutes a day on this single posture only, four repetitions on each side, focusing entirely on getting the footwork and hand shapes right. From the third week, start linking Brush Knee and Twist Step with postures you already know, such as Cloud Hands (“yun shou”, the flowing side-to-side arm movement) and Part the Wild Horse’s Mane (“ye ma fen zong”, the diagonal opening movement), building small combinations. After about a month, follow a complete form and pay attention to where this posture connects with the movements before and after it. That sense of connection is what turns isolated postures into a flowing routine.
Morning practice in the park works well when the air is fresh, the ground is flat, and the view is open; many people find they feel more alert for the rest of the day afterward. Evening practice works too, but avoid practicing within an hour after a meal, and finish at least two hours before bed so the gentle stimulation does not interfere with sleep.
Quick Answers
How long should one step be? About two and a half foot-lengths. Too long and your balance suffers; too short and the push has no power behind it.
Why does my knee hurt after practice? The most common cause is the front knee drifting past the toes in the bow stance. Shorten the step, keep about thirty percent of your weight on the back leg, and check that knee and toes point the same way.
Should I breathe in a special way? Inhale on the step and brush, exhale on the push. Do not force it at first. Learn the movement, and the breathing will follow.
How many repetitions per day? Six to eight per set, three or four on each side, for ten to fifteen minutes a day. Quality matters more than quantity.
Can I practice at home? Yes. Two steps of clear floor space is enough. A mirror helps you check whether your spine stays straight and your head stays level.
The heart of Brush Knee and Twist Step comes down to three sentences: steady footwork, with the knee never passing the toes; clear hands, with the brush empty and the push full; and level weight, with the height of your head unchanged from start to finish. Learn those three points and you have the foundation of the posture.
You can start today. Stand in the ready posture, take two or three slow breaths, and do three slow repetitions on each side, checking your knee position and whether your body leans forward. Afterward, note how it felt: which side moved more smoothly, whether your knees felt any discomfort, and what to adjust next time. Keep it up for two weeks and the movement will feel very different.
Safety note: If you have a knee injury or knee discomfort, practice within your limits: take a smaller bow stance, shift less weight forward, and stop immediately if you feel pain, consulting a doctor if needed. Progress gradually and do not rush to get it perfect in one session. This article is for general information only and makes no promise of any health benefit.