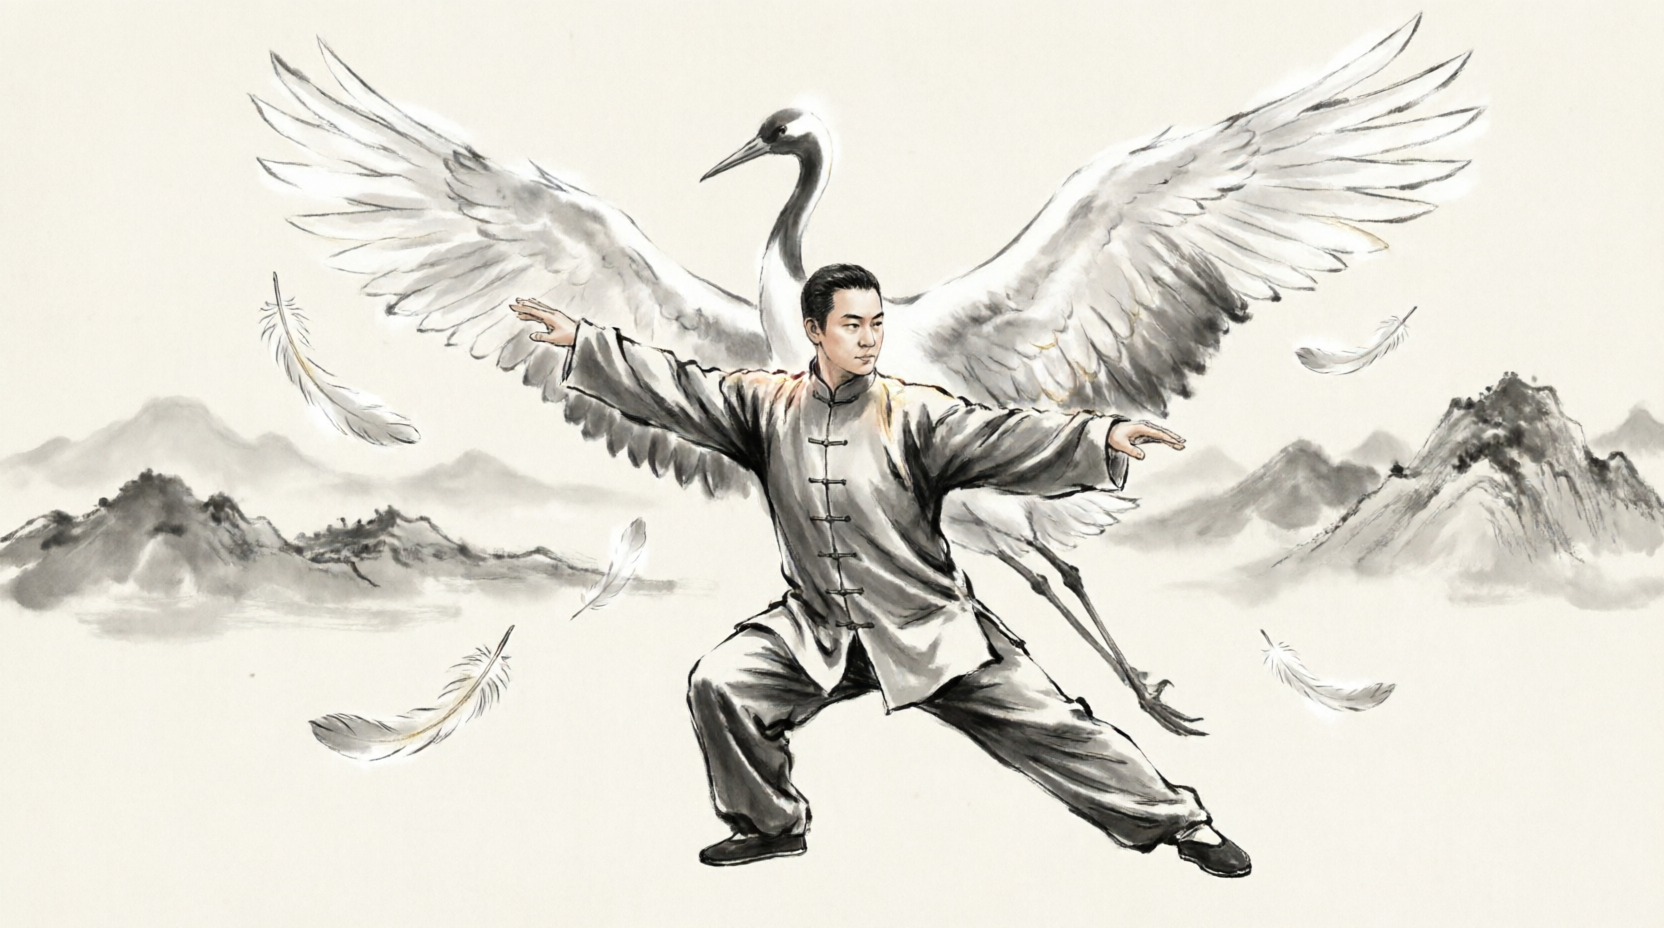
It is early morning in the park, and the regulars have taken their usual spots between the willow trees. One man in his fifties has just finished Brush Knee and Push, and now he does something that stops a passing dog-walker mid-stride. His left hand rises upright in front of him, palm open and fingers pointing to the sky, while his right hand presses down beside his hip. One foot stands solid; the other just touches the ground. For a second he looks less like a man exercising and more like a crane about to take flight. That is White Crane Spreads Its Wings — Bai He Liang Chi — one of the most recognizable postures in Tai Chi, the slow, flowing Chinese martial art practiced as much for balance and calm as for self-defense. It is also one of the most faked: plenty of people can copy the silhouette after watching a video, but ask them which foot carries the weight, how high the palm should be, or why their knees ache afterward, and the answers fall apart.
This guide takes the posture apart the way a good teacher would: footwork first, hand shapes second, waist leading the whole turn, and breathing following along. The move takes only four to six seconds, but it hides three questions that decide whether it works or just looks like a pose.
From Brush Knee to the Crane: The Move in Three Beats
White Crane Spreads Its Wings follows Brush Knee and Push on the right side. At the end of that move, your right hand presses down beside your right knee, your left hand rests in front of your chest, your weight sits on your right leg, and your left foot only touches the ground with its toes. That is your starting point. Do not rush into the crane — stand in that position for three full seconds first and make sure it is steady.
Beat one: turn the waist. Turn your waist about 30 degrees to the right, and let the turn carry your right hand in a small arc from the outside of your right knee toward the back-right, as if you were gently pouring a basin of water behind you. At the same time your left hand sinks from your chest down toward the lower right, palm facing down, fingers naturally open. The waist moves the hands — the arms do not swing out on their own. If your shoulders move before your waist does, your hands have stolen the waist’s job. Stop and do it again.
Beat two: lift the left foot. Once the waist has turned, keep your weight on the right leg and lift your left foot, brushing the toes along the ground. The heel leaves the floor first, then the toes, rising to about 10 centimeters off the ground with the toes hanging naturally down and the knee slightly tucked inward. This is an “empty step” — xu bu, a stance where the foot only lightly touches the ground and carries almost no weight. It is not a pose: it is a live step, ready to land or to pull back at any moment. The body tends to wobble here, so keep the right knee slightly bent, grip the ground with the sole of your right foot, and imagine a thread pulling the crown of your head upward.
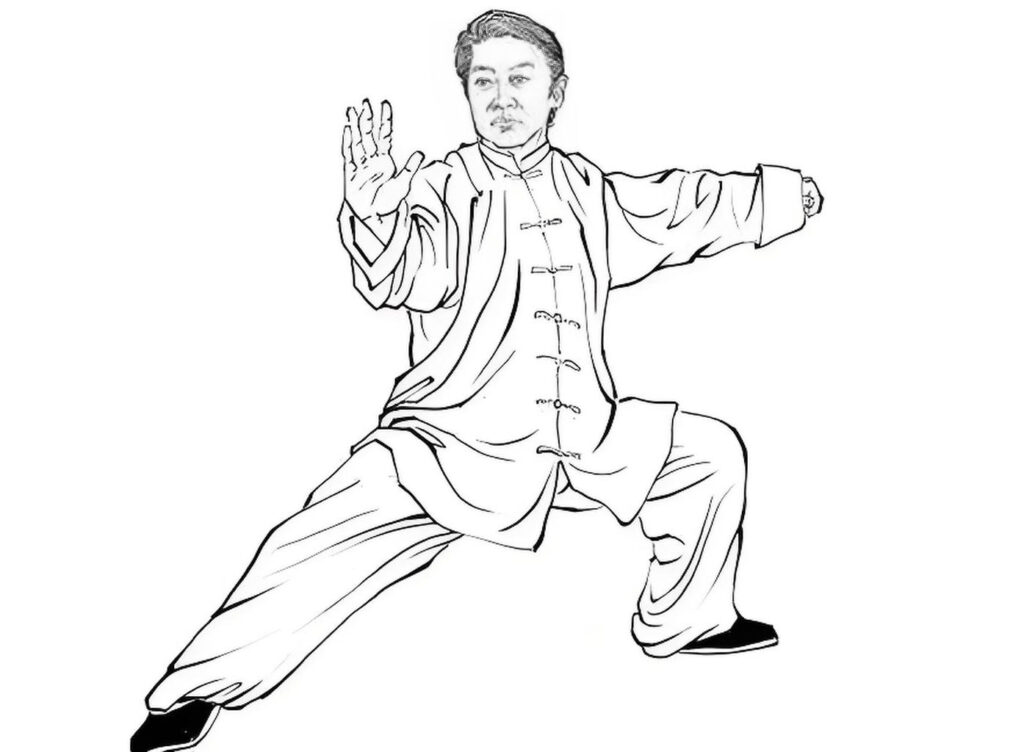
Beat three: spread the wings. Set the left foot down forward, heel first, then the toes touching lightly, the toes pointing about 45 degrees to the front-left. The gap between your left heel and your right heel should be about one and a half to two foot-lengths. As the foot lands, your left hand rises from the lower right, passes in front of your chest, and stands upright toward the front-left, palm facing front-left, fingers pointing up, wrist level with your shoulder. At the same moment your right hand travels from behind, down along your side, and presses beside your right hip, palm facing down, fingertips pointing forward. One hand up, one hand down, one forward, one back — like a crane opening both wings. The posture is complete.
Count it in your head while you practice: one beat for the waist turn, one beat for the foot lift, two beats for the step and the spread. Four to six seconds in total. Slower is better than faster at this stage — speed hides mistakes, and this move has nowhere to hide them.
Footwork and Hand Shapes: Three Details That Make or Break It
First, the weight split: empty on the left, solid on the right. The empty step runs on a simple ratio — about 70 percent of your weight on the right leg, less than 30 percent on the left foot. Here is a test you can do without any equipment: once you are in the finished posture, try lifting your left foot gently off the ground. If your body does not move at all, your weight is truly on the right leg. If you wobble the moment you lift, your weight has drifted onto the left foot. The most common error is planting the left foot hard, as if it were a bow stance. Once that foot is nailed to the floor, you cannot move into the next posture at all — you are stuck.
Second, the direction of the toes. The left foot should point about 45 degrees to the front-left — not straight ahead, and not fully to the left. Toes pointing straight forward twist the hip joint and make the waist turn awkward. Toes pointing too far left drag your weight sideways and tip your whole body to the left. A rough check that works in the park without a mirror: look down at your finished posture and your left toes should point toward about one o’clock, front-left. If they point toward noon or toward three o’clock, adjust the angle and try again.
Third, the two hands do two different jobs. The left hand is the star of the move. It stands upright — fingers up, palm pushing gently outward, the heel of the palm pressing slightly forward, as if you were pushing open a door that is only half shut. The wrist must not flop down, and it must not stiffen into a board either. Keep the fingers very slightly curved and the palm slightly hollow, the way you would hold a small ball of air. The height limit is shoulder level. Raise it above the shoulder and you have “spread too far” — your shoulders will creep up with it and the whole arm goes rigid.
The right hand is the supporting actor, but it has lines too. It presses beside your right hip, palm down, fingertips forward, wrist relaxed, elbow tip sinking slightly downward. The usual mistake is not knowing where to put it: some people raise it high, others let it swing behind them. The reference point is simple — the palm sits about one fist away from the outside of your right thigh, roughly level with your hip.
The two hands rise and press together, opening and closing as a pair. When the left hand rises, the right hand must press down. If both hands rise at once, the move falls apart, and you lose the crane’s signature feeling — one wing high, one wing low, stretched open in opposite directions.
Breathing and Focus: The Breath Behind the Move
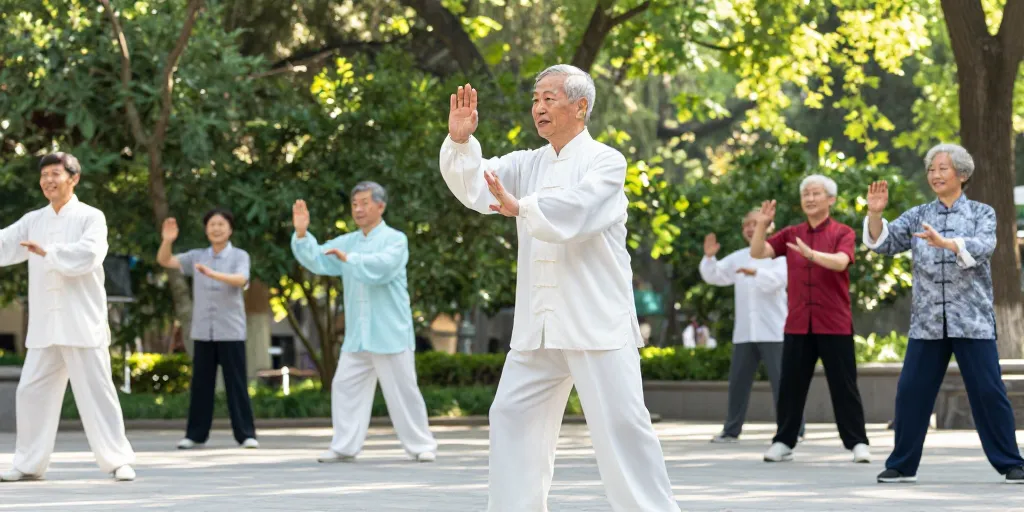
The breathing rule is one sentence long: inhale as you lift the foot, exhale as you step down and spread the wings. Breathe in slowly through your nose while the waist turns and the foot lifts, feeling the breath settle low in your belly — in traditional Chinese thought, this is where qi, the vital energy that flows through the body, is said to gather. Then, as the left foot lands and the left hand rises, breathe out gently through your mouth and let the shoulders drop with the breath. Do not hold your breath on purpose. For a beginner, natural, even breathing that never gets stuck is the best coordination there is.
There is a quick check: after finishing the move, touch your shoulders. If they are loose, your breathing was probably right. If they have crept up toward your ears, you almost certainly pulled the breath up into your chest when you inhaled. Next time, take three slow, deep breaths before you start, let the shoulders sink, and only then begin the move.
For focus, hold one picture in your mind: you are a white crane standing at the edge of the water, one foot touching the surface lightly, one wing unfolding slowly, the other wing guarding the body below. The picture is not about summoning some mysterious power — it is a tool for finding the stretch of the move. Many people practice White Crane as if it were a radio calisthenics routine, and that is exactly why it looks mechanical: with no picture in mind, the hands and feet each do their own thing. With the picture, the waist, hands, and feet naturally move in the same direction. Let your eyes follow your left hand, resting on a point about two meters ahead of it. Once the eyes are in place, the head straightens and the neck stops stiffening.
Five Common Mistakes and How to Fix Them
Mistake 1: All the weight ends up on the left foot. After spreading the wings, the left leg aches and the right leg feels nothing — the weight has drifted. Fix it by going back to the previous posture and doing it again. As the foot lands, think “the right leg is a post” and let the left foot only just touch down, heel first. The moment it touches, check whether you can lift it easily. Practice just this landing 20 times a day on its own, and the habit usually corrects itself within a week.
Mistake 2: The knee collapses inward past the toes. When the right leg carries the weight and the knee caves inward, it is the most damaging way to practice this move. Fix it by keeping the right knee pointing in the same direction as the right toes. If you feel unsteady, widen the gap between your feet by half a foot-length — once you are stable, narrow it gradually. And if your knees have an old injury, bend the right leg less rather than more.
Mistake 3: The left hand rises too high and the shoulders shrug. The moment the left hand passes shoulder height, the shoulders rise with it and the whole arm turns stiff. Fix it by practicing in front of a mirror, setting the highest point of the left hand exactly level with the shoulder, wrist relaxed, elbow tip sinking slightly. Or ask a training partner to press gently on your shoulders once you are in the finished posture: if the shoulders cannot be pressed down, they are tense, and you need to start over.
Mistake 4: The upper body leans forward when the waist turns. As the waist turns, the chest reaches forward and the whole body tips into a bow. Fix it by thinking “a thread pulls the crown of my head up” before you turn, keeping the body upright instead of leaning. Thirty degrees of turn is enough — there is no need to chase a bigger angle. Try standing with a wall behind you: your back should never touch the wall as you turn.
Mistake 5: The move is done too fast, with no pause. Two seconds from start to finish looks like rushing through a checklist. Fix it by leaving a pause between postures: hold the finished position and count to three silently before moving on to the next one. Slow down, and the problems with weight, breathing, and hand shapes will show themselves — which is exactly what you want, because you cannot fix what you cannot see.
Putting It Together: A Two-Week Practice Plan
The whole secret of White Crane Spreads Its Wings fits in three sentences: left empty and right solid so you stand steady, left palm upright so the wing opens true, waist leading the hands so the move flows. Practice just this one posture for ten minutes a day. First, do it five times in slow motion, broken into steps, holding the finished posture for three seconds each time and checking your weight and hand shapes. Then do it five times in one continuous flow, with the breathing and the gaze. Then walk it into the full Tai Chi form twice and see whether the transitions hold their shape.
After two weeks, run through this checklist: can you lift the left foot easily? Is the left hand level with the shoulder? Are the shoulders loose? Is the knee tracking over the toes, not collapsing inward? If all four pass, the posture is yours. Then move on to the next one. Passing one posture at a time beats stumbling through the whole form, every time.
Quick Answers
How long does one repetition take? About 4 to 6 seconds: one beat for the waist turn, one beat for the foot lift, two beats for the step and the spread, with a three-second hold at the finished posture before moving on.
Which foot carries the weight? The right leg carries about 70 percent. The left foot is an empty step — it only touches the ground lightly. If you can lift the left foot without wobbling, the weight split is right.
How high should the left hand go? Level with the shoulder, no higher. Fingers pointing up, palm gently pushing outward. Raise it past the shoulder and the shoulders will shrug up with it.
Why do my knees ache after practicing? Usually because the weight has drifted onto the left foot, or the right knee has collapsed inward past the toes. Check both, widen your stance by half a foot-length if you feel unsteady, and bend the right leg less rather than more.
Where should I look? Follow your left hand with your eyes, resting your gaze on a point about two meters ahead of it. The eyes lead the head, and once the head is straight, the neck stops stiffening.
How long until it feels natural? Most people find the weight split settles in the first week and the whole posture feels connected after about two weeks of ten minutes a day. Passing one posture at a time is faster than rushing through the full form.
Safety note: Warm up your knees, ankles, and lower back for five minutes before practicing. If you have an old knee or lower-back injury, or you are recovering from surgery, bend the right leg less and lower the height of the empty step — stay within a range that causes no pain. Stop immediately and rest if you feel a sharp pain in your knee or lower back; do not push through it. Beginners should keep single-posture practice to no more than 20 minutes a day. This article is traditional cultural and fitness education, not medical advice, and it makes no promise of any therapeutic effect. If you have a medical condition or are recovering from an injury, consult a doctor before practicing.