You wake up with cold hands and feet. After a whole afternoon at the computer, your shoulders feel heavy as stone. At night, lying in bed, your calves still feel swollen. The first instinct for many people is to pat and slap the sore spots — only to end up with a patch of red skin and even more soreness the next day. Here is the truth about tapping: harder is not better. Get the sequence wrong or the pressure wrong, and you lose most of the benefit. This guide lays out the order, the pressure, and the taboos of at-home meridian tapping for autumn and winter, in a routine that takes just 10 minutes.
The Sequence: Top to Bottom, Outside to Inside
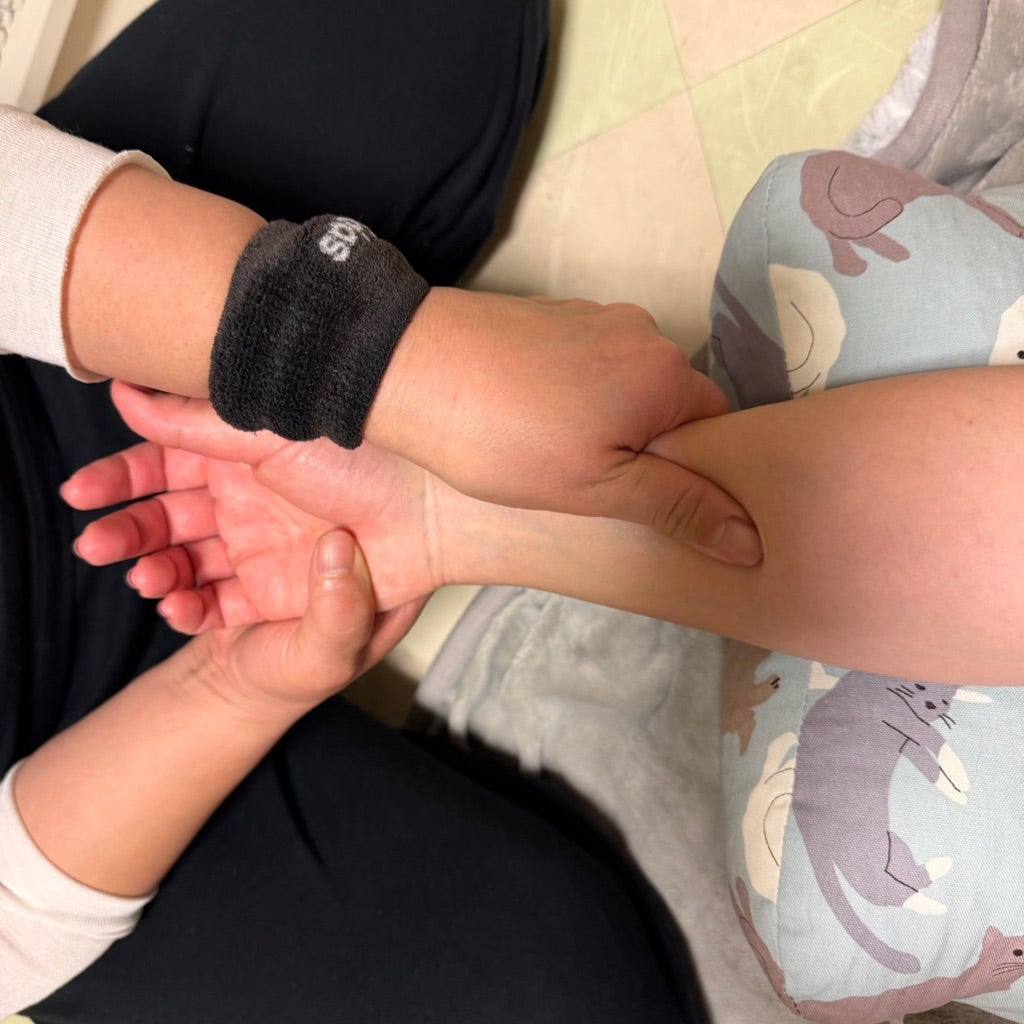
Meridian tapping follows one easy rule: arms before legs, outer sides before inner sides, far ends before near ends. In plain terms, start at your hands and finish at your feet, without jumping back and forth. This order is not about ceremony — it gives your body a smooth transition from waking up to winding down.
Here is a route you can follow step by step: clap your hands together, fingers interlaced, for 30 seconds to warm your palms. Then tap the outer side of each arm, from the back of the hand up along the outer arm to the shoulder, about 20 taps per side. Next, tap the inner side of each arm, from the armpit down toward the wrist, again about 20 taps per side. Move to the outer side of each leg, from the outer thigh down to the ankle, about 30 taps per side. Then the inner side of each leg, from the ankle up toward the top of the thigh, about 30 taps per side. Finish with both sides of the back and the waist for about a minute — use a tapping stick for spots you cannot reach, or ask a family member to help.
Why outer before inner? In traditional Chinese medicine, the meridians — the channels along which qi, or vital energy, is said to flow — that run along the outer arms and legs are mostly yang channels, associated with activity and the body’s surface. In autumn and winter, yang energy is thought to draw inward, so tapping the outer sides first is like warming up the surface layer. The inner sides carry mostly yin channels, associated with rest and nourishment, so tapping them last helps the body settle. If you cannot remember the full route, just remember six words: hands to feet, outside to inside.
A common mistake is tapping only where it hurts. Your shoulder aches, so you tap your shoulder 200 times and nothing improves. Shoulder stiffness is often connected to how the whole arm moves, so tapping the full line from hand to shoulder does far more than hammering one spot.
Getting the Pressure Right: Slightly Pink Skin, No Pain
There are two hand shapes for tapping: the hollow palm and the flat palm. For at-home care, use the hollow palm — cup your hand slightly so a small pocket of air stays in the palm. The sound is a dull, soft “thud.” The contact area is larger and the impact gentler, which suits most people. The flat palm presses the whole hand firmly against the skin, concentrating the force, and it bruises easily. Beginners should avoid it.
Think of pressure in three levels. Light feels like patting a child to sleep — the skin just warms slightly. Medium gives a clear vibration on impact; the skin turns slightly pink within a minute, and the pinkness fades within about three minutes after you stop. Heavy turns the skin red and hot right away, and may leave marks the next day. For home care, light to medium is enough. The goal is warmth and looseness afterward, not bruising. In Chinese folk practice, the dark marks sometimes left by heavy tapping are called “sha” — but redness is not a scorecard, and chasing it is the wrong target.
Do not linger on one spot. One to two minutes per area is plenty, then move on; the whole body takes about 10 minutes. If a spot still feels nothing after 30 taps, the problem is usually not pressure — it is posture or muscle tension. Roll your shoulders, move the joint a little, relax, and try again. The result will be better.
Autumn and winter skin tends to be dry, so rub a little body lotion onto your arms and legs before tapping. It cuts friction and stops dry skin from getting itchy. After tapping, wait about 20 minutes before showering, and do not jump straight into a cold shower — let your skin temperature settle first.
The 10-Minute Autumn-Winter Routine: Follow the Clock
The best windows are 9 to 10 in the morning or 4 to 5 in the afternoon. In the morning, before your body has fully woken up, drink a glass of warm water and march in place for a minute before you start. After 9 p.m., skip tapping — it can leave you feeling too alert to fall asleep.
Here is a routine you can follow exactly:
- Warm-up, 1 minute: Rub your hands together until warm, clap with fingers interlaced for 30 seconds, then shrug your shoulders and roll your neck 10 times each.
- Arms, 3 minutes: Outer arm 20 taps per side, inner arm 20 taps per side. Give extra attention to the elbow crease and the wrist — both get heavy use and tighten easily.
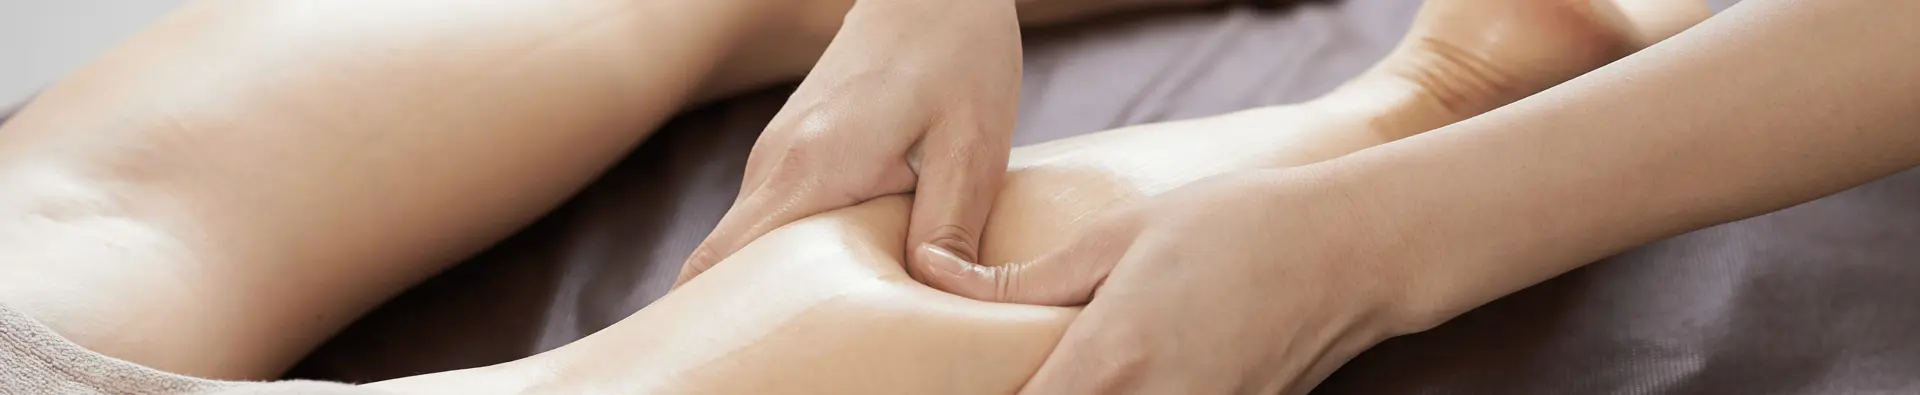
- Legs, 4 minutes: Outer thigh 30 taps per side, inner thigh 30 taps per side, then tap the calves lightly 20 times each. Avoid the front of the kneecap.
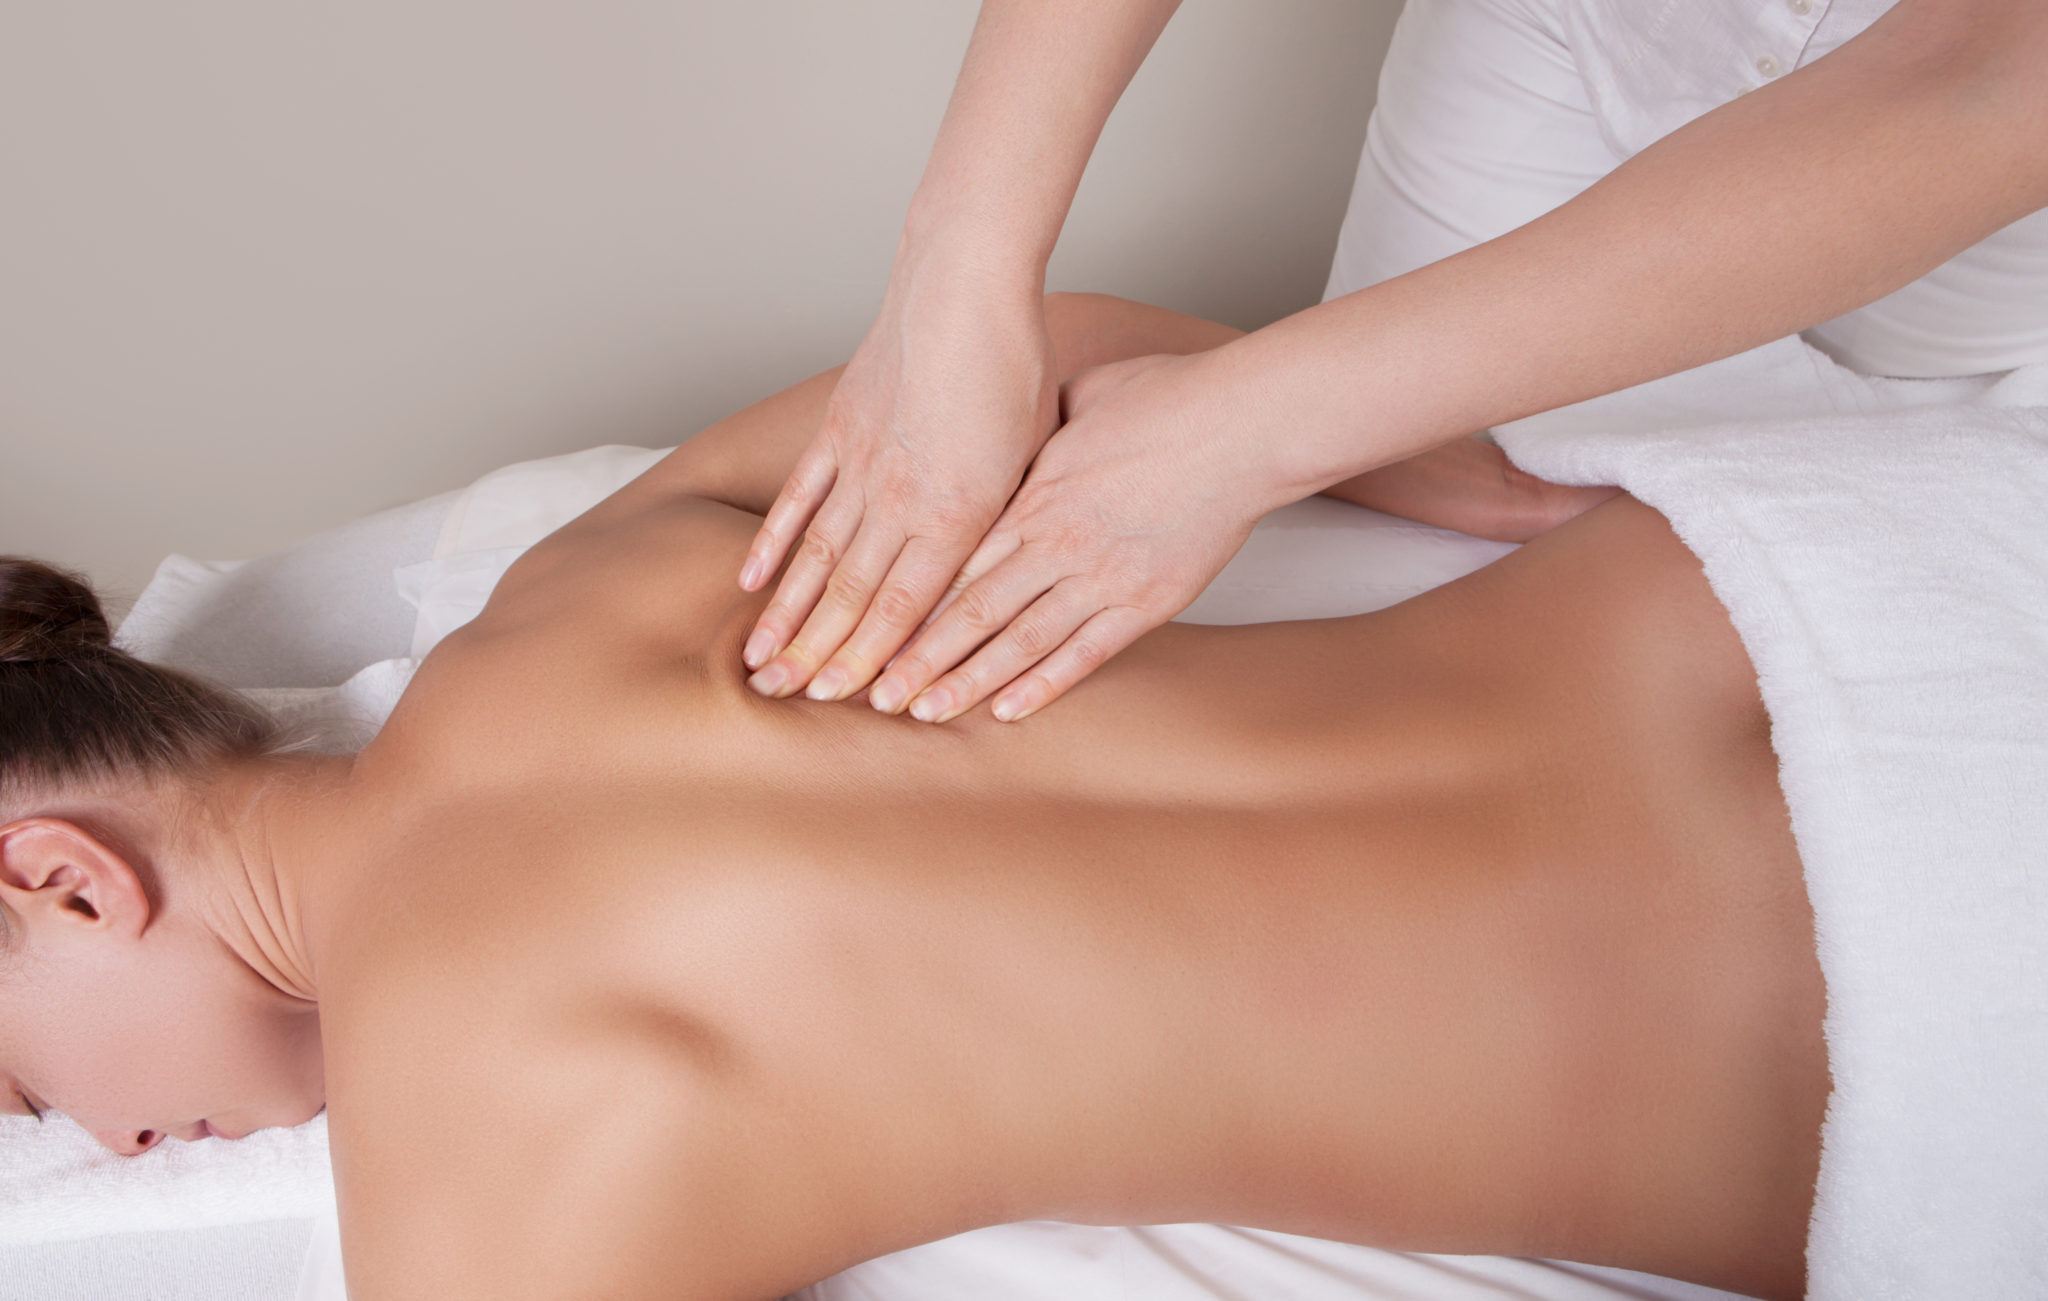
- Torso, 2 minutes: Tap each side of the waist 30 times. Use a tapping stick for the back, working from top to bottom for a minute; for the area between the shoulder blades, ask someone to help or use a long-handled stick.
As for frequency, three to four times a week works well — every other day gives your skin and muscles recovery time. Tapping every day for half an hour or more keeps the same tissues under constant stimulation and can make them more sensitive, not less. After two weeks of steady practice, keep a small log of your own: Are your hands and feet less cold in the morning? Does the heavy-shoulder feeling after sitting arrive later than before? Those two changes are your measure — you do not need to chase any mysterious sensation.
When Not to Tap: Taboos and Myths
Tapping looks simple, but there are lines you should not cross. Skip any area where the skin is broken, where eczema is flaring, or where there is redness, swelling, or heat. Pregnant women should not tap the abdomen or the lower back and sacrum area. If you take blood-thinning medication, bruise easily, or have any bleeding tendency, ask your doctor before tapping. People with heart disease or high blood pressure should stay at light pressure only, keep the session under five minutes, and stop immediately if they feel dizzy or their heart races.
And watch out for these common myths:
- “No bruising means it did not work.” Bruising is about broken capillaries, not a measure of benefit. Slightly pink, warm, loosened skin is the signal that you did it right.
- “The more it hurts, the more it clears.” Pain is your body sounding an alarm. Pushing through it only tightens muscles further, and the soreness will be worse tomorrow.
- “Tap right after a meal.” After eating, blood flow concentrates in the digestive system, and tapping then can leave you bloated and uncomfortable. Wait at least an hour after eating.
- “Tap only one side.” Keep both sides symmetrical. Tap one side and skip the other, and the two sides end up unevenly loose — movement will feel awkward instead of easier.
- “Step straight into cold air afterward.” In autumn and winter, your pores are open right after tapping. Throwing open a window or walking straight outside can chill you fast. Get dressed, drink some warm water, and wait a bit.
Older adults and people with a weaker constitution can switch to a gentler “stroking tap”: rest the palm on the skin, tap lightly 10 times, then knead 10 times, alternating. It still gets things moving. Children should not copy the adult routine — both pressure and time need to be cut to less than half.
Three Lines to Remember, Starting Tonight
Meridian tapping is not complicated. Three lines cover it: the sequence is hands to feet, outside to inside; the pressure should leave skin slightly pink and pain-free; three to four times a week, 10 minutes a session, never within an hour after eating or right before bed. If your hands and feet run cold in autumn and winter, or your shoulders sink after sitting all day, start with the 10-minute routine this afternoon and give it a week — then check whether your mornings and your sitting tolerance feel any different.
Here is a concrete first step: copy the routine into your phone’s notes tonight. Tomorrow at 9:30 a.m., drink a glass of warm water, put on a little body lotion, and work through the timed routine. Afterward, write down three things: Are your hands and feet warmer? Are your shoulders looser? Did falling asleep feel easier that night? Keep that log for seven days. It will tell you more honestly than any grand claim whether this practice does anything for you.
Quick Answers
How hard should I tap? Light to medium — hollow palm, skin slightly pink within a minute, no pain. If marks are still there the next day, you went too hard.
What order do I follow? Hands to feet, outside to inside: palms, outer arms, inner arms, outer legs, inner legs, then back and waist. About 10 minutes in total.
When is the best time? Mid-morning (9–10 a.m.) or late afternoon (4–5 p.m.). Avoid the hour after meals and avoid tapping after 9 p.m.
How often? Three to four times a week, every other day. Daily half-hour sessions can overstimulate the same tissues.
Who should skip it? Anyone with broken skin, active eczema, or inflamed skin at the spot; pregnant women (abdomen and lower back); people on blood thinners or with bleeding tendencies, unless a doctor says otherwise.
Is bruising a sign of success? No. Bruising means capillaries broke. Warm, slightly pink, loosened skin is the right result.
Disclaimer: This article is general wellness information for everyday self-care. It is not medical advice and does not replace professional diagnosis or treatment. Do not tap if you have an illness, are pregnant, or have broken or inflamed skin, or consult a doctor first. No therapeutic effect is promised. If you experience persistent pain, numbness, weakness, or a worsening of an existing condition, seek medical care promptly rather than relying on tapping alone.