You have just finished Single Whip — arms open, weight settled, breath steady. Then comes the next move, and suddenly your feet betray you. Your front leg wobbles, your back heel pops off the floor, and the elegant archer’s pose you had in mind turns into a scramble to stay upright. That move is Bend the Bow to Shoot the Tiger (Wan Gong She Hu), and it looks far easier than it is: the hands and the feet have to arrive at the same moment, or the whole thing falls apart.
What This Move Is Really Training
Bend the Bow to Shoot the Tiger comes from the traditional Yang-style Tai Chi form, right after Single Whip. The name paints the picture: your left hand holds the bow, your right hand draws the string, and your whole body becomes a bow pulled to full draw. Power rises from the soles of your feet, travels through your waist and hips, and arrives at both hands in a single line. Done right, the whole body delivers one unified force. Done wrong, you are left holding an empty pose.
Structurally, it is a classic bow-stance push-and-pull. Front leg bent, back leg driving, waist turning, one hand pushing while the other pulls — four links that must connect into one chain. Beginners usually stare at the hand shape and forget the feet and the waist, so no matter how good the arms look, no real whole-body power comes out. Here is a simple test: when you finish the move, your weight should sit firmly on your front leg, your breathing should stay even, and the ball of your back foot should still be ready to push off the ground. If all three are true, you are there.
Its place in the form matters too. It follows the open stretch of Single Whip and usually leads into forward-pressing moves such as Parry and Punch. If Bend the Bow is solid, everything after it flows. If you wobble here, the next three or four moves all need correcting. Do not treat it as a transition — it is a mirror that shows whether your bow stance, waist turn, and push-pull coordination are actually up to standard.
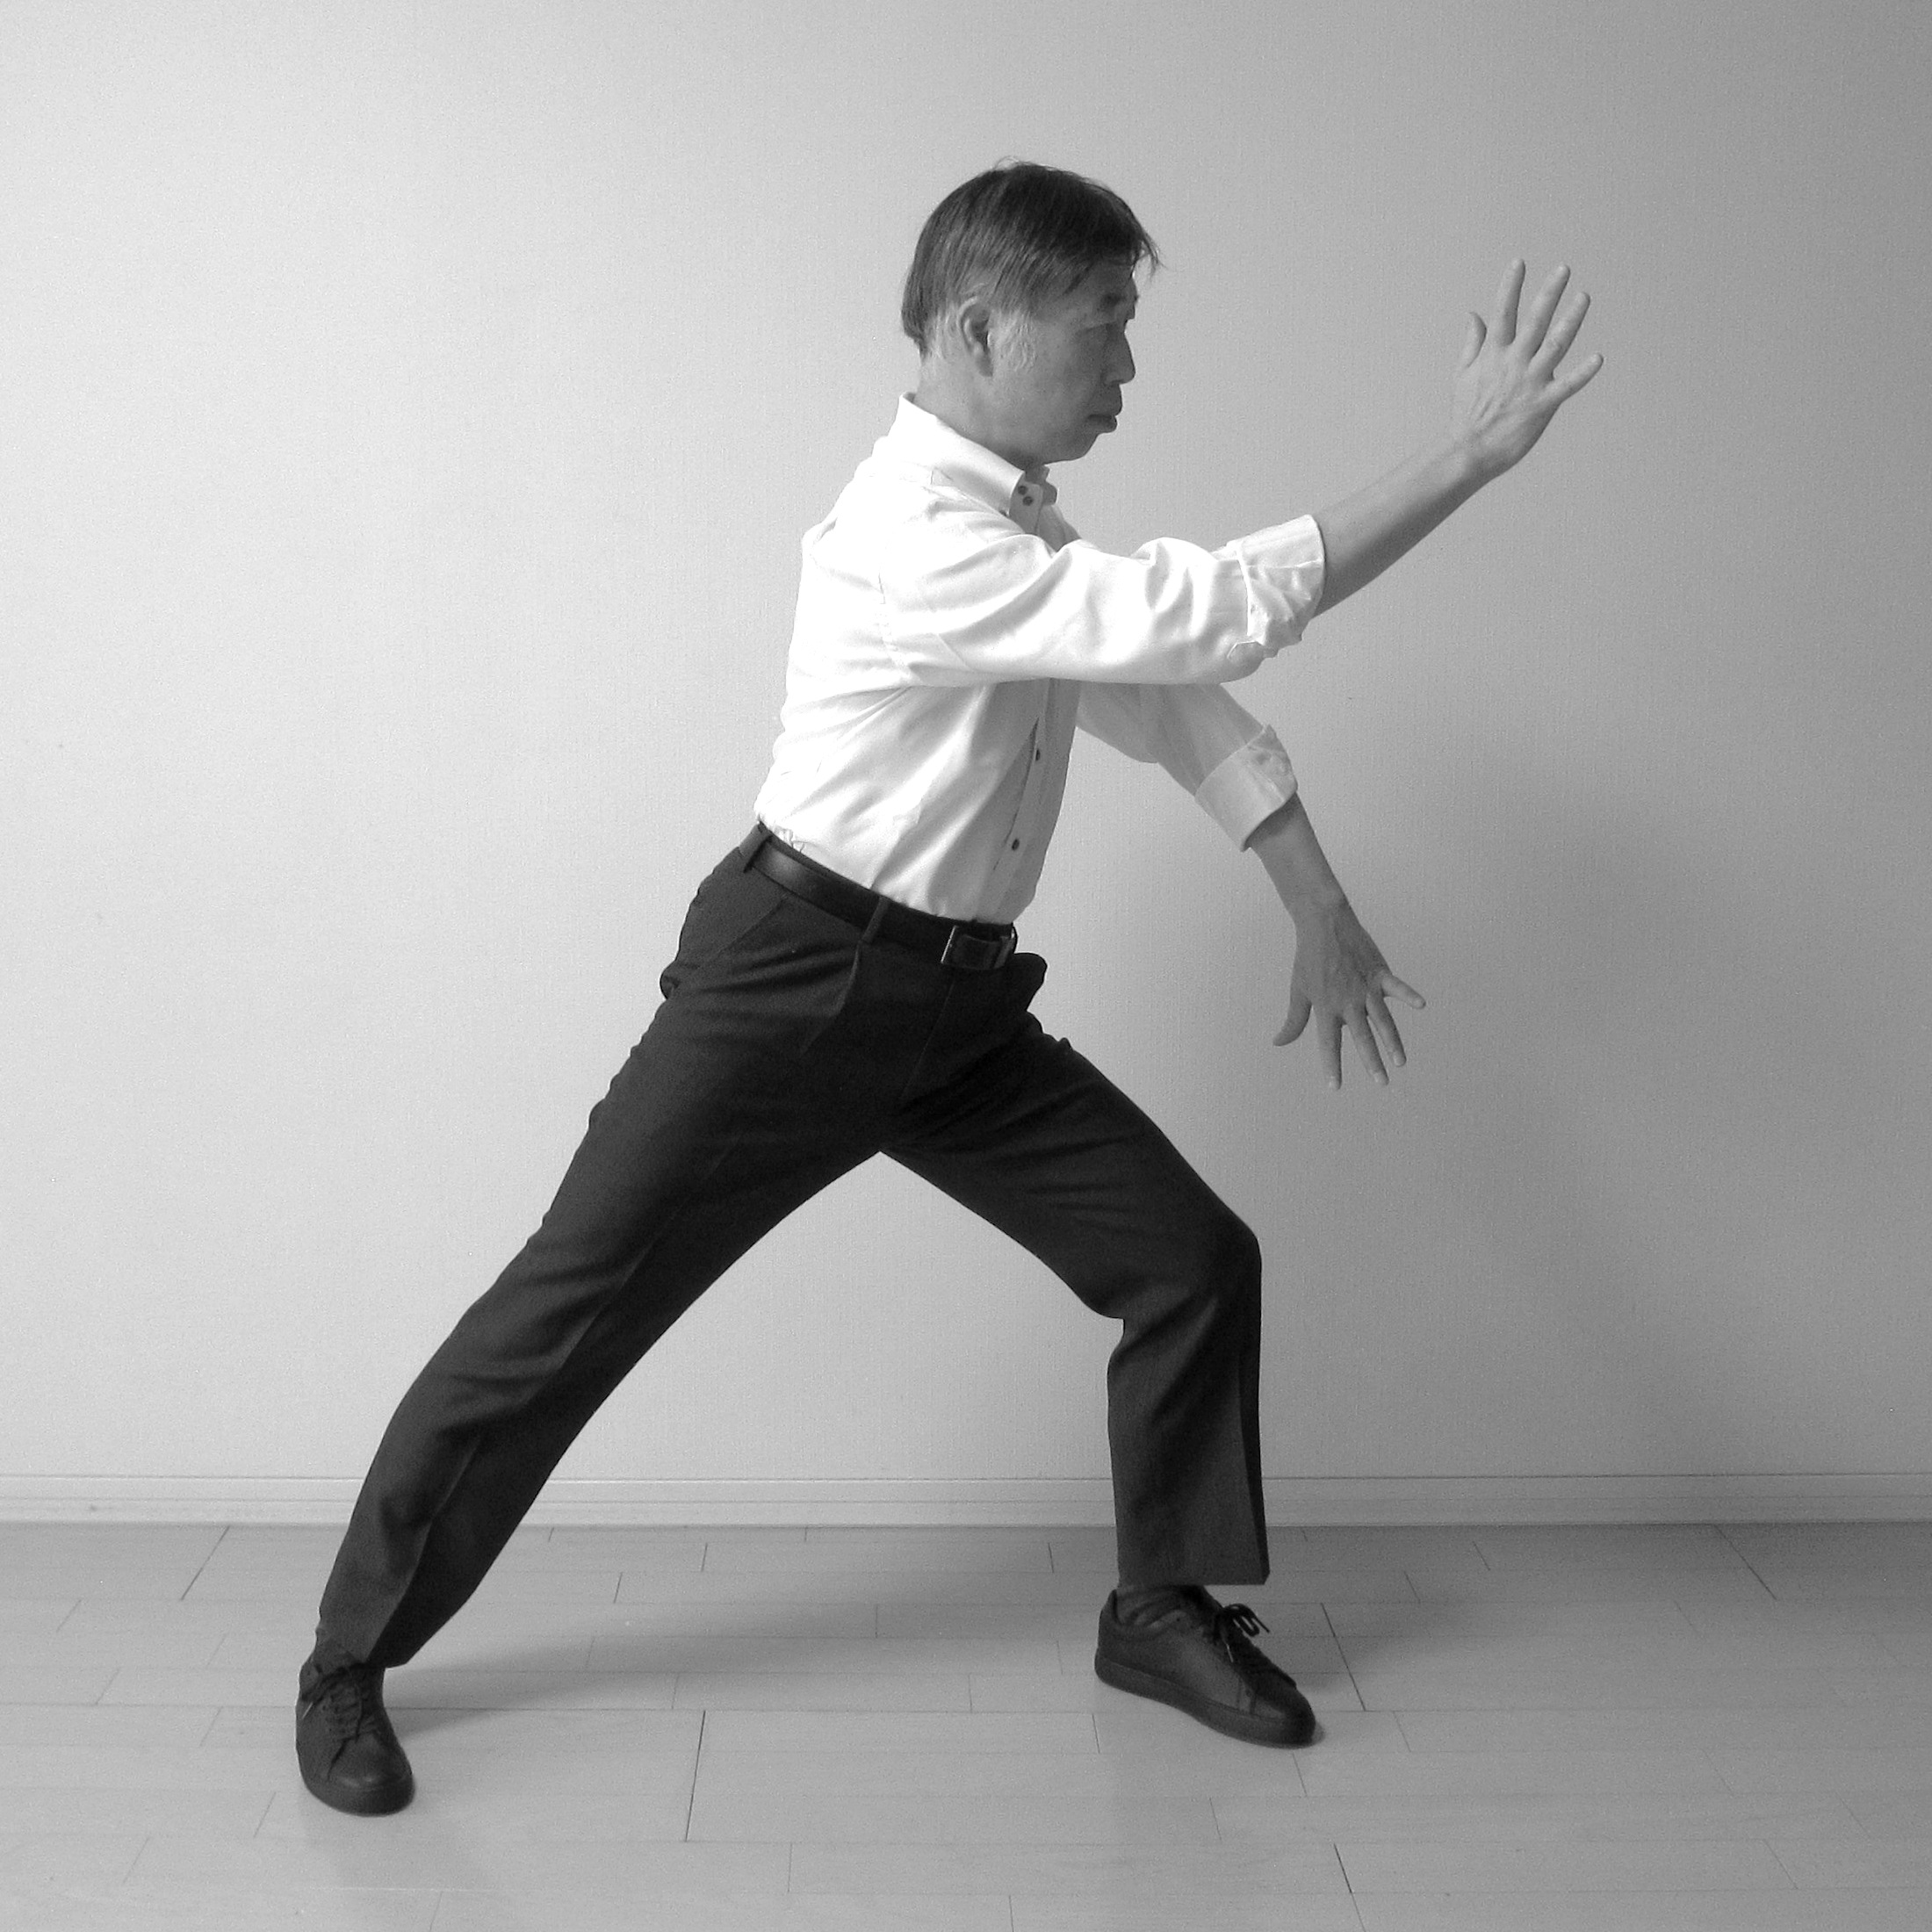
Footwork First: The Bow Stance Is the Foundation
If the footwork is wrong, no amount of hand correction will save the move. Get the feet right first; the hands come second.
Where the Feet Land
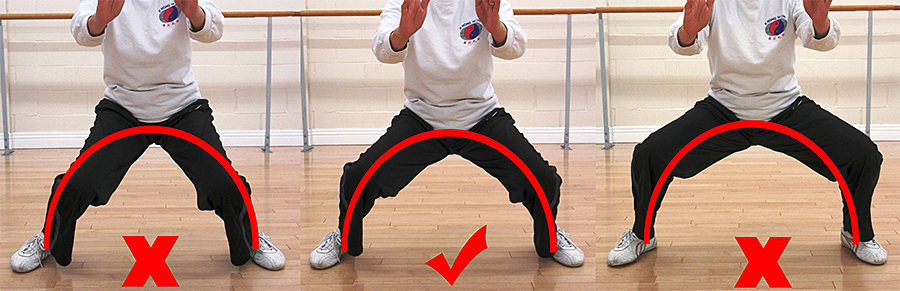
As you transition from Single Whip, your right foot steps back and to the right, toes turned outward about 45 degrees, landing roughly two and a half shoulder-widths from your left foot. Then your left foot steps forward, toes turned very slightly inward. Keep about one shoulder-width of lateral distance between your feet. Step onto a single straight line and your balance will tip over at the slightest sway; step too wide and your hips lock up, so the push from the back leg never reaches your waist.
Front Leg Bows, Back Leg Drives
Bend your left knee into a bow stance, keeping the knee tracking over the toes — it should reach, at most, directly above the toes and never pass them. A knee collapsing inward is the most common way to hurt yourself in this move. If you notice your knee caving in, turn the toes a little further out until the knee and toes point the same way.
Your right leg stays straight behind you, heel firmly on the ground, the whole leg working like a brace that sends the ground’s reaction force back up into your waist and hips. The ball of the back foot must grip the floor for real: once the heel lifts even a centimeter, you lose about half of your driving power. Roughly 60 percent of your weight sits on the front leg and 40 percent drives through the back. Once that ratio feels natural, the weight shift becomes smooth instead of jerky.
The Rhythm of Shifting Weight
The weight shift follows a sink-then-send rhythm. As your right foot steps back and lands, let your weight sink down between both legs. After your left foot steps forward, let the weight glide slowly onto the front leg until it settles. The whole shift takes about three to four seconds. Too fast and you lunge forward; too slow and the power breaks apart. Count silently in your head — by the count of three, your weight should have just landed.
Hand Shapes and Body Method: Drawing a Bow Is Not Mimicking One
With the stance solid, look at the hands. The roles are clear: the left hand is the bow, the right hand is the string.
Left Hand: The Hand That Holds the Bow
Push your left hand forward, palm angled slightly downward, fingers naturally extended, the web between thumb and index finger gently rounded — as if gripping the body of a bow. Do not straighten the arm completely; keep the elbow slightly bent at about 150 degrees, leaving a little slack, because a locked elbow traps the force in your arm. Keep the hand level with your shoulder, or just below it. Too high and your shoulders hunch up; too low and the bow shape collapses.
Right Hand: The Hand That Draws the String
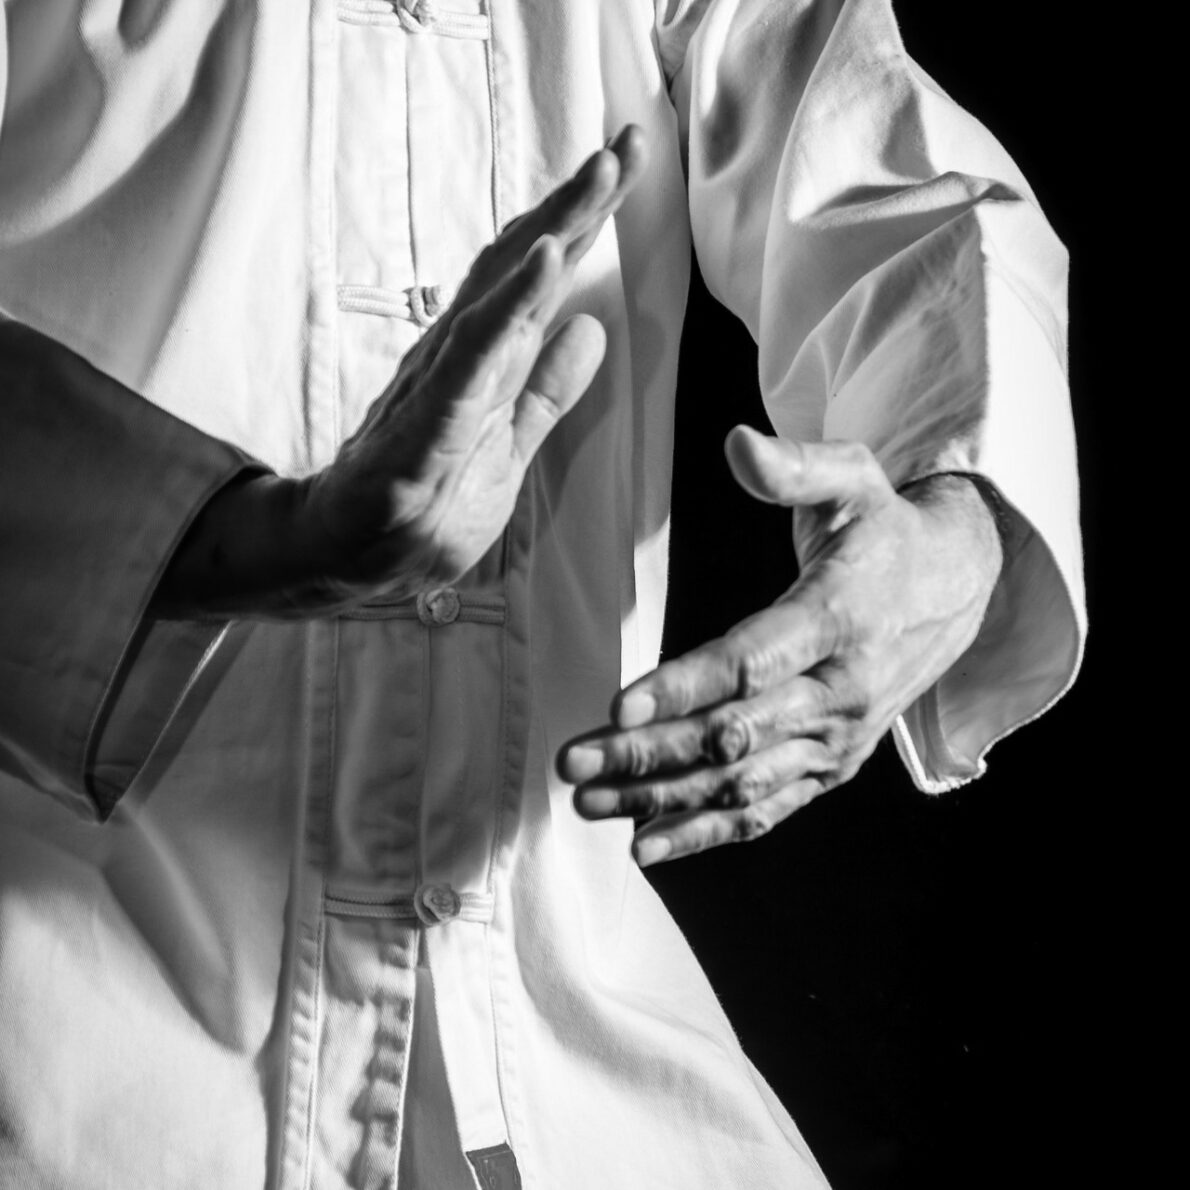
Close your right hand into a fist and draw it back to your right waist, palm facing up, the fist’s eye turned outward, elbow tucked against your ribs as it pulls back. The pull does not come from yanking with your arm — your waist turn carries the elbow backward. The elbow points down and behind you, like a bowstring drawn tight across your waist and hips. Do not clench the fist too hard or the whole arm stiffens; about seventy percent grip is enough, leaving thirty percent relaxed.
Body Method: The Waist and Hips Are the Axle
Both hands are driven by the waist and hips. As your left hand pushes out, your waist turns left about 30 degrees; as your right hand draws back, your waist returns about 15 degrees to the right. Keep your chest slightly hollowed — never puff it out, never let your lower back sag. Imagine a thread gently lifting the crown of your head, relax your neck, tuck your chin slightly, and let your eyes rest about two meters ahead of your left hand. If your gaze wanders, your power wanders with it.
Breathing and Power: Power Rises from the Soles of Your Feet
There is a simple breathing rule for this move: inhale as you step back and gather power, exhale as you push and pull in the bow stance. As your right foot steps back and your weight sinks, breathe in slowly through your nose and let the breath settle into your lower abdomen (dantian, the energy center just below the navel in Chinese body culture). As your left foot steps forward and both hands push and pull, breathe out slowly through your mouth, letting the air out evenly. Exhale too fast and the power leaks away; hold your breath and your chest tightens and the movement stiffens.
The power travels in a strict order: foot, leg, waist, hand — one link passing to the next. The back foot pushes off the ground, the force passes through the knee to the hip, the waist turns, and the force arrives at both hands. You cannot rush this chain. When you are learning, slow it down on purpose: first feel the ball of your back foot pressing into the ground, then feel your waist and hips turn, then check whether both hands arrived at the same time. Whichever link you cannot feel, pause there for an extra half second.
A practical way to train it: practice facing a wall. Stand about an arm’s length away and perform the full move; when your left palm pushes out, let it touch the wall lightly and feel whether the pushing force really came from your back foot. If your palm reaches the wall before your foot has driven, the order is reversed — start over. Ten reps a day, and after a month the feeling of whole-body power will be noticeably different.
Five Common Mistakes and How to Fix Them
Most problems in this move cluster in five places. Fix them one by one — it works far better than repeating the whole move blindly ten times over.
- Knee collapsing inward: The front knee caves in during the bow stance. Fix it by turning the front toes outward another 10 degrees or so, and consciously drive the knee toward the toes. Practice in front of a mirror: the knee and the second toe should line up.
- Back heel lifting off the ground: As the weight shifts forward, the back heel pops up. Fix it with stationary push drills: hold the bow stance, keep the back heel planted, and shift your weight forward and back 20 times without letting the heel leave the floor. Only fold the drill back into the full move once the foot stays glued to the ground.
- Shoulders shrugging, elbows flying up: The moment the left hand pushes out, the shoulder climbs toward the ear. Fix it by sinking the shoulders and dropping the elbows before you start — imagine two sacks of rice pressing your shoulders down — and keep the elbow tip pointing downward as the hand pushes out. The shoulders do not take part in generating power.
- Hands moving, waist frozen: The push and pull come entirely from the arms while the waist and hips stay still. Fix it by putting your hands down and training the waist turn with the footwork alone: step back, turn the waist, bow stance — 15 reps in a row. Once the waist turns smoothly, add the hands back in.
- Weight lunging forward: The moment the bow stance forms, your weight crashes onto the front toes and your body tips forward. Fix it by shrinking the bow stance by about a third, then check once the weight settles: can you freely lift your front toes, and is your back heel still on the ground? If both are true, your weight is in the right place.
Quick Answers
How long should the weight shift take? About three to four seconds — sink first, then send. Rushing it is the fastest way to lose your balance.
How far should the front knee bend? No further than directly above the toes, and always tracking in the same direction as the toes. Never let it pass the toes or cave inward.
Why does my back heel keep lifting? Because your weight is arriving before your back leg has finished driving. Practice the stationary push drill — 20 weight shifts with the heel planted — until the foot stays down on its own.
Where should I look? About two meters ahead of your left hand. A wandering gaze scatters the power; a settled gaze settles the body.
How do I know the move is correct? Three checks: the stance holds steady, the waist turns freely, and both hands arrive together. When all three pass, the move is standing on its own.
Make This Move Part of Your Body
There is no shortcut for Bend the Bow to Shoot the Tiger. The standard is threefold: feet that hold their ground, a waist and hips that turn, and two hands that arrive together. Set aside ten minutes a day for this one move alone: five slow reps to find the feeling, then five reps at normal speed to train the unified power. Slow practice refines the details, normal-speed practice trains the whole-body force — you need both.
The plan for this week is concrete: ten reps a day, and fix only one mistake at a time. Spend this week on the collapsing knee, for example, and tackle the lifting back heel next week. Fixing one thing at a time works faster than fixing five at once. After a month, run the move inside the full form three times and see whether the transition from Single Whip into Bend the Bow still wobbles. When it stops wobbling, this move has taken root.
Safety note: If you have an old knee injury or lower-back discomfort, halve the depth of your bow stance and keep the knee bend above 120 degrees; warm up for five minutes before practicing. Stop immediately if you feel sharp pain in your knee or lower back — do not push through it. Pregnant practitioners, people with high blood pressure, or anyone with a specific health condition should consult a doctor before practicing. No therapeutic effects are promised; practice within your limits and progress gradually.