付费资源

隐藏内容限时特惠
此内容已隐藏,请购买后查看!
¥5 ¥20
无需登陆,直接购买即可
免费更新
客服服务

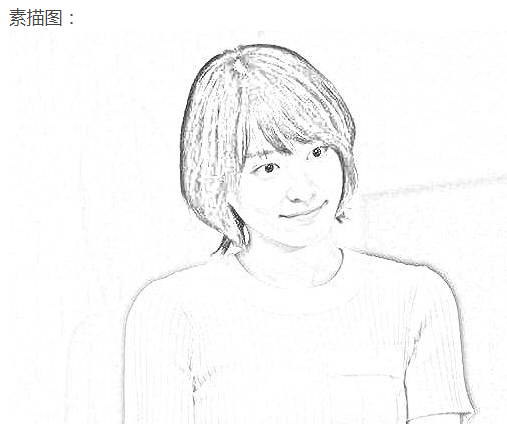
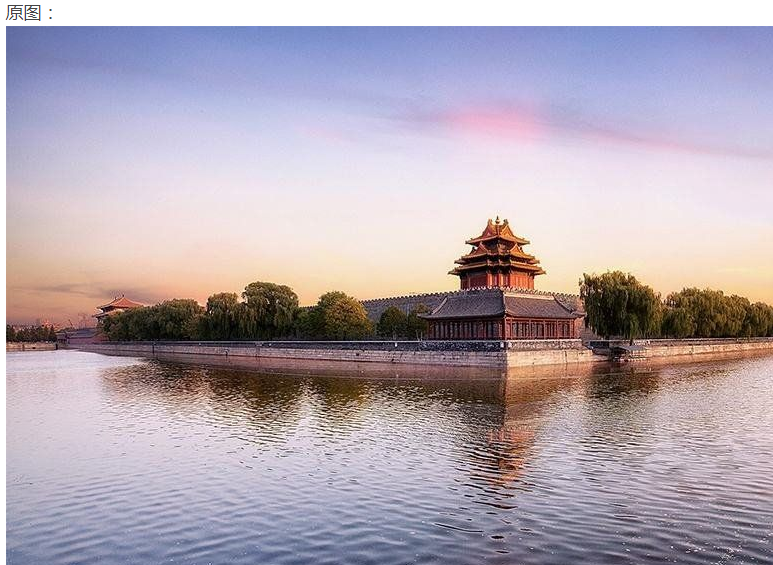
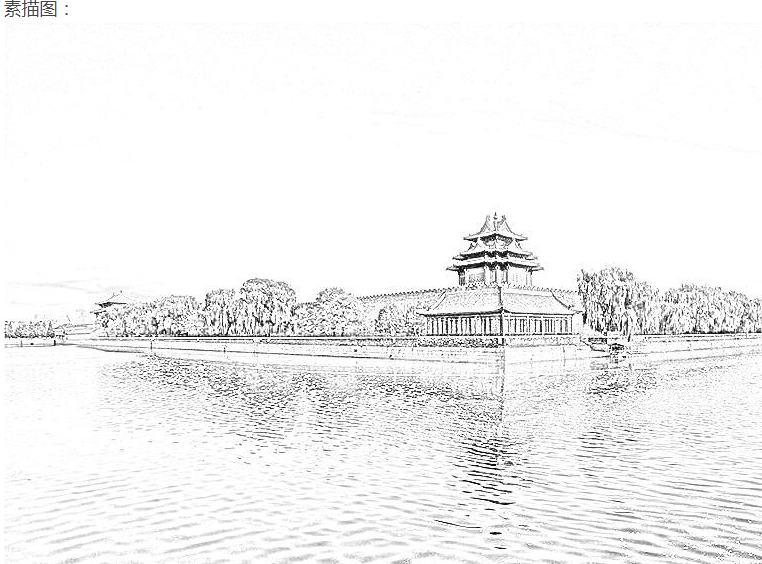
本工具使用python编写,将彩色图片转成黑白素描手绘图。
在python源码里可以调节其参数,尽量调到最好的效果。
使用颜色鲜艳的图片效果更佳
将图片转为素描主要有4个步骤:
主要使用的是opencv模块。


源代码:
# -*- coding:utf-8 -*-


import cv2
import numpy as np
from tkinter import filedialog, Tk
from os import getcwd
from re import findall


def open_path():
    # 图片路径
    root = Tk()
    root.withdraw()
    file_path = (filedialog.askopenfilename(title='选择图片文件', filetypes=[('All Files', '*')]))
    return file_path


def dodgeNaive(image, mask):
    # determine the shape of the input image
    width, height = image.shape[:2]

    # prepare output argument with same size as image
    blend = np.zeros((width, height), np.uint8)

    for col in range(width):
        for row in range(height):
            # do for every pixel
            if mask[col, row] == 255:
                # avoid division by zero
                blend[col, row] = 255
            else:
                # shift image pixel value by 8 bits
                # divide by the inverse of the mask
                tmp = (image[col, row] << 8) / (255 - mask)
                # print('tmp={}'.format(tmp.shape))
                # make sure resulting value stays within bounds
                if tmp.any() > 255:
                    tmp = 255
                    blend[col, row] = tmp

    return blend


def dodgeV2(image, mask):
    return cv2.divide(image, 255 - mask, scale=256)


def burnV2(image, mask):
    return 255 - cv2.divide(255 - image, 255 - mask, scale=256)


def rgb_to_sketch(src_image_name):
    print('转换中......')
    img_rgb = cv2.imread(src_image_name)
    img_gray = cv2.cvtColor(img_rgb, cv2.COLOR_BGR2GRAY)
    # 读取图片时直接转换操作
    # img_gray = cv2.imread('example.jpg', cv2.IMREAD_GRAYSCALE)

    img_gray_inv = 255 - img_gray
    img_blur = cv2.GaussianBlur(img_gray_inv, ksize=(21, 21),
                                sigmaX=0, sigmaY=0)
    img_blend = dodgeV2(img_gray, img_blur)

    # cv2.imshow('original', img_rgb)
    # cv2.imshow('gray', img_gray)
    # cv2.imshow('gray_inv', img_gray_inv)
    # cv2.imshow('gray_blur', img_blur)
    cv2.imwrite(dst_image_name, img_blend)
    save_path = getcwd() + "\\" + dst_image_name  # 保存路径
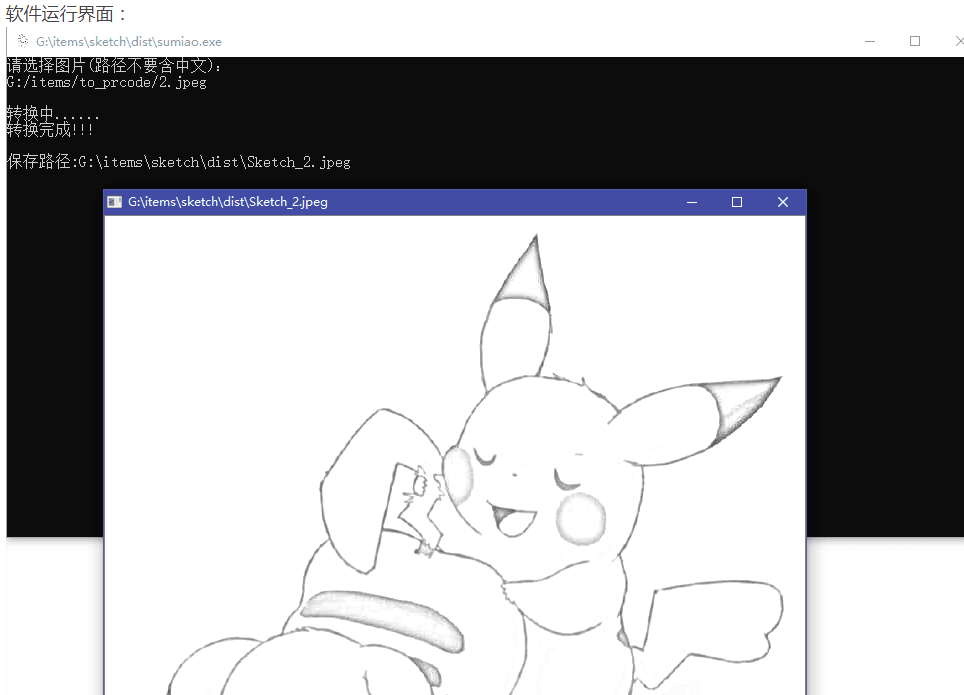
    print('转换完成!!!\n')
    print('保存路径:' + save_path)
    cv2.imshow(save_path, img_blend)
    cv2.waitKey(0)
    cv2.destroyAllWindows()


if __name__ == '__main__':
    print('请选择图片(路径不要含中文):')
    src_image_name = open_path()  # 文件路径
    print(src_image_name+'\n')
    image_name = ''.join(findall(r'[^\\/:*?"<>|\r\n]+$', src_image_name))  # 获取文件名
    dst_image_name = 'Sketch_' + image_name
    rgb_to_sketch(src_image_name)
成品exe文件: